Stone’s Throw

For someone who waxes poetic about autumn at the slightest provocation, I am woefully unprepared for my favorite season. While I have a handful of rather dressy blazers and a quantity of hoodies that my husband loves to side-eye, all of my cardigans are lightweight and too close-fitting to wear with anything other than a camisole, meaning they function more like long-sleeved t-shirts than true layering pieces. Add to that the fact that all my button-ups save one are v-necks rather than a more traditional crew neck, making them unsuited for pairing with the basic cardigans you find at most retailers this time of year, and you can see how days with a 20-degree swing in temperature prove challenging.

Enter CustomFit, specifically the built-in design Stonington. V-neck? Check. Originally designed with a thicker yarn in mind? Check. Lots of stockinette for a classic look and a quick and relatively mindless knit? Check and check.

Caitlyn is leaning against a brick wall and wearing her CustomFit Stonington cardigan by Amy Herzog

The green of Caitlyn's CustomFit Stonington contrasts with the orange-red brick behind her

The yarn is Swans Island Washable Wool Collection DK in color Pesto. I got it from my beloved Warm ‘n Fuzzy during their summer sale in 2017. Although there were only eight skeins, it looked like they were in the original bag from the wholesaler, so I assumed they were all the same dye lot. They were not, but I did not immediately discover this fact, in part because I didn’t even wind the yarn to start knitting until April 2018.

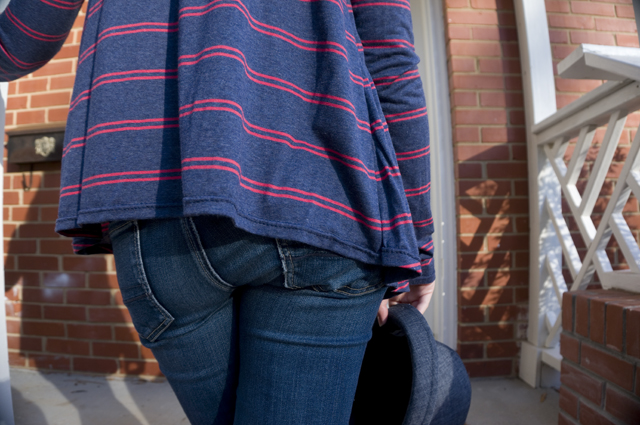
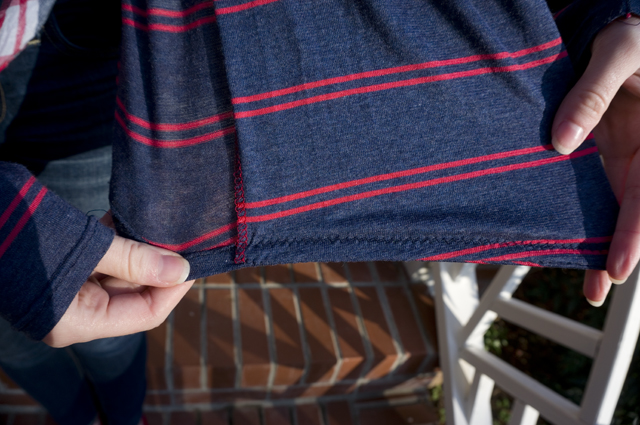
By sheer coincidence, all of the skeins I grabbed for the back of the sweater were the same lot. It wasn’t until I was partway through the first front that I discovered I had six skeins of one lot (of a bluer hue) and two skeins of another lot (of a yellower hue).

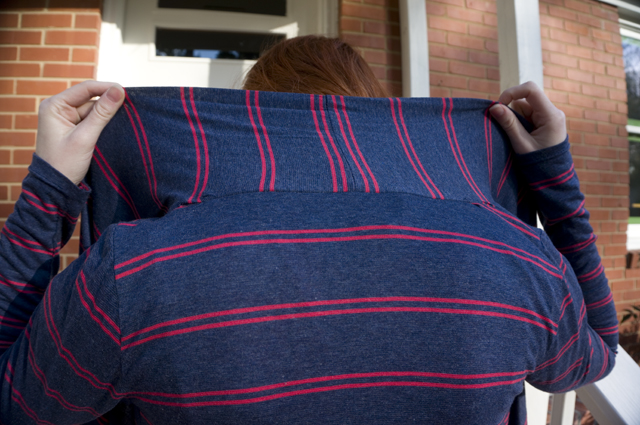
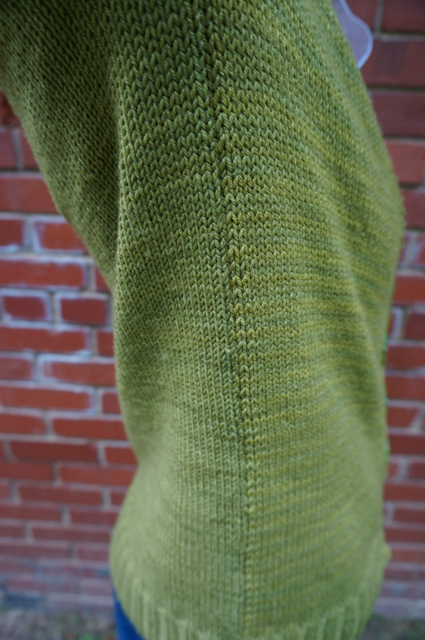
I ripped back and decided to alternate skeins on the fronts and sleeves. There are noticeable stripes, but I think they’re softened somewhat by the semi-solid dye, producing an overall effect that resembles a tonal yarn to my eye. The difference in lots is obvious at the side seam, where the solid back meets the two-tone stripes.

A close-up up of the side seam of Caitlyn's CustomFit Stonington, showing how the yarn's dye lots differ on the front and back

A bigger issue than the dye lots, however, was coming up short on yarn to complete the sleeves. I searched online for more of the dye lot I needed, but the couple of shops I contacted either didn’t have the correct one or didn’t respond to my inquiry. At least one shop sold out of the Pesto color entirely while I was waiting for responses, increasing the pressure to find something before the yarn was no longer available.

I decided to gamble on a mystery skein from WEBS, which turned out to be a third dye lot. While certainly not ideal, it was close enough to one of the two I was using that I thought I’d go with it.

Unfortunately, even with a ninth skein, I was going to be a little short. (Well, slightly less than nine, as I’d failed to account for the yarn already eaten up by my swatch, lying forgotten in a knitting bag somewhere.)

At this point, you might well be wondering how I could have miscalculated the amount of yarn I’d need this badly, and why I didn’t choose a different pattern if I wouldn’t have enough. The truth is that CustomFit will estimate the yardage you need based on your swatch size and weight. I just…chose not to trust it. My experience with yardage estimates, much like fabric cutting layouts, is that they’re more than generous. I figured I’d squeak in just under the estimate with my nine skeins.

It’s at this point, in a bit a panic because many shops no longer listed this yarn at all, that I realized I should have turned to the Ravelry community from the beginning. After searching through other users’ stashes, I was able to find not one but two users with the dye lot I needed. About a week later, I had a tenth skein in hand. I ended up using less than one-tenth of that tenth skein, leaving almost a whole skein. Naturally, it became a matching hat—more on that another day!

Even after accounting for the time spent ripping, acquiring two extra skeins, and re-knitting, it’s hard to say why it took so long to finish this cardigan—long enough to cross the threshold into a new year. I could gesture vaguely toward blocking, seaming, knitting the band, and facing each side with grosgrain ribbon, but I’m not sure that was the reason? My notes, as usual, provide no clues.

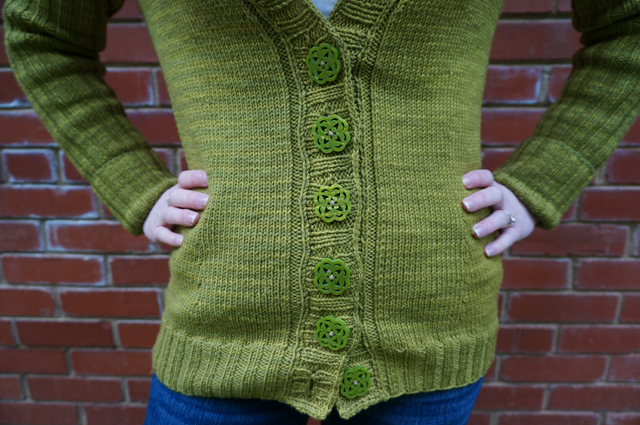
I did spend some time trying to find worthy buttons. I came very close with one-of-a-kind marbled glass buttons at local knitting and sewing store Downtown Knits, but they didn’t have enough for my cardigan and weren’t able to source more. I looked around at a few other places, and ended up settling for plastic ones from JoAnn that I stitched on by hand. They’re an interesting shape, but I may yet switch them out if I find something else I like better.

The buttons on Caitlyn's CustomFit Stonington are green plastic and shaped like stylized dogwood flowers

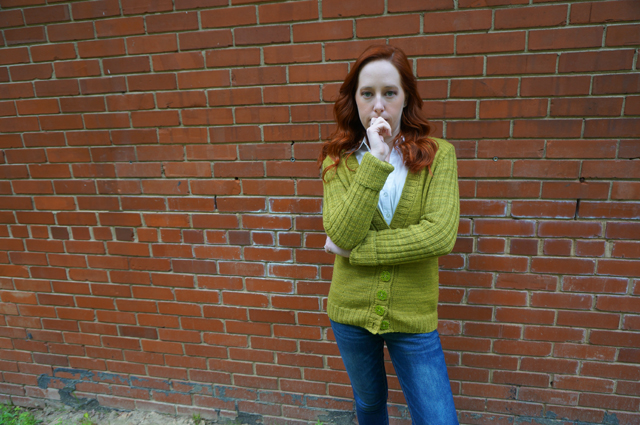
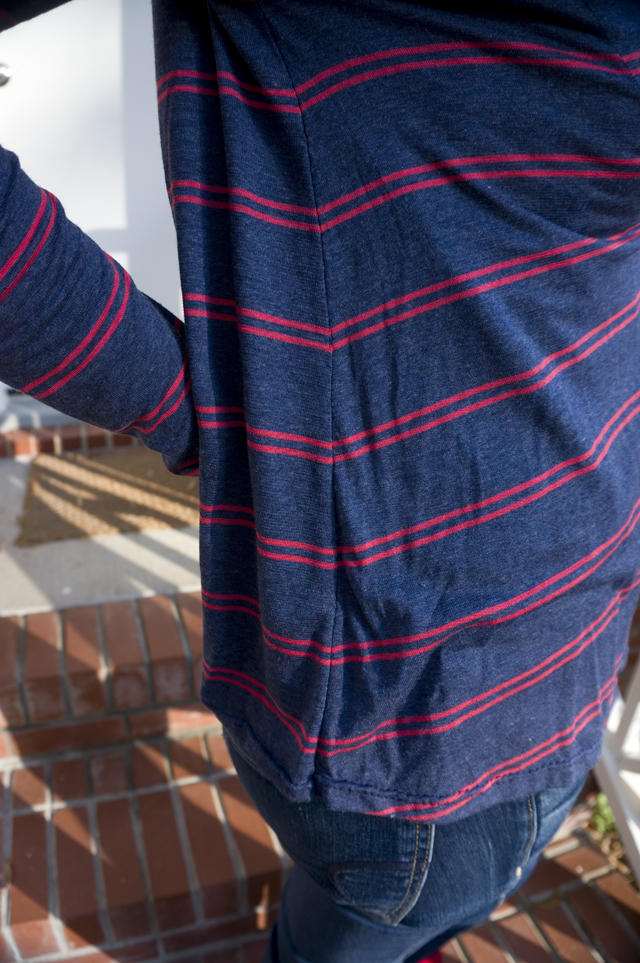
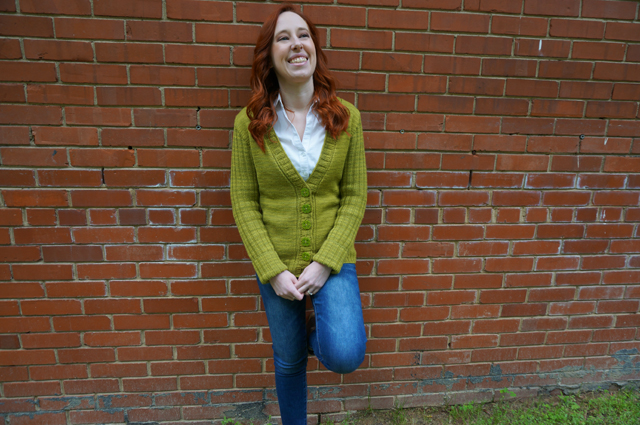
Overall the fit is good but not really what I was aiming for. Amy’s original Stonington was designed to hit at the low hip, but I’d been chosen a slightly higher (but not high hip) hem; I definitely ended up with the same low hip fit she got anyway.

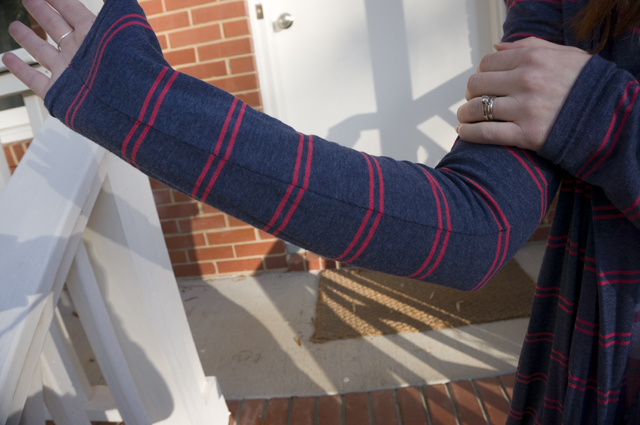
The sleeves also ended up a lot longer than I’d planned. I tend to shoot for about one inch past the wrist; these cover my palms and most of my fingers. I wear them cuffed, which looks okay but isn’t ideal.

These length issues are probably a result of the superwash yarn as much as my measurement set. I wet-blocked my swatch but laid it flat to dry. Instead, I should have hung it to dry with clothespins clipped to the bottom edge to simulate the weight of the sweater pulling on itself.

In terms of ease, I chose an average rather than close fit because that’s what CustomFit recommends when you plan to wear your sweater over a long-sleeved button-up or t-shirt. That ended up being more than enough ease for comfort, and I’d personally prefer a slimmer fit, especially through the back. Looking at the pictures, I could probably stand to narrow the shoulders a smidge too.

The back view of Caitlyn's CustomFit Stonington, showing wrinkles around the lower back

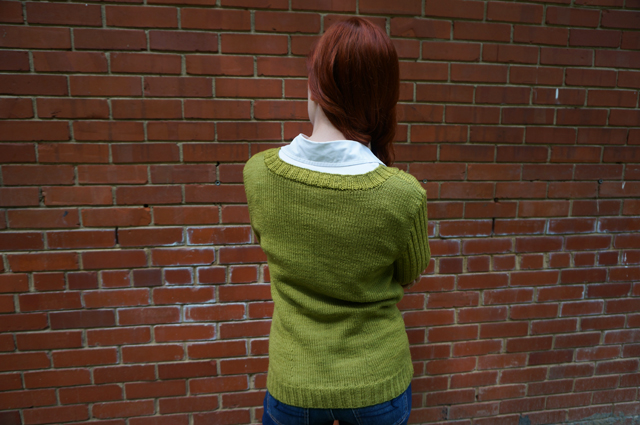
The less-than-perfect silhouette hasn’t once stopped me from wearing this sweater, and I really thought it might. I had a hard time choosing pictures because so many of them revealed how the whole thing is a little too long, a little too loose, and a little too straight for my taste. But when it’s on, so long as I don’t linger in front of a mirror, I really don’t notice. It’s warm, soft, and comfortable over the shirts I live in during the work week through the fall and early winter. It’s a fine alternative to a jacket when it’s chilly in the morning but temperate by lunch time.

The pattern is one I could easily see becoming a staple knit up in a bunch of colors. Not for me, mind you—I enjoy variety in my knitting if not my knitwear (I own an embarrassing number of identical v-neck pullovers in different colors), so I doubt I’ll make another one. But the idea of getting more mileage out of a knitting pattern is a nice thought. Right? Right.

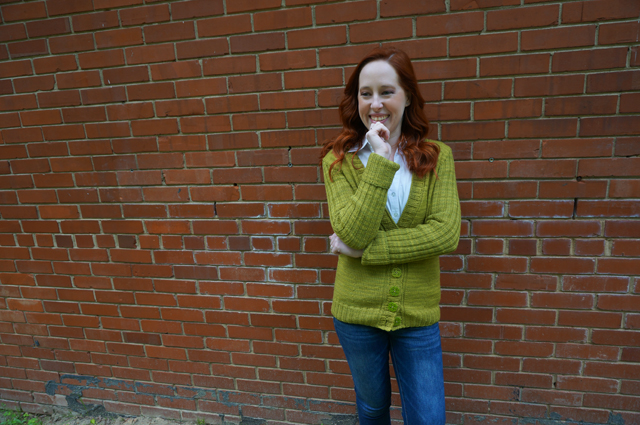
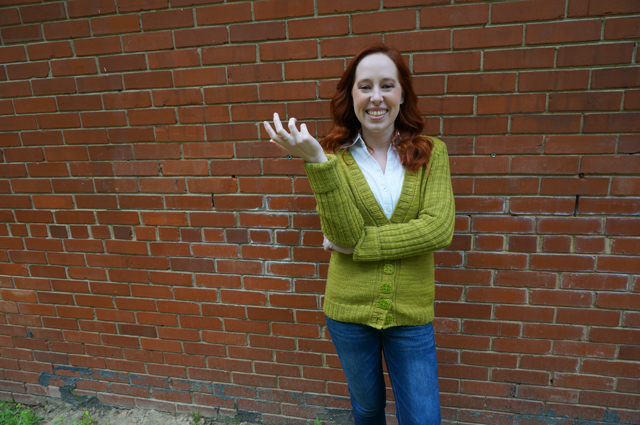
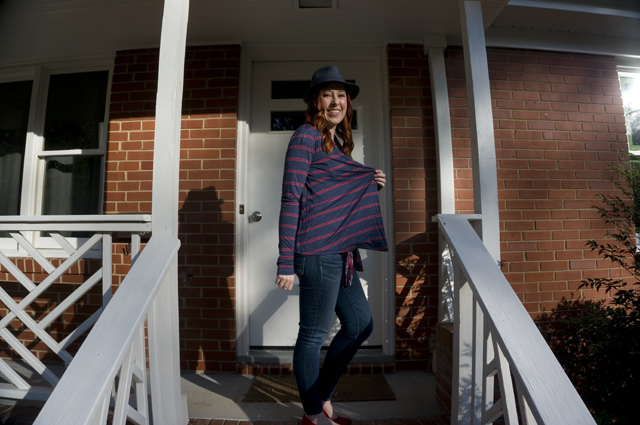
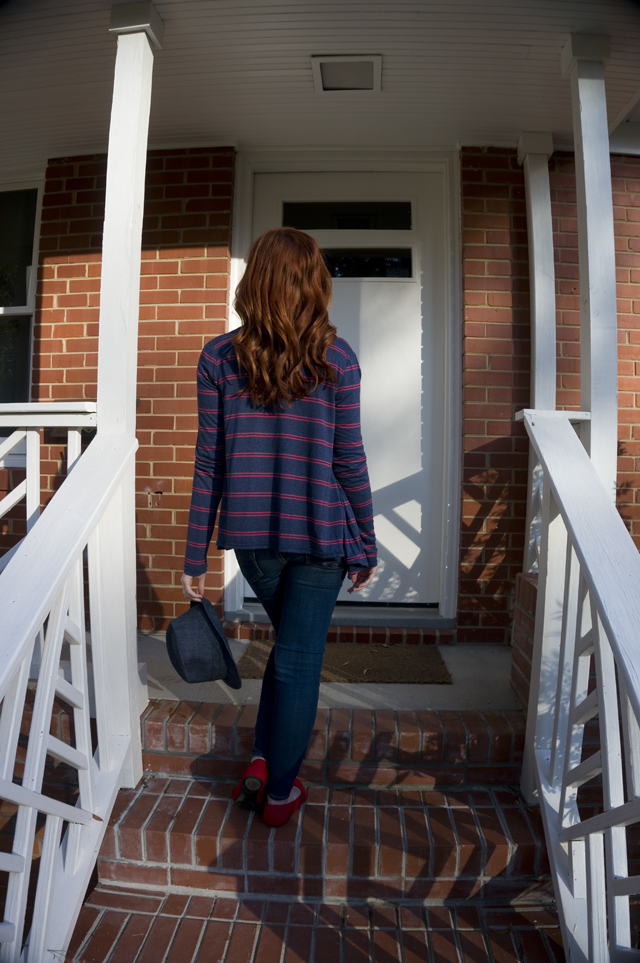
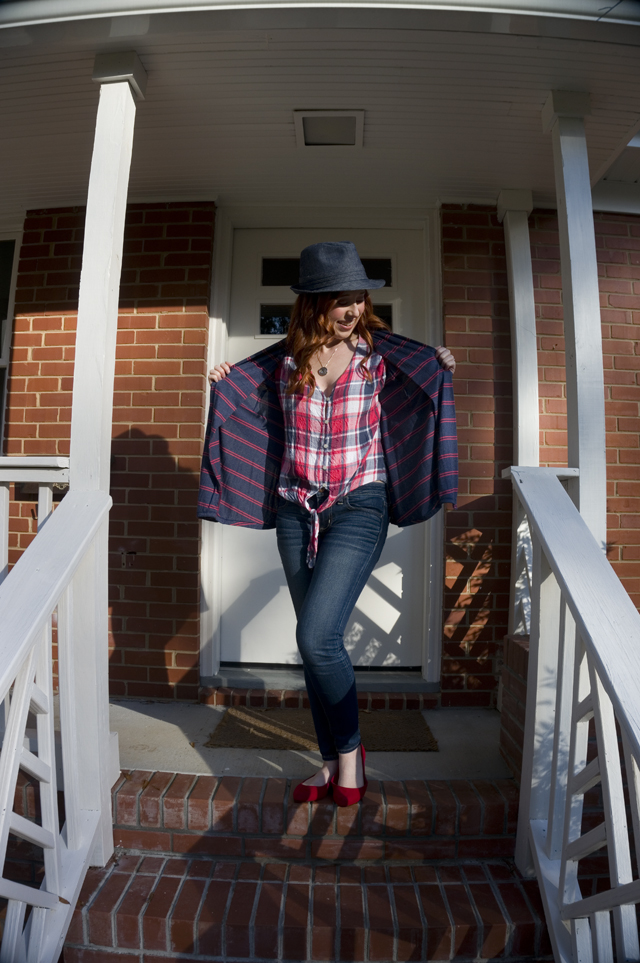
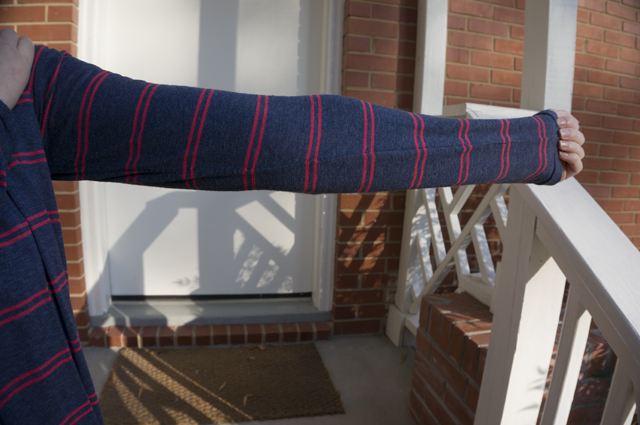
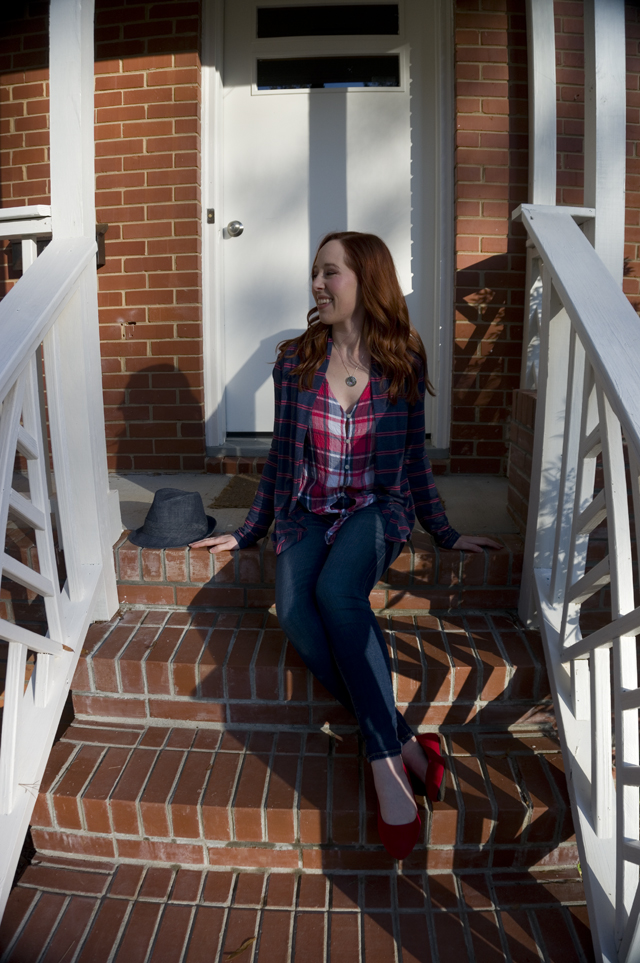
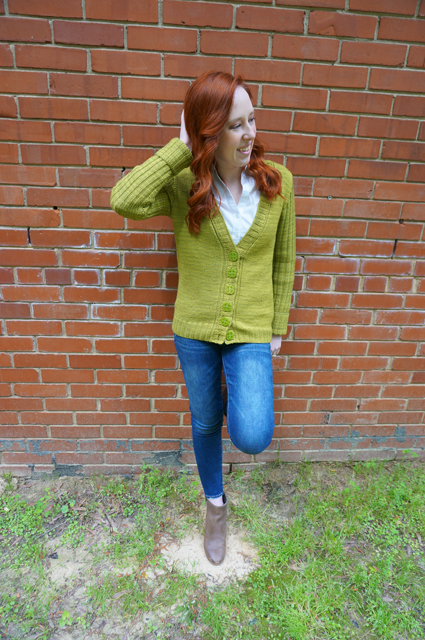
Here are three more pictures that don’t show any useful details of the cardigan itself, but I like them too much not to share them.

An Open-Front Cardigan for Transitional Weather

Caitlyn stands on her front porch smiling and wearing a denim hat, open-front cardigan, tie-front button-up shirt, jeans, and pointed-toe flats

Caitlyn is turned sideways and holding out one side of her open-front cardigan to show its drape

Caitlyn is facing away from the camera to show off the back of her open-front cardigan

A close-up shot of the twin-needle topstitching on the back hem of the McCall's 6084 open-front cardigan

When I picked up this lightweight sweaterknit during Hancock’s going-out-of-business sale, I imagined it as a relaxed-fit pullover, possibly with dropped shoulders. I happened to have just such a sweater in my closet already, and I’d noticed a couple of small holes where it had snagged on something, so I thought it might be a good idea to plan for its replacement.

The more I thought about it, though, the more I felt this fabric was going to land in that awkward territory of too light to be warm when it’s chilly outside, too thin and see-through to be worn as a t-shirt/shell, and too hot to layer over a camisole in the summer. In light of that, a cardigan to throw on indoors when the AC is too strong seemed like a more practical choice than a pullover. Plus, I have lightweight cover ups in several neutral colors—black, brown, grey, and oatmeal—but few colorful ones and nothing with a pattern. Time to expand those sweater horizons!

Picking a pattern was less a comedy of errors and more a two-part skit of failing to pay attention. See, I already had McCall’s 6084 in my stash, so I was prepared to dive right into tracing and cutting. Except that when I’d bought the pattern during some hazy late-night discount-pattern spree of the past, I’d grabbed the L/XL/XXL envelope instead of the XS/S/M I needed.

Fortunately, a quick trot to JoAnn solved that problem, but then I immediately encountered another: McCall’s 6084’s waterfall fronts are just turned under and hemmed, meaning the wrong side would be visible in the finished garment. On a solid fabric that’s probably not a huge deal, but with stripes I expected it would be a lot more obvious. I knew I’d feel compelled to try to make the stripes match at the boundary between right- and wrong-side, and I knew that caring that much would drive me mad.

Instead, I did the “less mad” thing (yes, those are sarcasm quotes) and decided to hack the pattern in arguably the weirdest way possible. By way of explanation, let me first provide the following context:

Three of the four neutral-colored cover ups I mentioned before are from Express. (You’re probably starting to notice a trend here.) Those workhouse cardigans have wide front panels that can overlap in the front but, by dint of the drape of the fabric, the shape of female anatomy, and the lack of closures, tend to hang open. The panels are attached along shoulder princess seams, and they’re level with the rest of the cardigan at the hem (rather than angled like you see on waterfall-front cardigans). Most importantly, the panels are wide strips of knitting that have been folded in half before being attached, so that not only is the edge of the front opening finished, but also if you open the cardigan you’re still seeing the right side of the fabric all the way to the princess seam where it’s attached. Basically, the panels act like bands, but very, very wide ones. I love this finish, because no matter how the fronts flop around, you never see the wrong side of the fabric.

I decided this doubled-front-panel approach was the way I wanted to go on my cardigan. There were, however, two major challenges to this. The first was that McCall’s 6084 doesn’t have princess seams, just a shoulder dart that subtly shapes the front/neckline/collar. I considered cutting through this dart to make a princess seam, but then ran into the second issue, which is I only had two yards of fabric. I definitely didn’t have enough fabric to double the width of the front piece between the opening and the shoulder dart, nor did I have enough to cut narrower facings to attach to the front edge.

My solution? Cut the pattern as drafted, but then fold the front edge to the inside until it aligns with an invisible princess seam drawn through the shoulder dart.

I had to adapt the order of operations in order to get finished edges where and when I needed them, but apart from the mental gymnastics required this caused no major issues. The grown-on front facings, for lack of a better term, are held in place at the neckline (the fronts extend to form the collar) and at the bottom hem where they’re tacked down by the twin-needle topstitching; they hang free between shoulder and hem:

Caitlyn holds open the fronts of her cardigan to show how the grown-on facings hang on the inside

A close-up shot of the inside hem of the McCall's 6084 open-front cardigan, showing how the topstitching holds the grown-on facing in place

This works…okay. Because there’s no seam to provide structure, the fronts tend to sag and bag toward the bottom. It’s not super noticeable in these pictures, and no one is likely to notice when you’re moving around, but standing still, on a hanger, or lying flat, it’s pretty obvious. Luckily, since I’m not constantly positioned in front of a mirror or doing artsy flat-lays, the shortcomings of my hacky construction aren’t annoying enough to keep me from wearing this—once it’s on, I only notice if I think about it.

Construction-wise, I basted everything on my sewing machine and then ran everything through my serger. I spent entirely too much time matching the stripes during cutting AND sewing, but let me tell you, it paid off. Look at this side seam!

A close-up shot showing meticulous stripe matching at the side seam of the McCall's 6084 open-front cardigan

And this sleeve!

A close-up shot showing the stripe matching on the right sleeve of the McCall's 6084 open-front cardigan

And the other sleeve too!

A close-up shot showing the stripe matching on the left sleeve of the McCall's 6084 open-front cardigan

There’s nothing particularly noteworthy about the collar, but here’s a picture anyway:

A close-up shot of the back neckline of the McCall's 6084 open-front cardigan, showing how the front extensions are seamed to make a deep shawl-like collar

I used up every inch of this fabric that I could, which is incredibly satisfying. Bringing more blue and an easy-to-coordinate pattern into my closet also ticked two important boxes for me. I finally feel like I’m transitioning from making projects to making and wearing clothes. It feels good.

Caitlyn sits on her front porch next to a denim hat, smiling and wearing an open-front cardigan, tie-front button-up shirt, jeans, and pointed-toe flats