Positive Peer Pressure

Caitlyn holds up a shawl made with Freia Handpaints yarn to show the full wingspan and different lace patterns

Caitlyn stands with one hand on a brick wall and her lace shawl wrapped around her neck like a bandana

Caitlyn sits on the steps of a public building with her shawl wrapped around her neck like a bandana

Caitlyn sits on the steps of a public building and peers playfully from behind her bandana shawl

Peer pressure: the catalyst of lying, cheating, stealing, drinking, smoking, and who-knows-how-many other societal woes. As a topic and a scapegoat, it was a perennial favorite in D.A.R.E. Seemingly all of the world’s vices would, someday, be offered up to us innocent lambs in the guise of friendship, and it was our solemn duty as good citizens to stand our ground and say, “no, thank you, I don’t need that to be cool.” We dutifully role-played each of the tactics, in escalating degrees of righteousness, for declining these tantalizing but ultimately life-destroying activities.

Peer pressure got a bad rap. What about using peer pressure for good? There was precious little talk about how peer pressure is also a lever for positive action. You can call it motivation, or a good influence, or tough love, but let’s be clear: it’s still peer pressure.

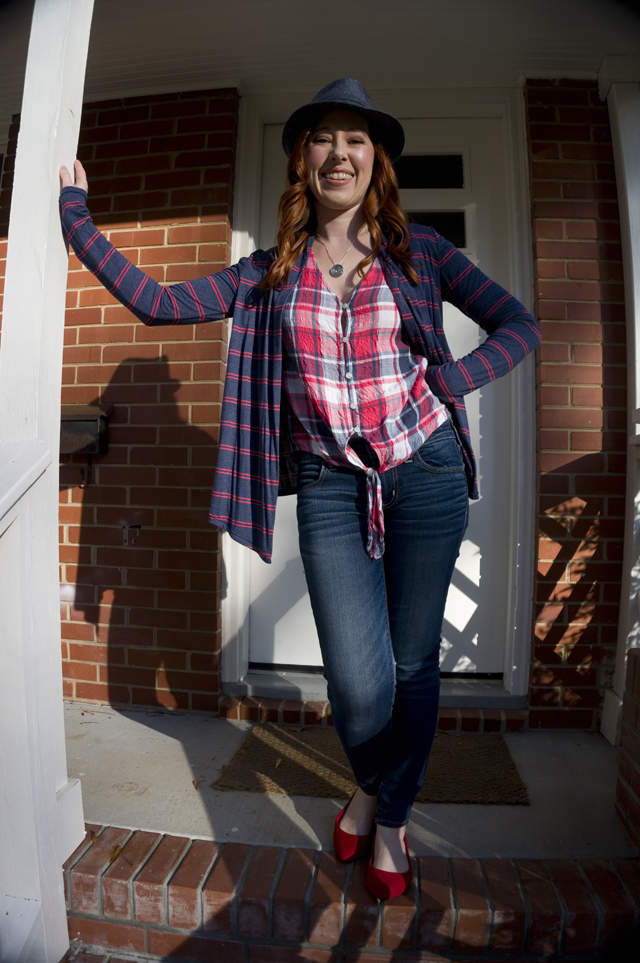
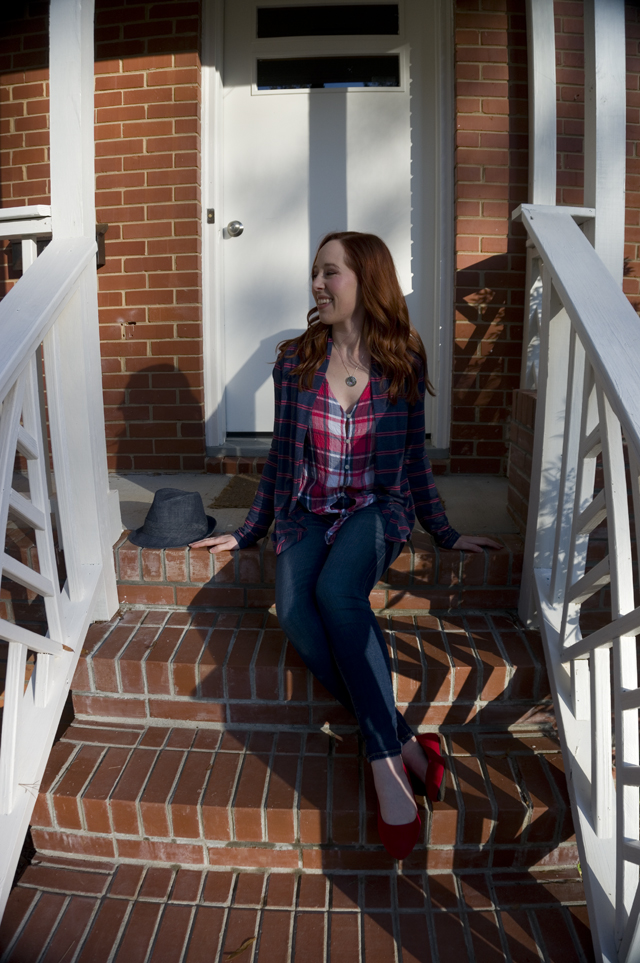
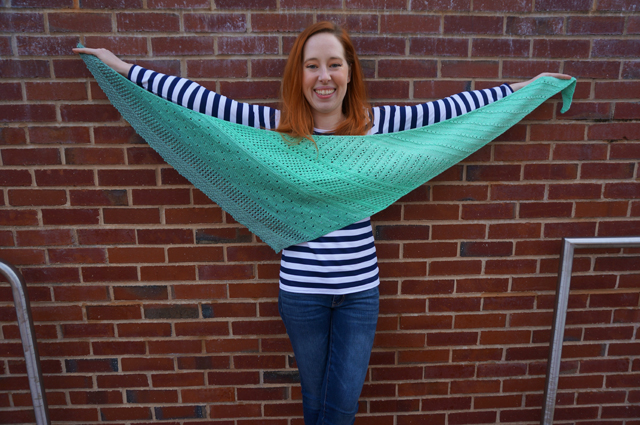
Take this shawl, for instance. The pattern is the Local Yarn Shawl from designer Casapinka. It was designed and released to commemorate the inaugural Local Yarn Store Day on April 21, 2018. I don’t particularly follow new pattern releases in the knitting world, and I’m not usually tempted by flash sales, special events, and the like. I will occasionally download free patterns when they’re offered, but I don’t go out of my way for them.

But as it happened, my own local yarn store Warm ‘n Fuzzy was one of the participating vendors. It doesn’t take much to bring me into the store, and the promise of a small discount on yarn purchased to create the pattern was as good a reason as any to at least drop by and see what was new.

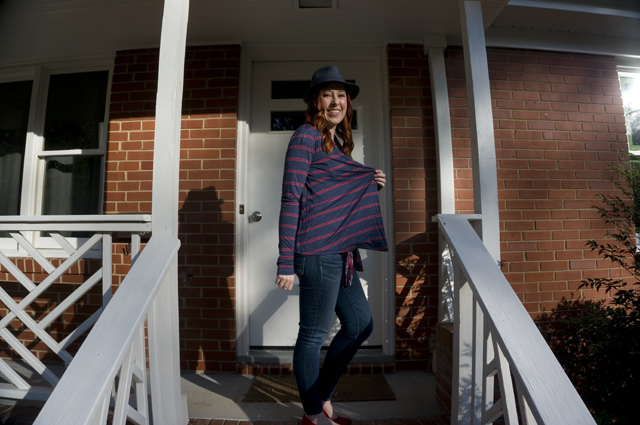
While I liked the look of both of the sample shawls shown in the pattern and knew that Warm ‘n Fuzzy would have a delectable array of speckled and tonal yarns to suit the larger design, I kept coming back to the blue gradient. It wasn’t really a mystery to me why: every time I went into the store, I’d eye the Ombré Gradients by Freia Handpaints. I’d seen them used to great effect in yoked sweaters, but as I wasn’t ready to tackle large-scale stranded colorwork yet, and the yarns are on the pricier side anyway, I’d always sigh admiringly over them and then move on to something more “practical.”

On LYS Day, there was a great bustle of people in the tiny store, and energy was high. Despite the crowd, I shopped as was my wont: I went immediately to the Freia, which I loved and which absolutely met my needs; then I proceeded to examine, heft, and pet every other fingering-weight yarn on display, because there might be something more suitable, something better than the thing I wanted most; then I drifted back to the Freia collection to dither a little longer, as though there were a real choice to be made.

Eventually Justin took me by the shoulders and said, more or less, “We’ve taken up space long enough; either we buy this yarn or we leave.” (He has a real knack for getting to the point.)

If it had been a sleepy Sunday afternoon, if we had been the only people in the shop, if I hadn’t gotten a cheerful email saying “come out and support your local business!” I might have put the yarn down and walked away. But I wanted the Freia, and I wanted to show Warm ‘n Fuzzy the love they deserve on a day dedicated to everything great about small (and often woman-owned) craft businesses.

Did I spend more money than I intended, more than I’ve ever spent on a shawl? Yes I did. Was I happy with my purchase? Also yes, very much so.

Of course, since I had something else on the needles at the time (though I’ll be blowed if I have any idea what), I didn’t immediately dive into knitting. In fact, I very nearly forgot I had either the pattern or the yarn until I was casting about for something to knit five months later. I had been seeing more sampler-like shawls popping up on Ravelry—ones that used bands of different lace or textural stitches—and got a hankering to knit one.

After scrolling through several pages of designs and finding nothing that particularly scratched the itch I had, Justin very sagely interrupted to ask whether I might have something in my Favorites already, and to suggest that I ought to work on knitting the things I already liked instead of searching high and low for new things to fall in love with. More positive peer pressure at work.

Once I rediscovered the pattern and the yarn, everything was smooth sailing. In the ongoing cosmic irony of my knitting life, I needed two balls of the Freia to have enough yarn for the small shawl which meant—you guessed it!—alternating skeins as though for stripes. Two balls was a manageable level of hassle, however, and the end result was well worth the minor inconvenience. You can find the (few) technical details on my Ravelry project page.

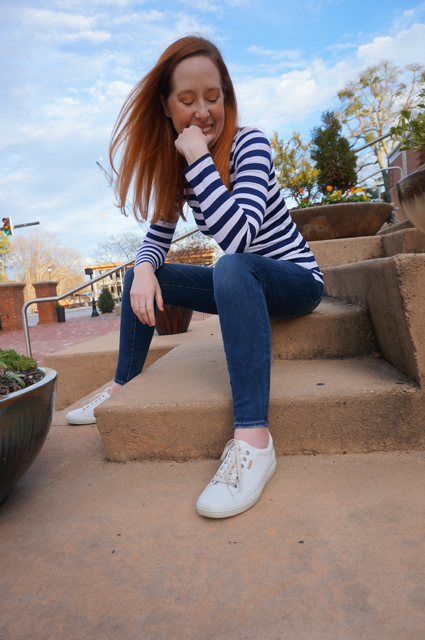
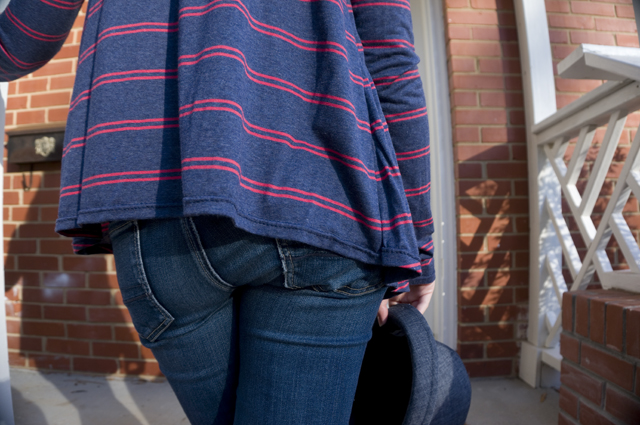
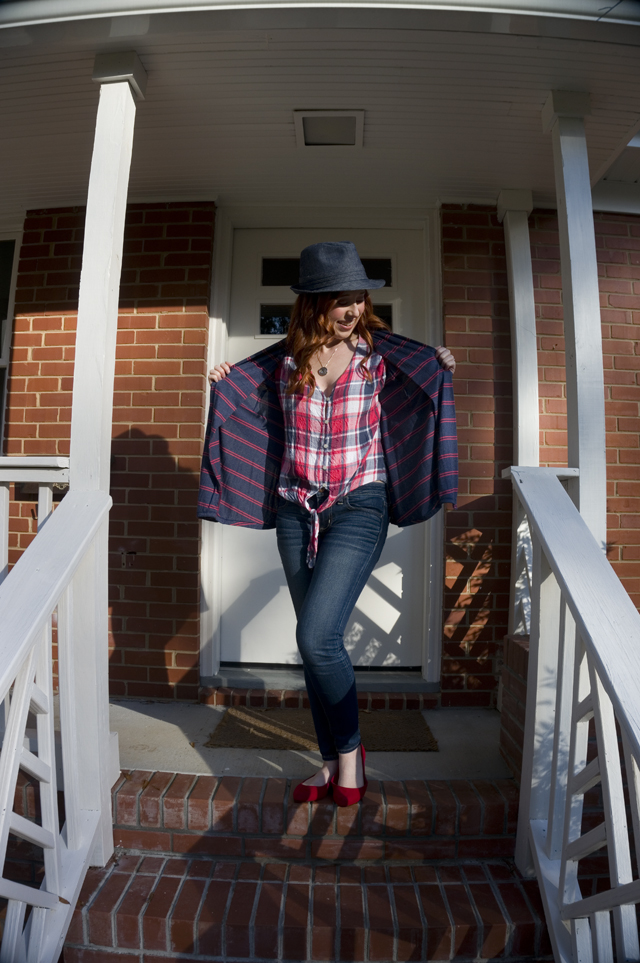
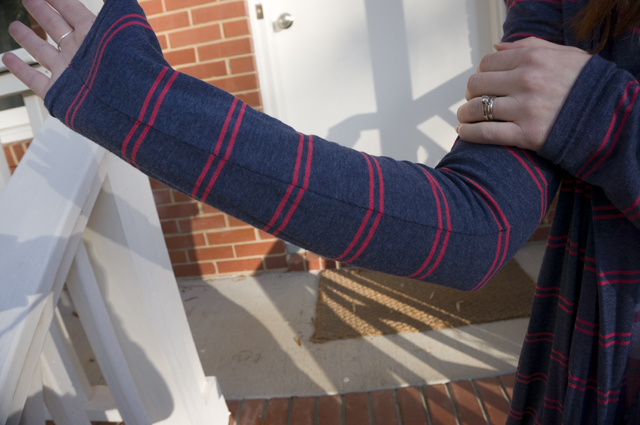
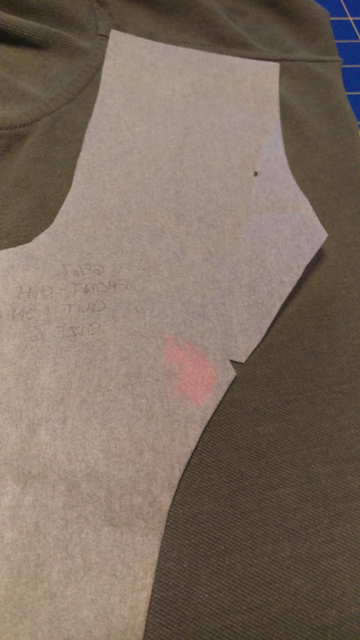
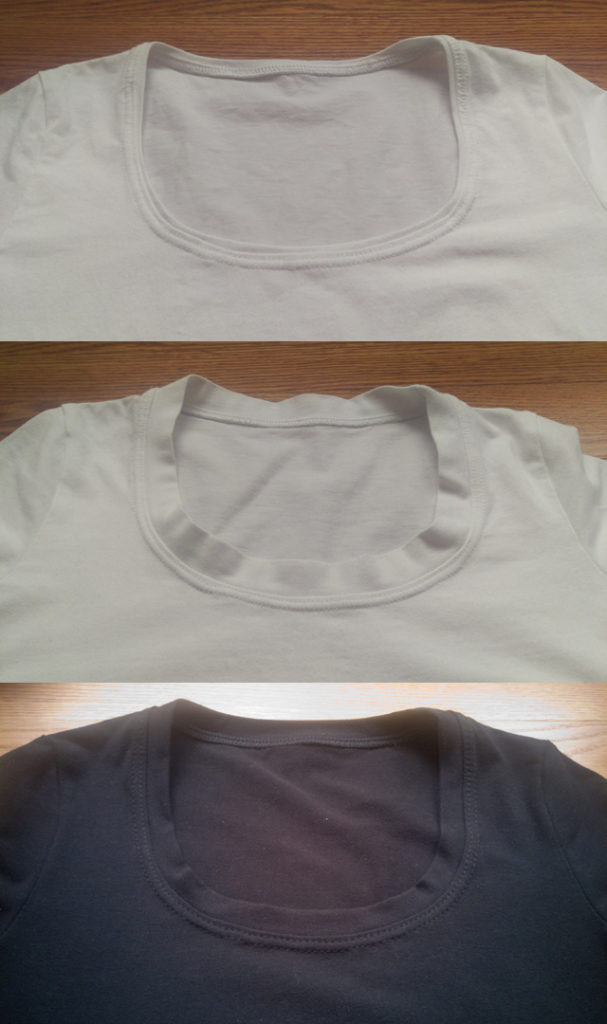
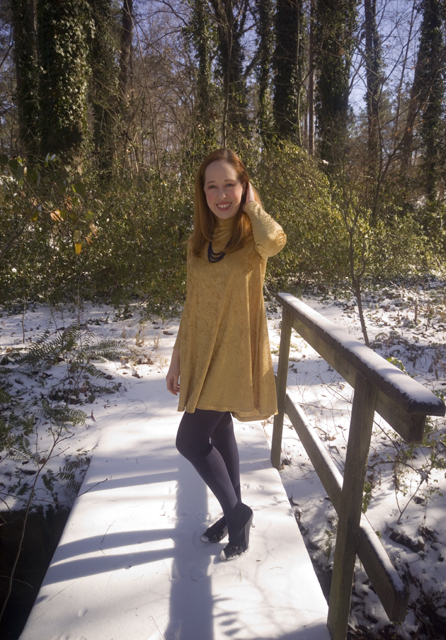
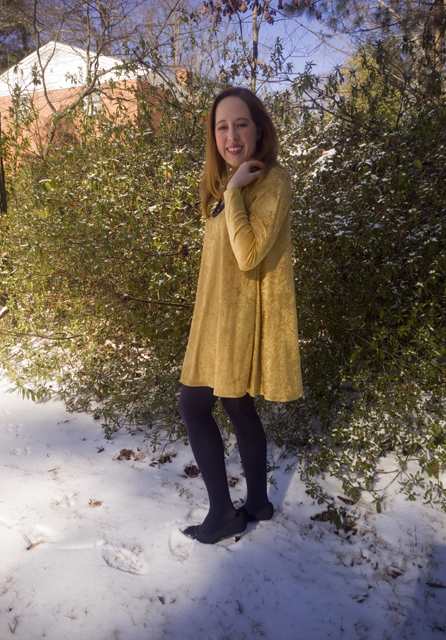
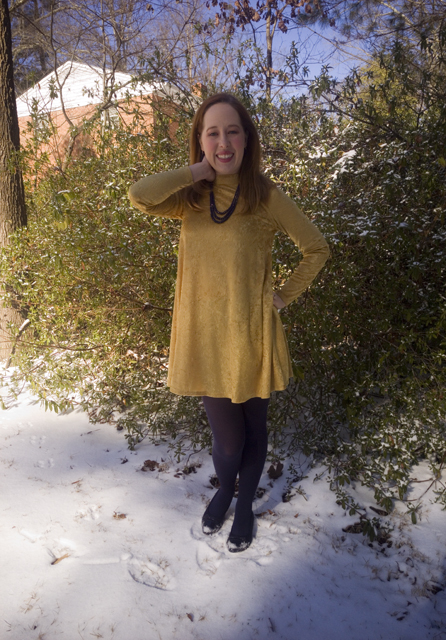
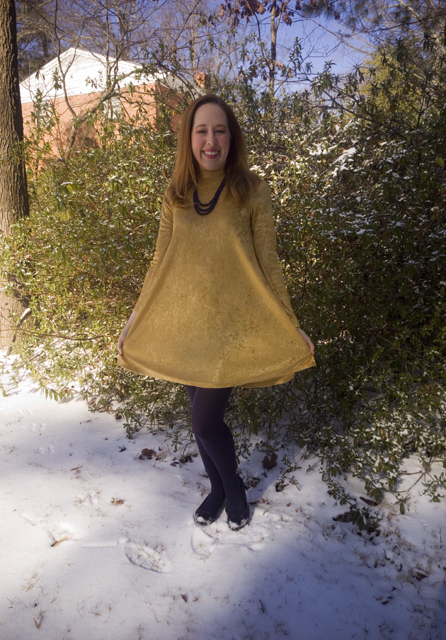
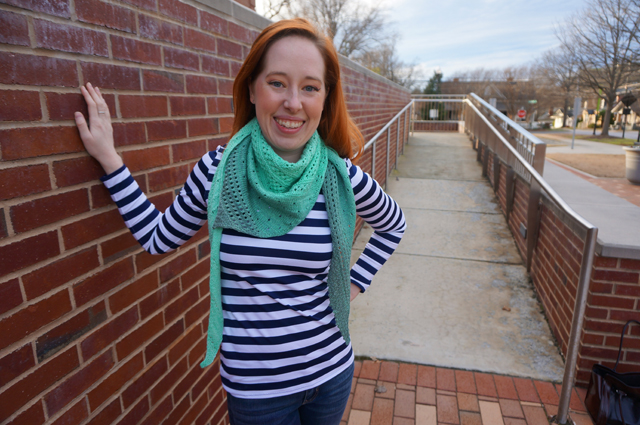
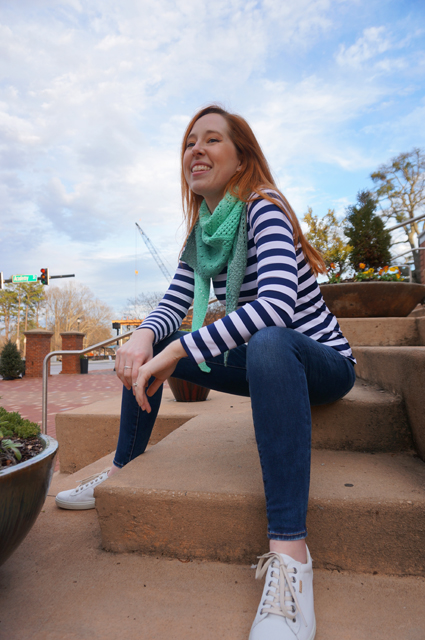
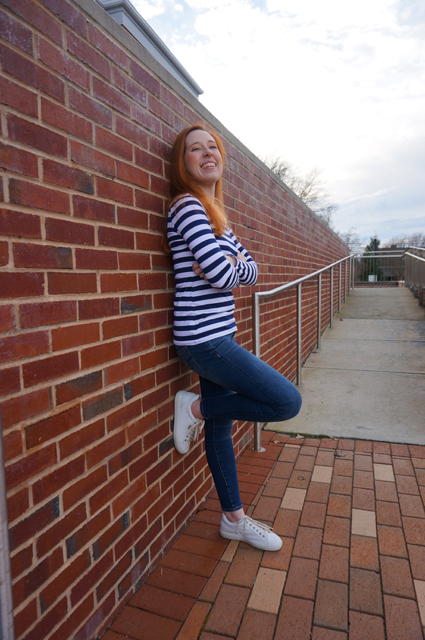
On a less thrilling, more workaday note, the top I’m wearing in these photos is also handmade. The pattern is the SBCC Tonic 2, the (free) long-sleeve version of their popular t-shirt (also free). The fabric is a mystery blend with a high spandex content; it (appropriately) came from Spandex World in the New York City Garment District. I picked up this fabric and another navy-and-white stripe there, along with a small collection of other fabrics from other stores, during a day-long fabric shop tour we planned as part of our 9th anniversary vacation.

Caitlyn is smiling as she stands with her thumbs hooked through her belt loops and shows off the long-sleeve striped t-shirt she made

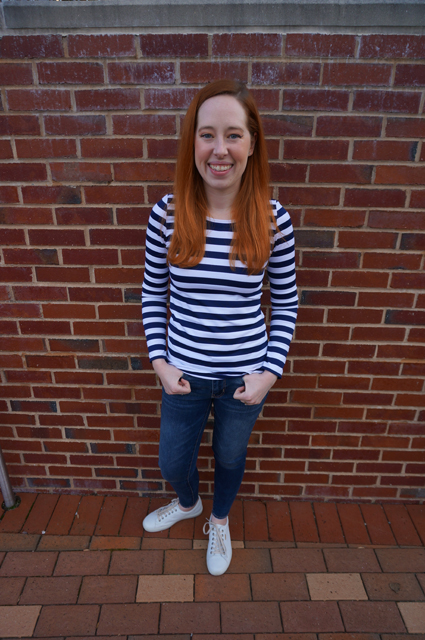
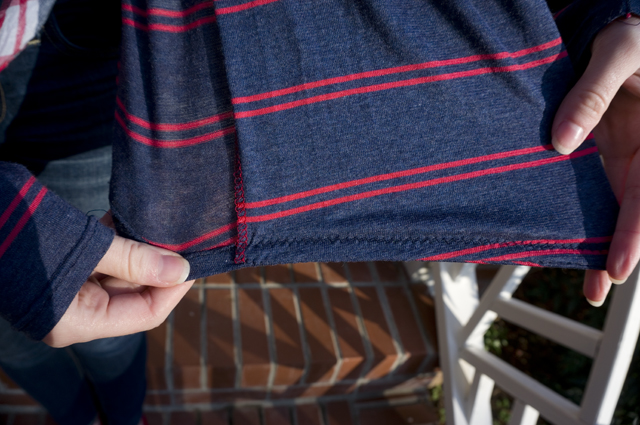
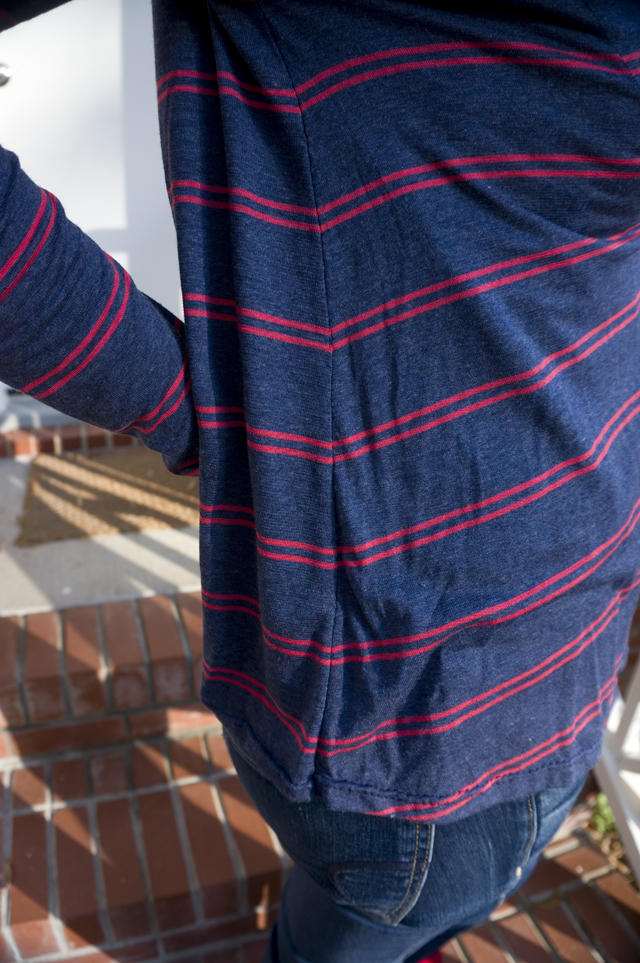
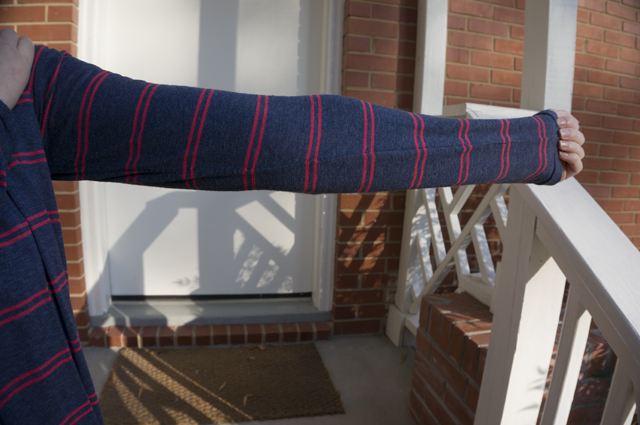
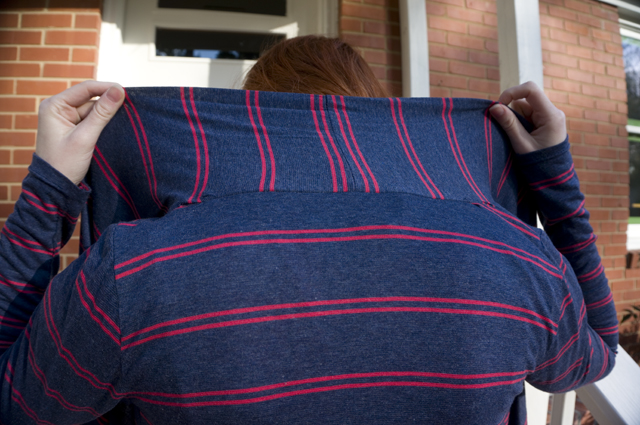
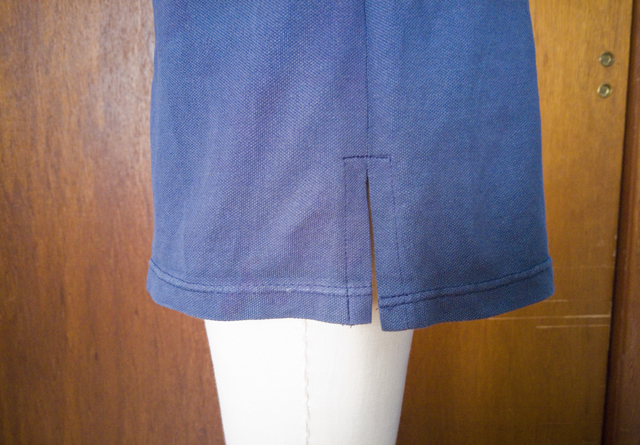
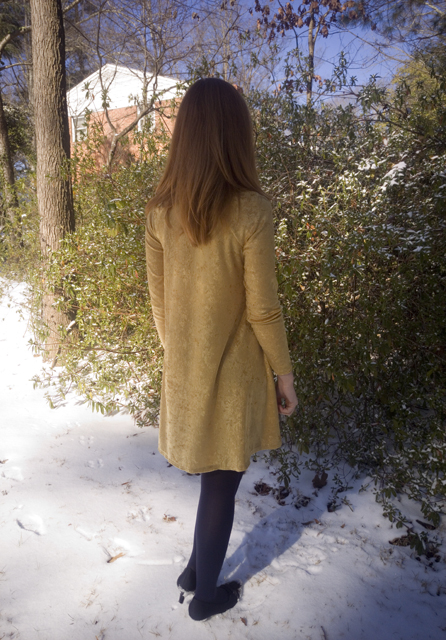
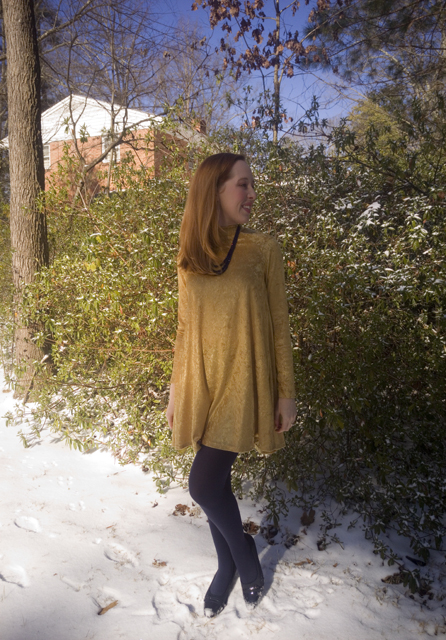
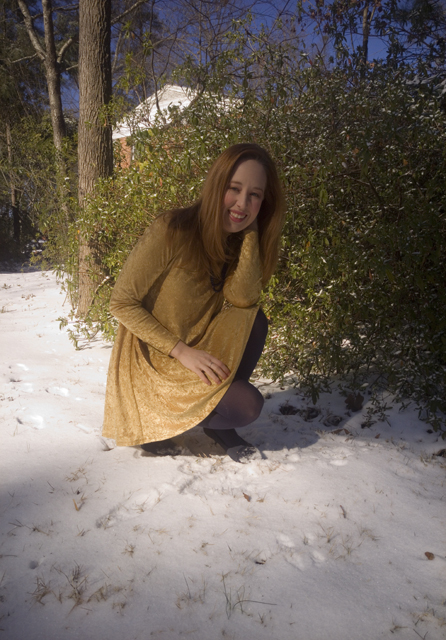
Key differences between the Tonic 2 and the original Tonic tee are the higher crew neckline, longer length, and less-slim-fitting waist and hip. I’ve found I prefer the higher neck, and the longer length meant I didn’t need to add any length like I did to my Tonic tees—in fact, I could probably stand to shave off an inch, to perfectly nail the proportion I like. While think the slightly looser waist is probably a good call in such a thin, clinging knit, I don’t love the relaxed hip: it lacks the negative ease to anchor the top the way I feel it should. Fortunately, it should be easy enough to go back and serge a little excess from the side seams, tapering to nothing at the waist.

Caitlyn is standing with her back and one foot against a brick wall, arms crossed but smiling as she shows off the long-sleeve striped t-shirt she made

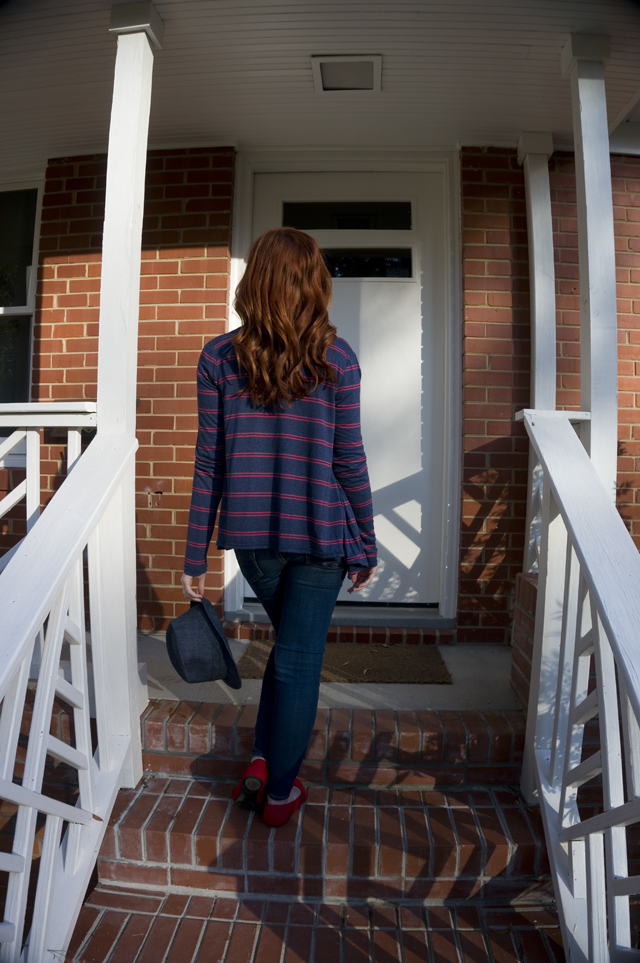
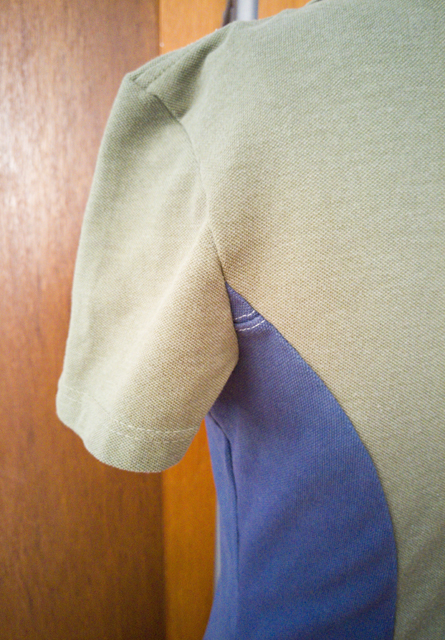
The armhole on the Tonic 2 is ever so slightly more scooped than the Tonic. The sleeves feel a little weird to me, like the seam isn’t quite in the right place. I can’t tell if it’s because I might have accidentally set the sleeves in backwards, because the bicep is a little too snug, or because I’m being a princess who wants perfection in handmade clothes. Whatever it is, it isn’t bad enough to stop me from wearing it.

Caitlyn is wearing a long-sleeve striped t-shirt she made, sitting on the steps of a public building, and laughing at something off-camera

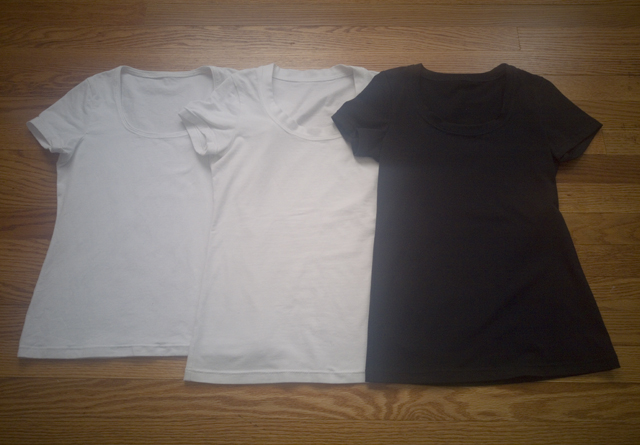
I also made a short sleeve version of this top, using all of the Tonic 2 pieces but chopping off the sleeves at the Tonic length. I didn’t bother with pictures, though, because yawn. But I’ve worn both tops a ton in both business casual and casual outfits!

I even eked out a pair of underwear using Zoe’s free Pants/Undies/Knickers pattern, but they’re too small. I can’t decide whether I want to size up or find another pattern; I have a couple in my stash I could try before diving into a search online.

Caitlyn is wearing a long-sleeve striped t-shirt she made, sitting on the steps of a public building, and smiling with her eyes closed as though thinking of a secret

An Open-Front Cardigan for Transitional Weather

Caitlyn stands on her front porch smiling and wearing a denim hat, open-front cardigan, tie-front button-up shirt, jeans, and pointed-toe flats

Caitlyn is turned sideways and holding out one side of her open-front cardigan to show its drape

Caitlyn is facing away from the camera to show off the back of her open-front cardigan

A close-up shot of the twin-needle topstitching on the back hem of the McCall's 6084 open-front cardigan

When I picked up this lightweight sweaterknit during Hancock’s going-out-of-business sale, I imagined it as a relaxed-fit pullover, possibly with dropped shoulders. I happened to have just such a sweater in my closet already, and I’d noticed a couple of small holes where it had snagged on something, so I thought it might be a good idea to plan for its replacement.

The more I thought about it, though, the more I felt this fabric was going to land in that awkward territory of too light to be warm when it’s chilly outside, too thin and see-through to be worn as a t-shirt/shell, and too hot to layer over a camisole in the summer. In light of that, a cardigan to throw on indoors when the AC is too strong seemed like a more practical choice than a pullover. Plus, I have lightweight cover ups in several neutral colors—black, brown, grey, and oatmeal—but few colorful ones and nothing with a pattern. Time to expand those sweater horizons!

Picking a pattern was less a comedy of errors and more a two-part skit of failing to pay attention. See, I already had McCall’s 6084 in my stash, so I was prepared to dive right into tracing and cutting. Except that when I’d bought the pattern during some hazy late-night discount-pattern spree of the past, I’d grabbed the L/XL/XXL envelope instead of the XS/S/M I needed.

Fortunately, a quick trot to JoAnn solved that problem, but then I immediately encountered another: McCall’s 6084’s waterfall fronts are just turned under and hemmed, meaning the wrong side would be visible in the finished garment. On a solid fabric that’s probably not a huge deal, but with stripes I expected it would be a lot more obvious. I knew I’d feel compelled to try to make the stripes match at the boundary between right- and wrong-side, and I knew that caring that much would drive me mad.

Instead, I did the “less mad” thing (yes, those are sarcasm quotes) and decided to hack the pattern in arguably the weirdest way possible. By way of explanation, let me first provide the following context:

Three of the four neutral-colored cover ups I mentioned before are from Express. (You’re probably starting to notice a trend here.) Those workhouse cardigans have wide front panels that can overlap in the front but, by dint of the drape of the fabric, the shape of female anatomy, and the lack of closures, tend to hang open. The panels are attached along shoulder princess seams, and they’re level with the rest of the cardigan at the hem (rather than angled like you see on waterfall-front cardigans). Most importantly, the panels are wide strips of knitting that have been folded in half before being attached, so that not only is the edge of the front opening finished, but also if you open the cardigan you’re still seeing the right side of the fabric all the way to the princess seam where it’s attached. Basically, the panels act like bands, but very, very wide ones. I love this finish, because no matter how the fronts flop around, you never see the wrong side of the fabric.

I decided this doubled-front-panel approach was the way I wanted to go on my cardigan. There were, however, two major challenges to this. The first was that McCall’s 6084 doesn’t have princess seams, just a shoulder dart that subtly shapes the front/neckline/collar. I considered cutting through this dart to make a princess seam, but then ran into the second issue, which is I only had two yards of fabric. I definitely didn’t have enough fabric to double the width of the front piece between the opening and the shoulder dart, nor did I have enough to cut narrower facings to attach to the front edge.

My solution? Cut the pattern as drafted, but then fold the front edge to the inside until it aligns with an invisible princess seam drawn through the shoulder dart.

I had to adapt the order of operations in order to get finished edges where and when I needed them, but apart from the mental gymnastics required this caused no major issues. The grown-on front facings, for lack of a better term, are held in place at the neckline (the fronts extend to form the collar) and at the bottom hem where they’re tacked down by the twin-needle topstitching; they hang free between shoulder and hem:

Caitlyn holds open the fronts of her cardigan to show how the grown-on facings hang on the inside

A close-up shot of the inside hem of the McCall's 6084 open-front cardigan, showing how the topstitching holds the grown-on facing in place

This works…okay. Because there’s no seam to provide structure, the fronts tend to sag and bag toward the bottom. It’s not super noticeable in these pictures, and no one is likely to notice when you’re moving around, but standing still, on a hanger, or lying flat, it’s pretty obvious. Luckily, since I’m not constantly positioned in front of a mirror or doing artsy flat-lays, the shortcomings of my hacky construction aren’t annoying enough to keep me from wearing this—once it’s on, I only notice if I think about it.

Construction-wise, I basted everything on my sewing machine and then ran everything through my serger. I spent entirely too much time matching the stripes during cutting AND sewing, but let me tell you, it paid off. Look at this side seam!

A close-up shot showing meticulous stripe matching at the side seam of the McCall's 6084 open-front cardigan

And this sleeve!

A close-up shot showing the stripe matching on the right sleeve of the McCall's 6084 open-front cardigan

And the other sleeve too!

A close-up shot showing the stripe matching on the left sleeve of the McCall's 6084 open-front cardigan

There’s nothing particularly noteworthy about the collar, but here’s a picture anyway:

A close-up shot of the back neckline of the McCall's 6084 open-front cardigan, showing how the front extensions are seamed to make a deep shawl-like collar

I used up every inch of this fabric that I could, which is incredibly satisfying. Bringing more blue and an easy-to-coordinate pattern into my closet also ticked two important boxes for me. I finally feel like I’m transitioning from making projects to making and wearing clothes. It feels good.

Caitlyn sits on her front porch next to a denim hat, smiling and wearing an open-front cardigan, tie-front button-up shirt, jeans, and pointed-toe flats

Fast (Re)Fashion: Polo Shirts to Polo Dress

During the first quarter of 2017, Justin was let go from his office job and was put in a position where he needed to take temporary work for a time. Options were sparse, however, and he ended up in a more a physical job than he expected, one that had him on his feet all day handling things that were frequently sharp, greasy, or caustic. There wasn’t a strict dress code, so for the first couple of months he kept wearing his favorite t-shirts and polo shirts to work. His motive was understandable: faced with mindless tasks he didn’t enjoy in the sub-basement of a company that didn’t value him as an (expendable, temporary) employee, he clung to the one thing that made him feel like a person. Who can blame him?

Unfortunately, several of his shirts quickly sprouted holes, grease stains, and bleach marks. One of those shirts was a particularly nice polo from Ralph Lauren, in a flattering shade of green, that he’d received as a gift for Christmas.

The stain was too large and too prominent to cover up discreetly, but I was loath to throw away a good shirt that was otherwise in pretty decent condition. After eyeballing it several times and then trying it on (it was a men’s XL), I decided I could salvage it by turning it into a dress for me. I knew the dress had to have princess seams to avoid the stain, and I didn’t have anything in my pattern stash like that.

After flipping through both online and in-store pattern books, I settled on New Look 6567.

It’s designed for wovens, but it was the only pattern I could readily find that had the style lines I was looking for. I ignored the various neckline options and the back zipper, since I planned to preserve the original collar and placket and leave the dress a pull-on affair.

I cut the shirt apart at the side seams and removed the sleeves, but left the front and back attached at the shoulder and left the bottom hem intact. Based on my measurements and what I thought was an acceptable amount of ease, I traced a size 6, and then proceeded to shift the pattern pieces around on top of the shirt until the grainline was parallel with the center front and the slope of the shoulder on the pattern roughly aligned with that of the shirt. I had to dodge the bleach stain, and I also wanted to preserve the logo embroidery if possible—I liked the contrast of orange on green.

As soon as I started playing pattern-piece-Tetris, I realized there was a problem: although the shirt was plenty wide enough on me, I wasn’t able to fit the side front and side back pieces on the shirt and respect the grainline without losing a significant amount of length from the bottom. (I wish I had a photo showing this, but I forgot to take one.)

I briefly despaired, then raided Justin’s closet and dug out another polo shirt that was destined for the refashioning pile. This one was a different brand with a different cut, and it was white. The shape didn’t matter so much since I was cutting the pieces out of the middle, but I decided the white was too stark a contrast, so I over-dyed it navy using Rit liquid dye leftover from a Halloween costume project a few years ago. As with my other dyeing experiments, I used the stovetop method and it worked a treat.

With these cutting hurdles behind me, the dress sewed up quickly. I basted everything on my regular sewing machine and then sent it through the serger to seam and finish the edges. The logo just narrowly avoided being eaten by the seam.

Perhaps the only thing that would give away the secret of this dress’s origins are the teeny, tiny seams near the back underarm, which were the part of the shoulder seams on the white-shirt-turned-blue-shirt.

A split hem seemed a like a classic design choice. The back of the dress ended up several inches longer than the front, so I ended up cutting off the excess and re-hemming the back in coordinating thread for each panel.

Overall I like the way the dress turned out—it looks pretty much exactly like I envisioned it—but it’s just a little too snug and a little too short to feel comfortable walking around in. (These dress form shots are a bit deceiving, since it hasn’t been padded out to my measurements yet.) I can see that I overestimated how much the pique would stretch horizontally when choosing a size, and what felt long enough in a baggy cast-off is different from what feels long enough in a more figure-skimming silhouette. If I do a refashion like this again—I’m definitely interested in trying, I’d just need to thrift a couple more shirts—I’ll size up in both pattern and shirt so that I can get the fit I’m looking for.

Since I don’t know anyone smaller than me, this dress is headed to the thrift store, but at least that’s better than heading to a landfill, right?

Concept and Iteration

How did I arrive at a point in my life where I didn’t own a solid white or a solid black t-shirt? It’s certainly not because my wardrobe is dominated by prints—easily 90% of my clothes are solids. It’s also not because I eschew basics—I tend to buy staples like v-neck sweaters and button-up shirts in multiples, and I own few, if any, pieces I would consider “statements.” And yet here I was, lacking in the most basic of everyday garments (after underwear, of course).

The last few times I’ve tried to buy plain white and black tees, either short- or long-sleeved, I was deeply disappointed by the options available. I’m sure you’re all-too-familiar with the scene: racks of tissue-thin shirts that cling unflatteringly, bind up around the arms, and fall apart in three washes or fewer. No thanks.

I had plenty of white and black cotton/spandex blend in my stash, as well as a PDF copy of the free Tonic T-Shirt pattern from SBCC Patterns. I’d attempted the pattern before and wasn’t happy with the results, but I was determined to get it to work so that I’d have a well-fitting pattern at my disposal whenever I wanted/needed to whip up a new tee. (I also really want SBCC Patterns to work for me, because they’re specifically drafted for petites and I’d love to be able to support someone pitching my niche.)

As it turns out, my issue with the fit of the first attempt came down almost entirely to size selection. I’d sewn a small because I didn’t want the shirt to be too snug in the waist or hips, but that meant the finished bust was 1″ larger than my actual bust. Also, I must have taken my waist measurement on a day when I was bloated or something, because I’ve since re-measured at a slightly smaller size. These measurement issues, combined with a fabric that wants to mold rather than drape, made for an ill-fitting shirt that went straight into the recycling heap.

This time around, I cut out an extra-small (in white) in order to get negative ease at the bust and was much happier. To concentrate on neat, even sewing with no puckers or wavy seams, I basted everything with a zig-zag stitch on my sewing machine and then went back over everything with my serger. It takes twice as long, but it’s the only way for me to get a good finish. Maybe one day I’ll be able to zip everything through the serger without putting holes through the middle of the fabric, but today’s not that day, and tomorrow’s not looking good either.

I prefer to install my knit bands in the round rather than in the flat because I feel like I get a cleaner finish that way, and I had to cut off 1″ of the band in order to have a loop that was smaller than the neck opening. (I also prefer to sew my seams and then turn up and topstitch my hems for the same reason. So, I basically ignored the instructions and used the alternative method for every step. It worked out fine.)

With the proportions sorted out, I noticed two things: the hem has a tendency to ride up, most likely due to the amount of negative ease through the body, and the neckband was difficult to serge and topstitch down evenly due to its narrowness.

I immediately cut out another shirt (also in white), but lengthened the bottom hem straight down by 1.5″ and doubled the height of the neckband. I chose to add length at the bottom rather than at the lengthen/shorten line because the narrowest part of the shirt does seem to be hitting the narrowest part of my waist. This worked exactly as I planned, but for someone long-waisted, the lengthen/shorten line is the way to go.

I like the double-height neckband—it somehow has a more casual feel—but even with the previous alteration of shortening it by 1″ it was a little too long, and even after pressing it’s noticeably wavy. It’s no worse than you’d find in some ready-to-wear, but it’s something I wanted to fix on future versions.

With that in mind, I cut out a third and fourth shirt, both in black. For this iteration, I cut an XXS neckband instead of an XS and reduced the height of the neckband to 2 1/8″. This new neckband is now taller than the original but shorter than the doubled version, and it just might be perfect. I could probably shave a tiny bit more of the length off to get the band to lay completely flat, but I’m not sweating it.

At this point, I also lengthened my topstitch from 2.5 mm to 3.5 mm, which made the stitches a little more visible without being sloppy.

Below are the three version to give you an idea of what the differences look like in context. Black and white do not like to be photographed together like this, so the exposure/contrast is absolutely awful, but I hope it gets the point across.

Here’s a look at the necklines up close, so you can see the differences in neckband height:

One last thing I’d like to mention is that Steam-a-Seam 2 is the not the same as Dritz Wash Away™ Wonder Tape. At some point I had rolls of both in my notions collection, but I must have used up the latter on a previous project. I grabbed the Steam-a-Seam 2 thinking that it was designed for the same purpose and painstakingly applied it to the sleeve hems and bottom hem of my first t-shirt, only to realize after heat-setting it that it’s much stiffer than Wonder Tape. It seems to have softened a bit after a couple of washes, but I definitely wouldn’t use it again for stabilizing a knit hem while sewing. Steam-a-Seam 2 Lite might work for that purpose (I haven’t tried it myself), but I think I’ll stick with Wonder Tape.

I’m so glad to have these shirts in my closet. They aren’t glamorous, but they’re comfortable, and it’s nice to feel like even on an ordinary day I have something handmade to wear.

FO: Christmas Party Dress

In an effort to live up to the name I’ve chosen for this blog, I’m finally bringing out something pretty to share! This is my last finished project from 2016, photographed after the first (and very likely only) snow of the winter. Although the temperatures were hovering around freezing, the fresh powder was too pretty to pass up. And since we’ve had almost exclusively damp, grey days since, it was worth enduring 15 shivering minutes to capture these photos in a rare moment of natural light.

Let’s rewind to the beginning of December, when my company holds a Christmas party for all of the staff. They rent a small ballroom at the local university and, as our office is decidedly business casual throughout the rest of the year, many people take it as an opportunity to dress up. Last year I played it easy and safe and wore a dress that I had purchased last-minute to wear to a November wedding, but this year I really wanted to express myself by making my own dress.

I had it in my head that I wanted a swingy, buffet-friendly silhouette in a festive gold. For the pattern I picked New Look 6469 View A. My original plan for the fabric was something more champagne-colored and sparkly that I had seen while browsing JoAnn’s website, but sadly, my local store barely had enough on the bolt to make a placemat, and I’m not sure it would have been weighty enough for this look anyway—too much cling and not enough drape, you know?

I was in a bind, however, because I was shopping a week before the party and didn’t have time to look elsewhere or order anything online. Like Camille, I settled for a crushed velvet instead, and also like Camille, I harbored serious doubts about the success of this project. Imagine me standing in the aisles of JoAnn, frantically Googling “crushed velvet dress” and trying to find examples that did NOT trigger flashbacks to teen movies from the 90s. (My Date with the President’s Daughter, anyone?) I took a gamble and decided that if the project was a total failure, I still had the dress I’d worn the year before, as well as a couple of older dresses hanging in my closet that would work in a pinch.

Armed with pattern, fabric, and the impetus of a swiftly-approaching deadline, the entire thing came together over five carefully scheduled nights:

  1. Press the tissue and roughly cut out the pattern pieces
  2. Trace off the pattern and make adjustments
  3. Cut fabric
  4. Sew together body, sleeves, and collar
  5. Hem (and re-sew the collar, which was unplanned)

I cut a size 8 based on the finished bust measurement. The only adjustment I made to the flat pattern was to omit the back zipper and cut the back as one piece, since the fabric is a moderately stretchy knit. I basted everything together on my sewing machine using a zigzag stitch, then serged everything with a light tan thread that blends nicely with the underside of the fabric. I’d like to reach a point where I can assemble + finish knit garments in one pass on the serger, but I don’t have a good feel for it yet, so I’ve settled for doing construction in two steps to try to ensure the seams stay lined up properly.

After sewing everything up, I realized that the collar is drafted quite high and snug; I could barely pull the dress over my head and felt like I was being strangled once I did. I forewent any serious modifications to the neckline—because it would have no doubt involved cutting a new collar, which I didn’t have time for—and settled instead on serging around the neckline a second time, cutting off the previously serged edge. This had the effect shortening the height of the collar and widening the opening all the way around, which loosened the stranglehold somewhat. It’s still not the most comfortable thing in the world, but I was able to tolerate it for the few hours I was at the party.

I like that the sleeves have darts to help the shoulders lie smoothly, but I think the armhole is cut a bit too deep for me, or else the raglan seams aren’t quite the right shape for my torso, because I feel like the dress hikes up too much when I lift my arms up or forward. It’s certainly not enough to be indecent, but it’s something I’d want to tweak if I use this pattern again.

The sleeves are also annoyingly just too short, more of a bracelet length than a true full-length sleeve. It’s possible they only seem that way because of the aforementioned armhole depth and/or raglan shaping issues, but it’s worth considering, especially since I’m only 5’2″ and never have a problem with things being short.

The sleeve and dress hems are serged, folded under, and top-stitched down using a light golden yellow thread. Hand-stitching the hems probably would have had a nicer, subtler effect, but I didn’t leave myself enough time for that, and I don’t think the overall look is spoilt because of it.

Despite my fears, the dress garnered nothing but compliments all night, and it was plenty comfy for mingling, munching, and absolutely crushing at Texas Hold’Em. It’s also gained me a bit of a reputation around the office as someone who makes things, something I hope to cultivate with future garments more suited to day-to-day wear. With any luck, I’ll be able to coax a few sewists or would-be sewists out of hiding. 😉