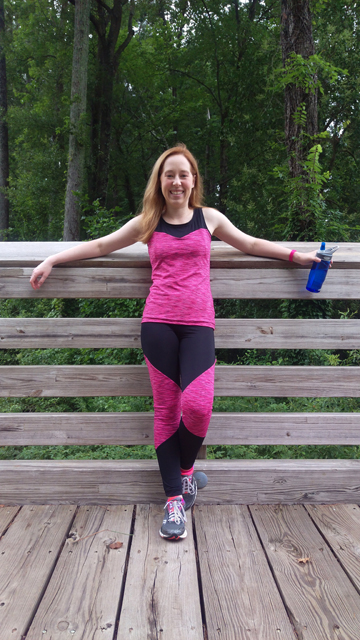
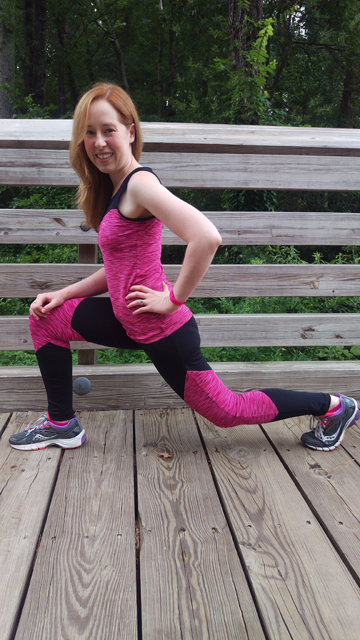
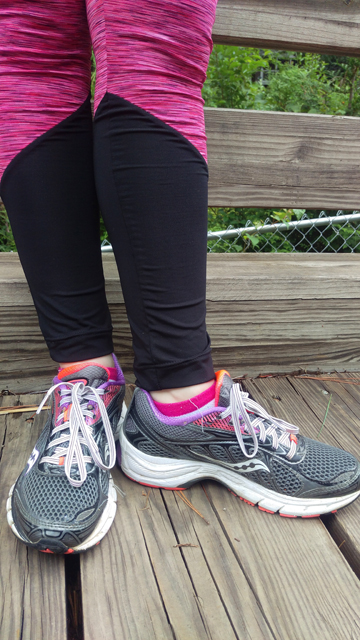
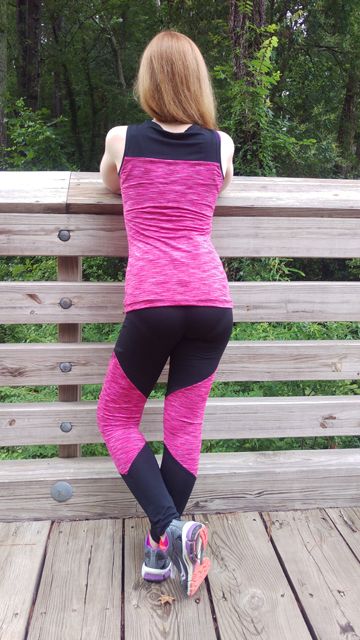
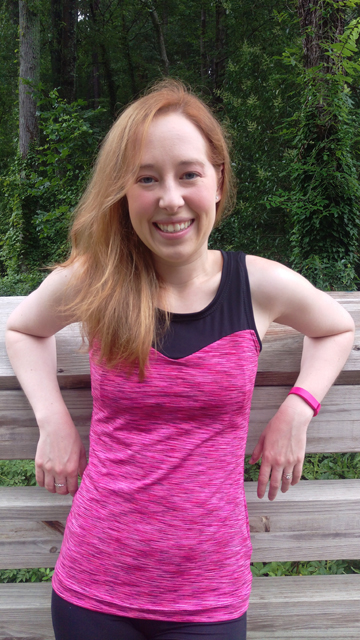
At some point around the end of June or the beginning of July—that hazy time before the flood—I completed a second set of gym clothes using the same patterns as my first set (Top: New Look 6285 View C; Leggings: McCall’s 7261 View D). I had expected the first attempt to be something of a wearable muslin, and when it indeed turned out to be quite wearable, I had high hopes that with the second attempt I would skillfully incorporate all of those lessons learned, resulting in a nigh-on-perfect fit. Instead, I managed to create new issues while fixing the original ones, so that take two is more of a different fit than a better one.
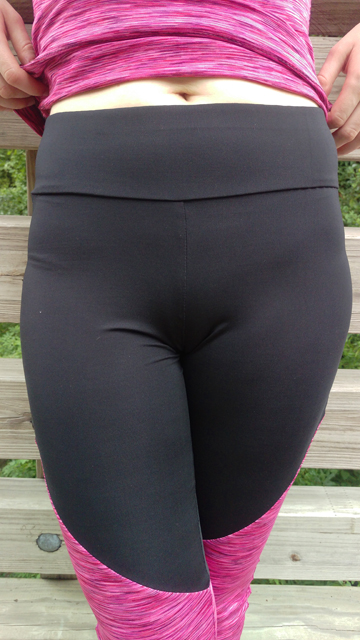
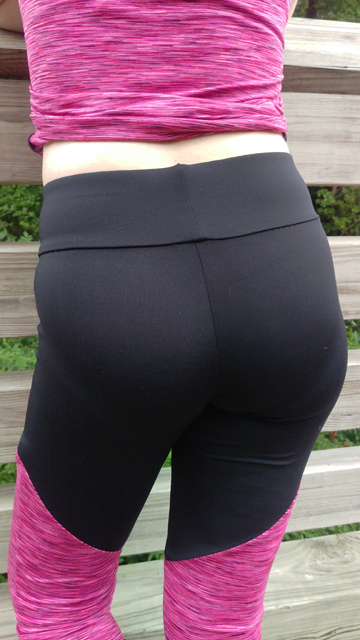
The first thing I set out to fix was the tightness of the pants. While I like my leggings to fit closely, there was some straining at the seams, especially when I was doing leg presses. No popped stitches yet, but better safe than sorry, right? So instead of using the pattern pieces I had traced off previously, where I had shaved off ¼” all the way around so that I could serge with a 3/8” seam allowance on the original stitching line, I traced off a fresh set of pattern pieces along the original size lines but serged with the same 3/8” seam allowance, effectively increasing the leg, hip, and waist circumferences by 1”. (Lengths were also increased, which I figured would be beneficial, and could be shaved down easily enough if needed.) One inch ended up being a lot more than I needed, so I pinched out the excess and resewed the outseams, removing—can you believe this?—1/2” each from the front and back leg pieces, or a total of 1” for each leg. Somehow, this still resulted in an ever-so-slightly roomier fit, and now I can safely do lunges without fear of splitting a seam open.
The other major change I made to the pants was the waistband. My first pair had a wide band but no elastic, so the band tends to fold or roll down on itself when I bend or sit. To prevent this, instead of cutting one folded waistband, I cut two waistband pieces, each with an extra 3/8” seam allowance on the top edge, and sandwiched the elastic in the top seam.
In order to get the smoothest possible interior and exterior, my steps (to the best of my recall) looked something like this:
- Place waistband pieces right sides together.
- Lay ¾” elastic on top of the waistband pieces, aligning them along one long edge.
- With the elastic still on top, serge all three layers together. The waistband piece in direct contact with the elastic—the middle layer of the sandwich—will be the inner waistband; the other waistband piece will be the outer waistband.
- Turn the sandwich over so that the elastic is now on the bottom.
- Open the waistband pieces so that the right sides are visible.
- Understitch the inner waistband—the piece lying directly on top of the elastic, the middle layer of the sandwich—by using a narrow zigzag to sew the fabric to the elastic opposite the serged edge.
- With the inner and outer waistband pieces still opened up, fold the entire waistband in half to align the short edges—the center back seam—and serge.
- Wrap the outer waistband piece over the top of the serged edge of the elastic, placing the elastic in the middle of the sandwich and aligning the bottom edges of the inner and outer waistband pieces. (If you cut the waistband pieces the same size, they won’t actually align; you can either try to calculate how much longer one piece needs to be than the other and cut your original pieces accordingly, or do like I did and just trim the longer piece to match the shorter one during this step.)
- If the center back seam feels too pronounced, you can open the inner and outer waistband pieces back up, snip into the serged edge just above the elastic, and then fold the seam allowances in opposite directions before turning the waistband wrong sides together again.
- Attached the waistband to the top of the pants as you normally would.
The result is smooth waistband with a lot of more staying power.
Unfortunately, I’d completely clean-finished the waistband before attaching it and realizing that the pants were too big around. Since I didn’t want to completely disassemble the waistband to take out the extra width, I only went back as far as Step #7, cut off ½” from each short end, and re-serged. It saved time but meant that the bulk-reduction trick in Step #9 wasn’t feasible, and I can definitely feel the CB seam when I’m sitting with my back against a chair/weight machine. I had also clearly lost my motivation to line up my seams by the time I was attaching the waistband for the second time.
On the bright side, other seams match up a little better this time around.
Seriously, is there a trick to this? Even with pins and a walking foot, matching seam lines is like spinning a roulette wheel for me.
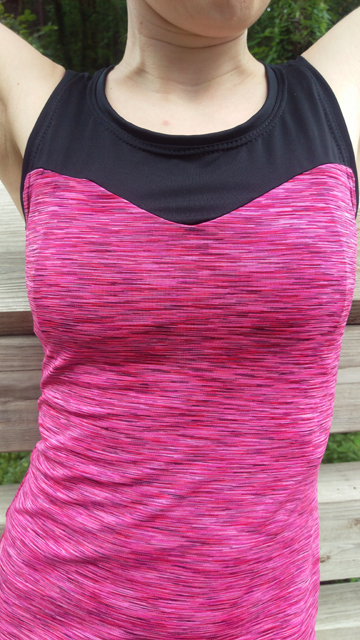
Anyway, on to the top! I’m ashamed to admit how long it took me to change the essentially straight seam to the sweetheart one you see below, and it’s entirely down to the fact that when I tried to join the original yoke and body pattern pieces into a single piece that I could modify, I completely missed that some parts of the pattern are marked with a 3/8” seam allowance and others are marked with a 5/8” seam allowance. There doesn’t appear to be any rhyme or reason to this, and I definitely sewed the first top with 3/8” seams throughout. Once I got that sorted, it was easy enough to draw in my desired seam shape, cut apart, and add new seam allowances.
I didn’t quite get a point at the bottom of the heart, but using a ton of pins, basting, and then serging slowly made for a pretty smooth curve that I’m rather proud of. Then I forgot to topstitch the yoke seam. Again.
I chose to take the entire top up at the shoulders by an inch based on the fit of the earlier incarnation, but I wish I hadn’t: the armholes were a bit low before, but they’re definitely too high now. Also, I’m pretty sure I’ve caused back neck gaping that wasn’t there before. Live and learn, I suppose. If ever there was someone prone to overfitting, it would be me.
All in all, it’s not the perfect fit I was hoping for, but I’ve increased my workout wardrobe by another 50%. Can’t complain about that!

