Back at the beginning of January, I wanted to sew up a two-yard cut of navy corduroy that I bought during Hancock Fabrics’ going out of business sale into a button-front skirt. Strangely reluctant to spend money on a suitable pattern, such as the Pauline Alice Rosarí, and apparently incapable of judging the value of my own time as well, I embarked on a daring adventure to hack Simplicity 1465, which is a pencil skirt with a facing instead of a waistband, front and back darts, an invisible zip in the back, and no lining, into a pegged, button-front skirt with a lining attached to integrated waistband-and-button-placket facings. Several evenings and weekends went toward making flat pattern adjustments and baste-fitting the pieces to get the styles lines I wanted and the correct dart sizes and hip curves.
Things were going swimmingly until I had to install the lining into the shell. Suddenly, things went from fitting well to being too small to close in the front by several inches. Unsure whether it was a drafting, cutting, or sewing mistake (or all three), and lacking the fabric to re-cut all of the pieces, I fell into a sewing funk. I’d wanted the finished skirt very badly, but even after several days of cooling off didn’t feel like I had the wherewithal to sort out the mess.
Wanting to get out of my rut, I cast about for an easy project that I could accomplish quickly with few or no adjustments to boost my confidence. Conveniently, Colette had launched the New Sorbetto, an update to their original free top pattern, and I had a remnant of cotton lawn from my Garden Party Dress lingering in my stash that I felt was destined for better things than just pocket bags.
Because Colette drafts for a C cup, I cut a size 4 and did a 2″ SBA, which I prefer to think of as a Sufficient Bust Adjustment rather than a Small Bust Adjustment. Tutorials for bust adjustments abound online, but I went ahead and used the one offered by Colette on the Sewalongs website.
Side note: Measuring as an A cup for this pattern made me laugh, because I’m currently in need of new bras and I’ve recently determined that I’m not a 34B, nor even a 32C, but probably a 30D. (In fact, if I were to follow A Bra That Fits’ Bra Size Calculator, I’m on the cusp of 26E/28DD.) This isn’t to suggest I think that Colette’s sizing is wrong, but rather to highlight one of the many instances where two clothing-based industries use the same terminology—cup size—but arrive at it using two different sets of measurements: Colette is interested in the difference between one’s high bust or upper torso measurement and one’s full bust measurement, whereas bra companies are interested in the difference between one’s full bust and one’s underbust measurement. Just a little reminder that it pays to understand how a clothing manufacturer or a pattern designer approaches measurements and sizing schemes if you want to nail your fit.

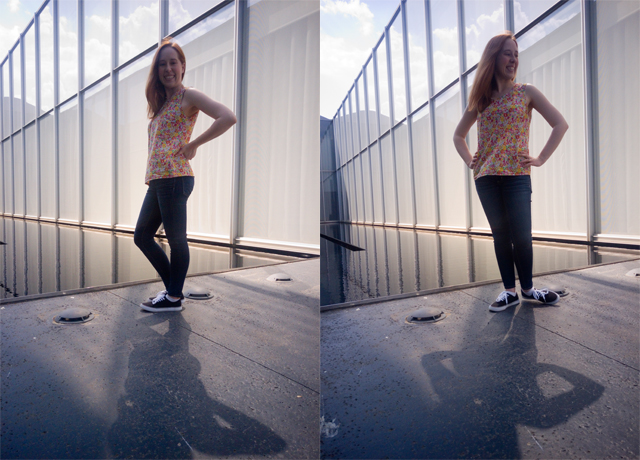
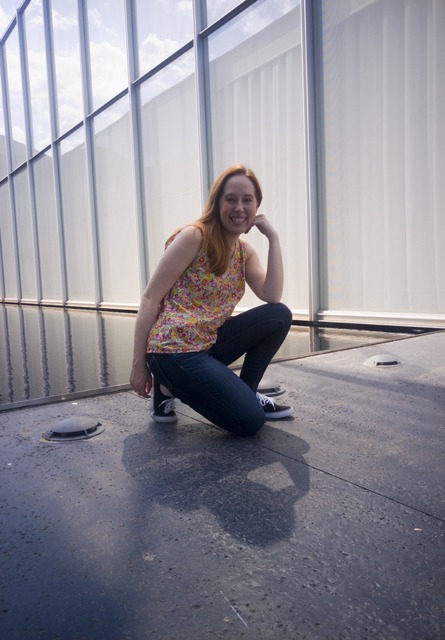
My remnant was L-shaped with narrow legs, so I had to sacrifice the center pleat in order to get the front and back pieces to fit. I did, however, have a square large enough to make continuous bias tape to bind the neckline and armholes. I like that continuous method of making bias tape, but struggle to make my bias tape a consistent width when using it, so instead of binding the edges as instructed I created bias facings on the outside of garment, like the ones on the Sewaholic Dunbar, and then edgestitched them down as instructed using a dark gold all-purpose thread that matches the darker yellow flowers in the top. The bottom has a narrow hem, folded under twice and topstitched down with the same dark gold thread.
The fit is a little more boxy than I’d like, but about what one would expect from a pull-on woven top in a lightly structured fabric. I’d really like to take a crack at this in a drapier fabric like rayon challis or even a lightweight jersey; I have a few sleeveless Portofino shirts from Express that I live in during the sweltering summer months, and I’d love nothing more than to fill my closet with a pared-down version of them using this pattern.
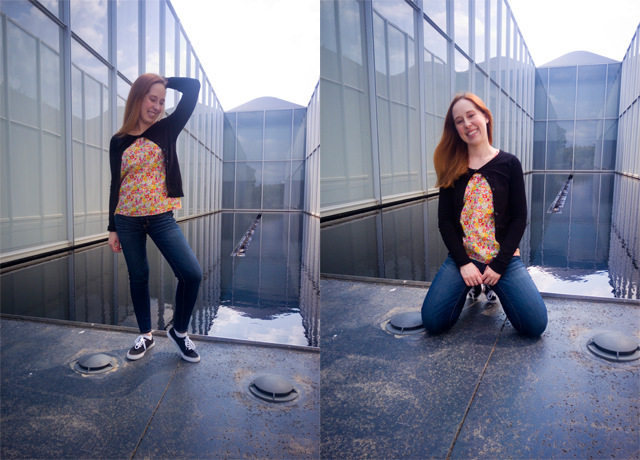
You can’t tell here, but the fabric is slightly sheer, and the armholes are a tad low, so I’m wearing it over a white camisole. That’s how I plan to wear it to the office, but I have no doubt that on the weekends when the temperatures climb I’ll ditch the cami. In future less-sheer versions I’ll probably shave a little off the top of the straps in order to raise the armholes and bust darts slightly to avoid the need for a cami entirely.
I know the Sorbetto is old news in the sewing world, but for anyone who, like me, didn’t sew it up the first time around, I offer up this warning about the new pattern: the instruction file is really, really long, coming in at 36 pages. While I have no doubt that novices or less confident stitchers might find things like the detailed cutting layouts useful, the sheer volume here is a bit overwhelming, and it’s also a bit of a nuisance to get to key pieces of information (size charts are buried on pages 11-12, and the actual sewing instructions don’t start until page 26). Once you’ve sewn it once it would be easy enough to dispense with the instructions entirely, but if you need to quickly check for confirmation of a seam allowance or what have you, CTRL F is your friend.
Overall, I accomplished what I set out to do: I used a pattern and fabric I had on hand, made minimal adjustments, finished in a few leisurely evenings, and ended up with a top that I can wear throughout the warmer months. I’m feeling refreshed and ready to tackle more sewing projects. Hurray!


