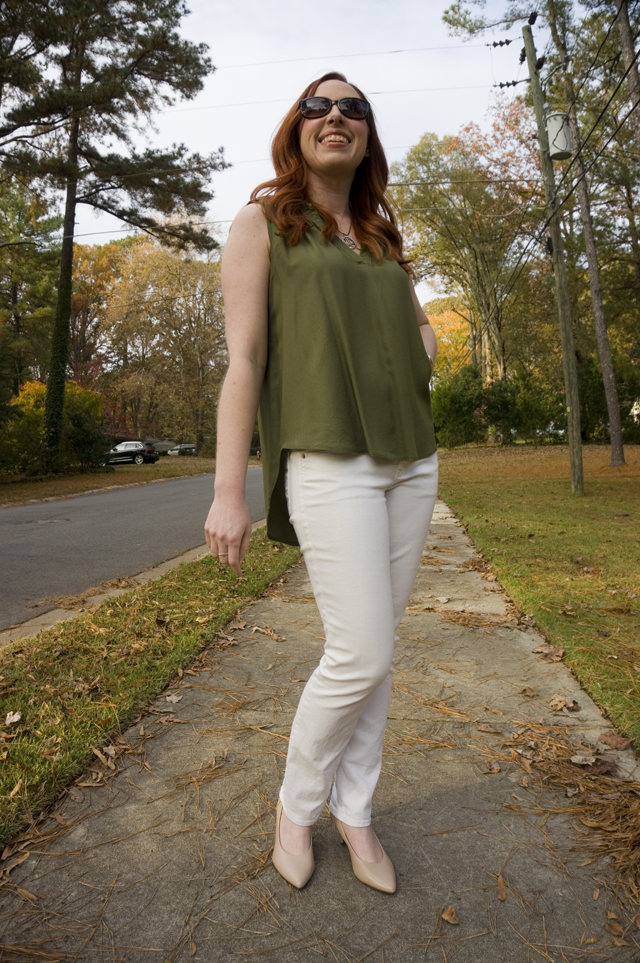
Now this is the kind of summer top I dream of. The fabric is a beautifully smooth, soft, and drapey mystery material that my mom (hi Mom!) gave me when she was clearing out her sewing and craft supplies. I’m not sure what she originally bought it for; I can’t recall anything she’s made out of it. The smooth hand and fluid drape remind me of rayon challis, although Allie’s Fabric Files says that wrinkles will fall out of rayon challis within a few minutes of wear, and that’s definitely NOT the case with this material. It loves a good steamy press, but also seems to wrinkle from my body heat alone. Perhaps it’s linen or a linen blend?
To keep the fabric from slithering away from me during cutting and sewing, I filled a dollar store spray bottle with homemade spray starch (made by boiling cornstarch in water) and applied it liberally while pressing. It made a huge difference in how the fabric handled: it remained crisp and even a little grippy throughout the sewing process.
The pattern is a heavily altered McCall’s 7324. I mentioned the modifications I intended to make after muslining the pattern, but here’s a rundown of the changes that happened on the final garment:
- Cut a size 10 instead of a size 6
- Narrow the shoulders by 1 inch
- Deepen the armhole by 0.5 inches
- Eliminate the vertical pleat extending from the placket
- Eliminate the gathers along the front neckline between the placket and the shoulder, which necessitated the following compensating changes:
- Change the shape of the placket opening from a trapezoid (narrow at the top, wider at the bottom) to a V
- Change the length and angle of the placket bands to match the new opening, ensuring the bottoms of the bands will be horizontal when stitched in place
- Shorten the neckband (which looks like a collar stand)
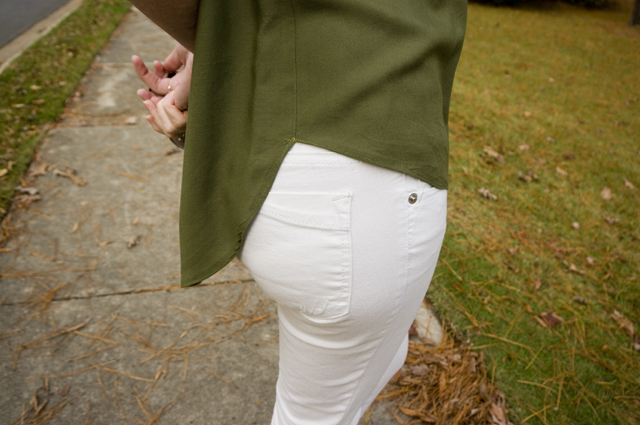
I also left the hem curve alone this time instead of trying to shorten the back. A little butt coverage isn’t such a bad thing.
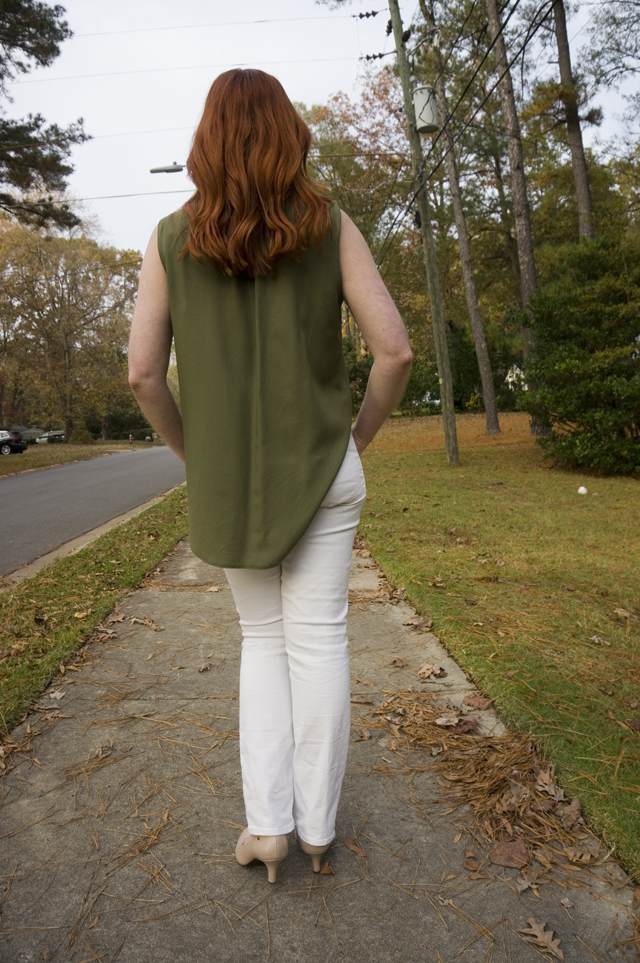
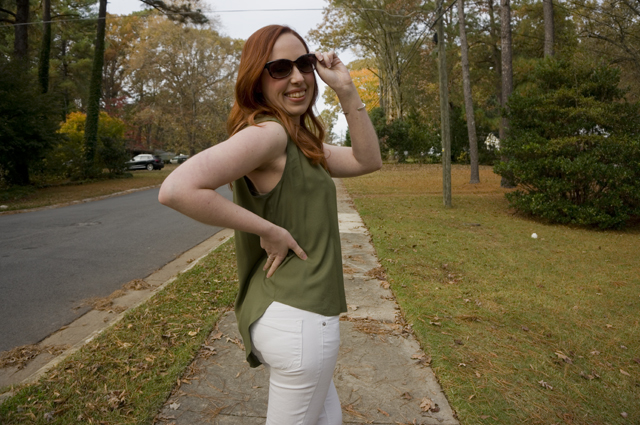
The top is quite voluminous. With the relaxed fit, going up one size would have been sufficient. I also didn’t account for the fact that a two-size increase would change the armhole, so while taking in the shoulder width was definitely a good call, scooping out the bottom of the armhole an extra half-inch wasn’t necessary. In fact, as you probably noticed in the second photo, raising or moving my arms reveals a peek of bra band. I don’t care that much when I’m wearing the top casually, but I’ll throw on a camisole underneath if I’m in a more conservative setting. I’d love to make an obnoxiously colored bralette to wear with it—I keep envisioning orange—because FASHION.
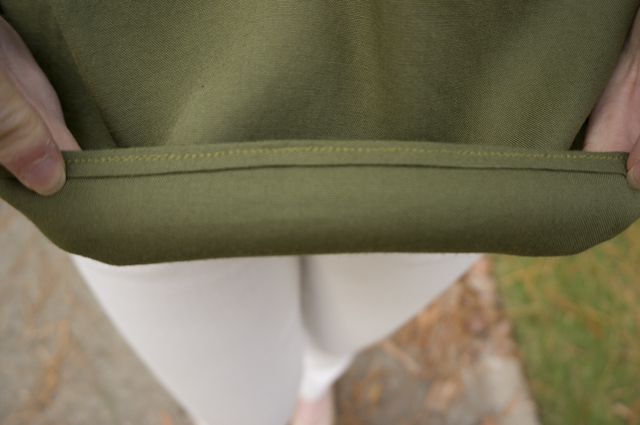
On the inside, I stitched everything on my sewing machine, then finished the side and shoulder seams with my serger and the armholes with self-fabric bias tape. (Starch is the only thing that made bias tape possible, and even then, I’ve got a few spots of wobbly stitching where the raw edge has come untucked. I have no idea how anyone can make bias tape out of things like silk…) The hem is a baby hem made using Carolyn’s instructions.
I think that’s everything? Here are a few up-close shots:
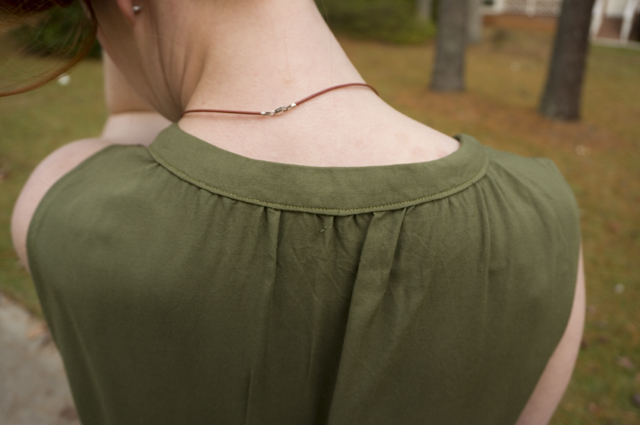
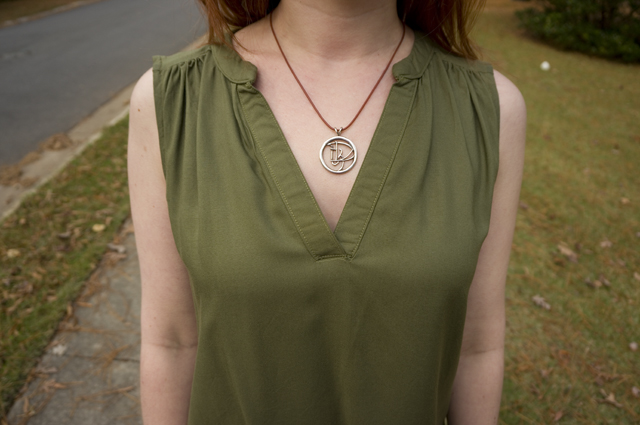
I’m much happier with the gathers on this iteration, and my topstitching on the neckband is marginally better this time. I wore this beauty about once a week from the time it was done until a cardigan wasn’t enough to make it warm. I don’t exactly look forward to summer here in the south, but being able to throw on a cool, comfortable top I made takes a bit of the sting out of it—it’s the closest I’m ever going to come to looking stylish while sweating buckets.

This top is beautiful!
Would you mind sharing how you removed the front pleat.
Thanks
Tanya
Witaj a ta patka na ramionach jak ja uszyc. Bo kupilam ten wykroj i kompletnie tego nie ogarniam