The first designer item I owned was a Vera Bradley purse I received from my parents for my high school graduation. Over the years my mom, my sister, and I each gathered a small collection of Vera Bradley bags and accessories in a smattering of colors and patterns. Despite our varying needs and tastes, we all agreed that the bucket bag was an eminently practical choice whenever you needed to carry the usual wallet, keys, phone, and personal items, but also sunglasses, two water bottles, an entire packet of tissues, a book, and maybe a snack.
My mom liked the bucket bag she owned, but wanted one in a solid color. After sweetly dropping hints both to me and to my sister to relay to me, I figured it was time I put my skills (such as they are) to use to make that wish a reality.
Fortunately, my sister had an old bag that was too worn out to carry around anymore, which she graciously sacrificed to my seam ripper. By taking the bag apart over several days and photographing each step, I was able to understand the construction and use the pieces as templates for a new bag.
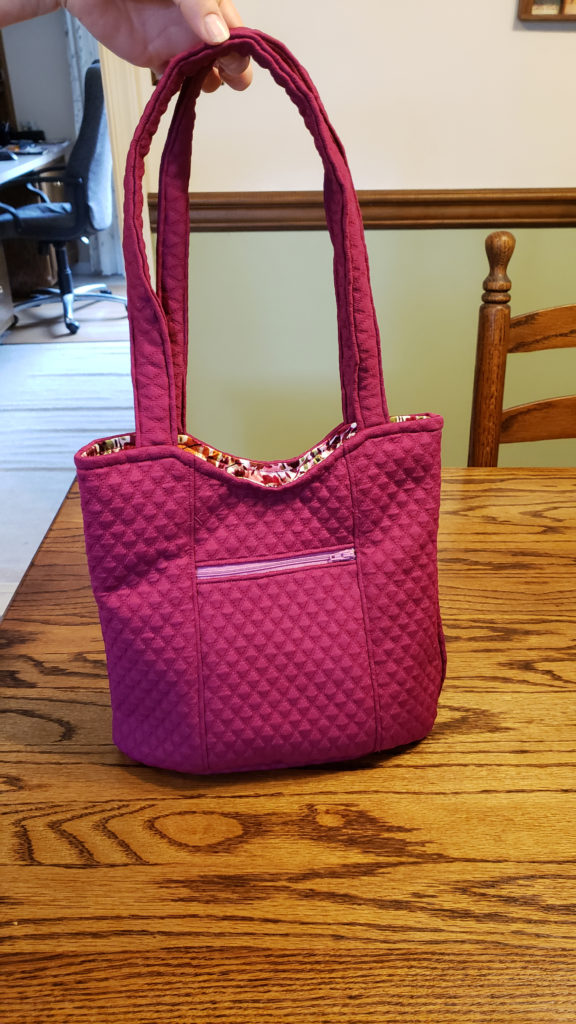
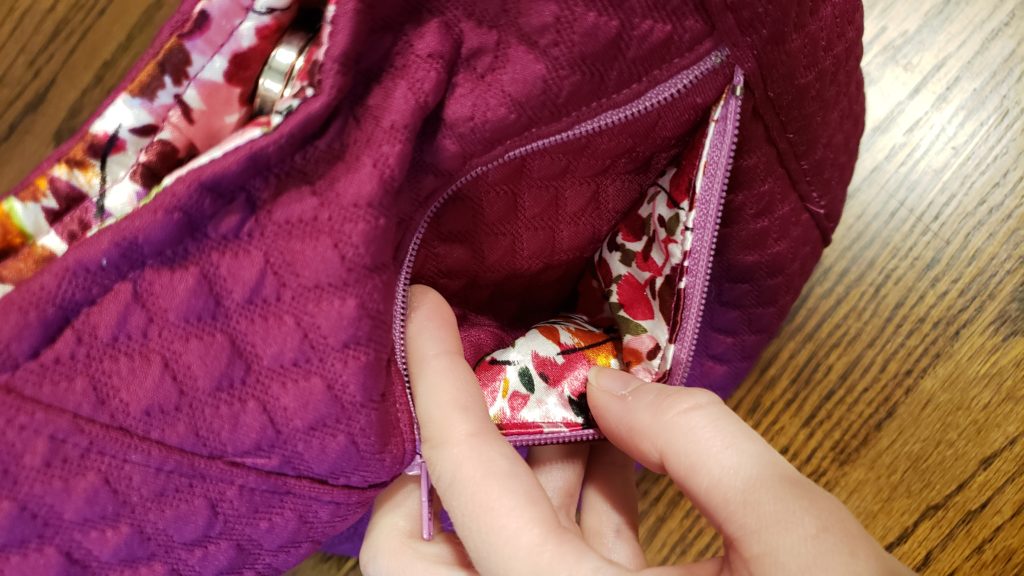
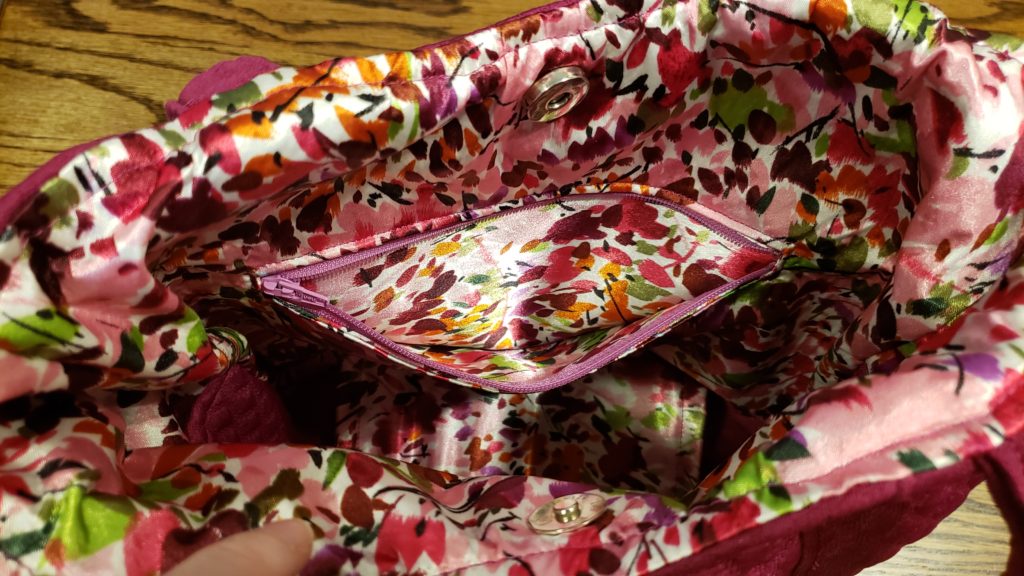
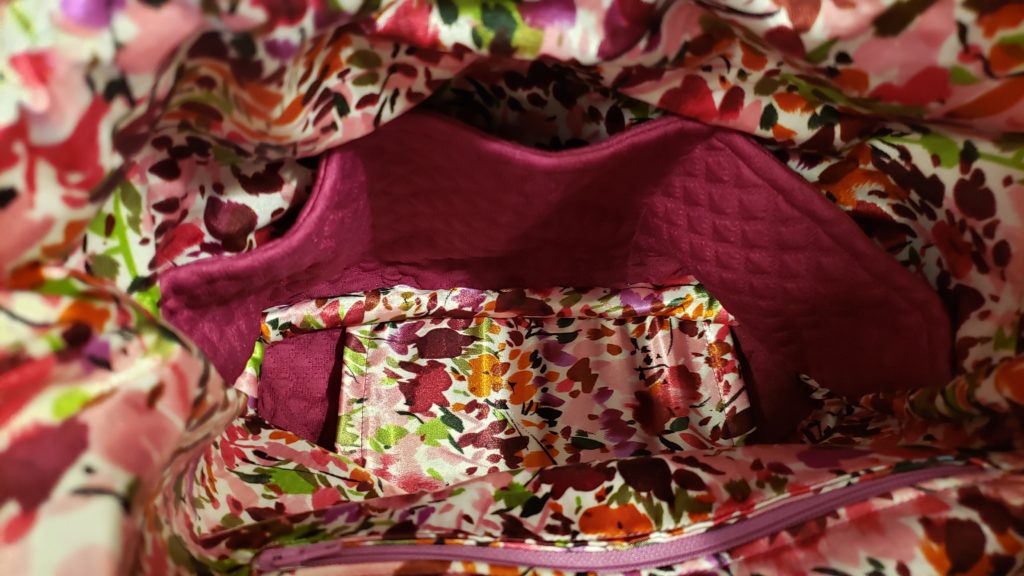
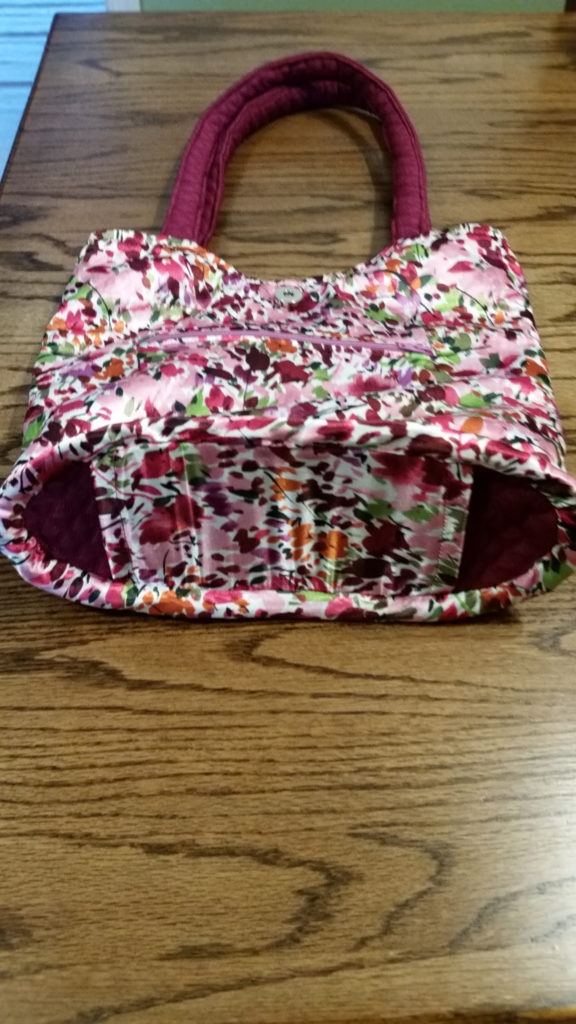
The bag has an exterior zipper pocket, an interior zipper pocket, and three interior open-top pockets. It closes with a magnetic button. The straps are fixed. There’s a sleeve in the bottom of the bag for an insert to stabilize the base so that it doesn’t sag and the bag can stand up on its own; I took the insert from the deconstructed bag, which is just a piece of mat board or heavy cardboard, for use in my re-creation.
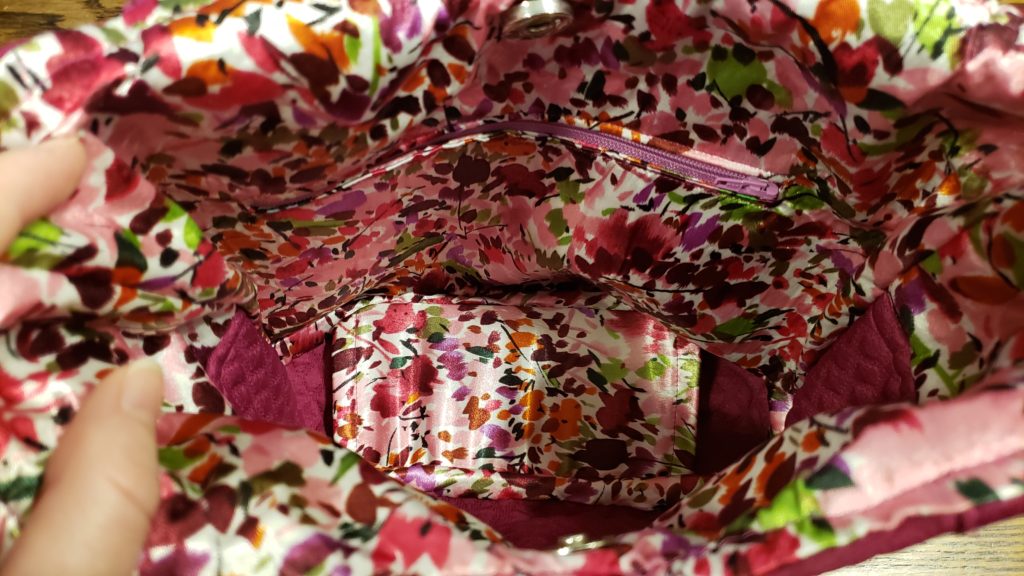
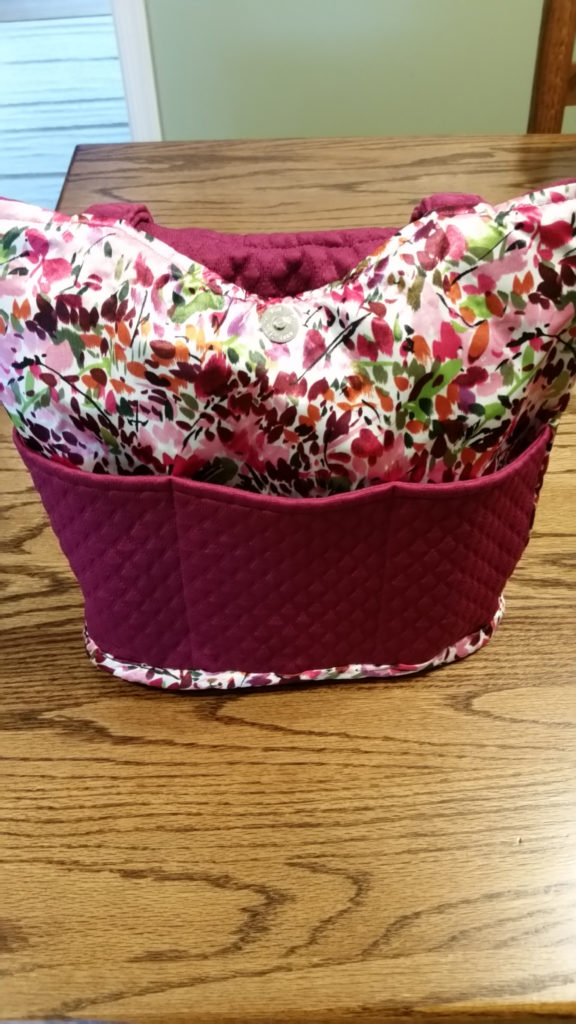
I didn’t make any modifications to the design or size, but I did opt to use a thick stable knit with a quilt-like pattern (leftover from this cosplay) for the shell instead of quilting together plain cottons. The lining is a polyester silky solid that I’d bought several years/moves ago for an ill-fated Sorbetto top.
I definitely saved on quilting time as a result of using a a “pre-quilted” fabric, but toward the end it was a challenge to feed the many layers of thick fabric through my machine. For the straps, my attempts to sew a tube and turn it right-side-out proved disastrous. I ended up cutting new straps, sewing one edge right sides together, opening the seam out, folding under the raw edges, and topstitching them in place, then topstitching the first seam to match. I didn’t even attempt to machine-stitch the bias binding that encloses the last raw edges on the inside bottom of the bag, preferring instead to wrestle everything into submission with hand-stitching.
If I were to attempt it again—and I think I might—I’d use a thinner shell fabric, but otherwise the construction is straightforward and didn’t require any special tools or techniques.
Judging by her reaction, my mom was pretty pleased with the outcome, and this bag has joined the rotation with her other favorites. For myself, I’m glad I could reciprocate the gift of a good bag that she once gave to me.