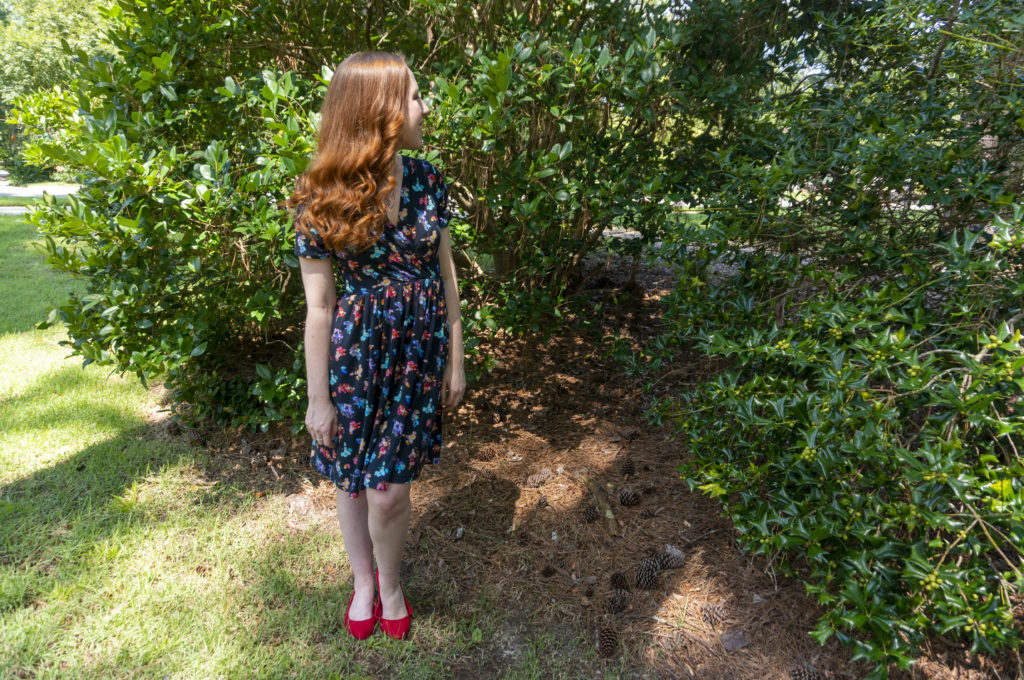
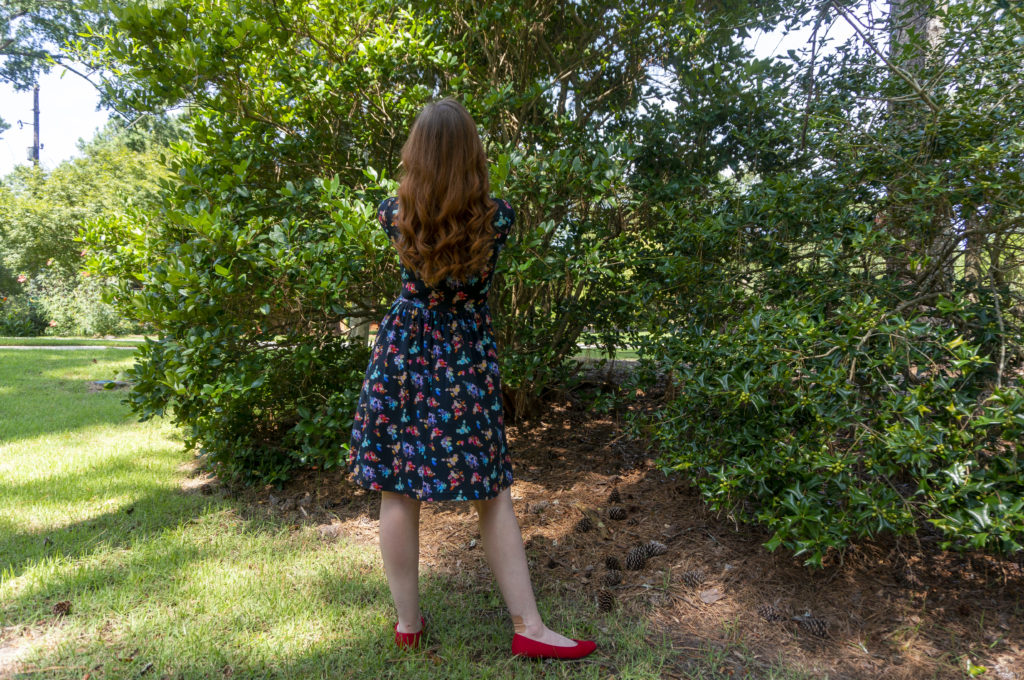
Wren might be the first Colette pattern I genuinely coveted. I’m not sure if it was the colors the samples were made up in, the more fitted silhouette at a time when everyone seemed to be turning out a skater dress pattern, or the one model’s red hair and dark magenta lipstick (which I found a dupe for in Too Faced’s Melted Matte-tallic in shade I Dare You). Don’t ask me why I didn’t just buy it when it came out—I don’t know. I tried to assuage my desire by buying a vaguely similar Big 4 pattern (McCall’s 7116) during a $1 sale, but it wasn’t the same. When I realized Freeman’s Creative Craft Supply in Durham had a deeply discounted copy, however, I pounced on it.
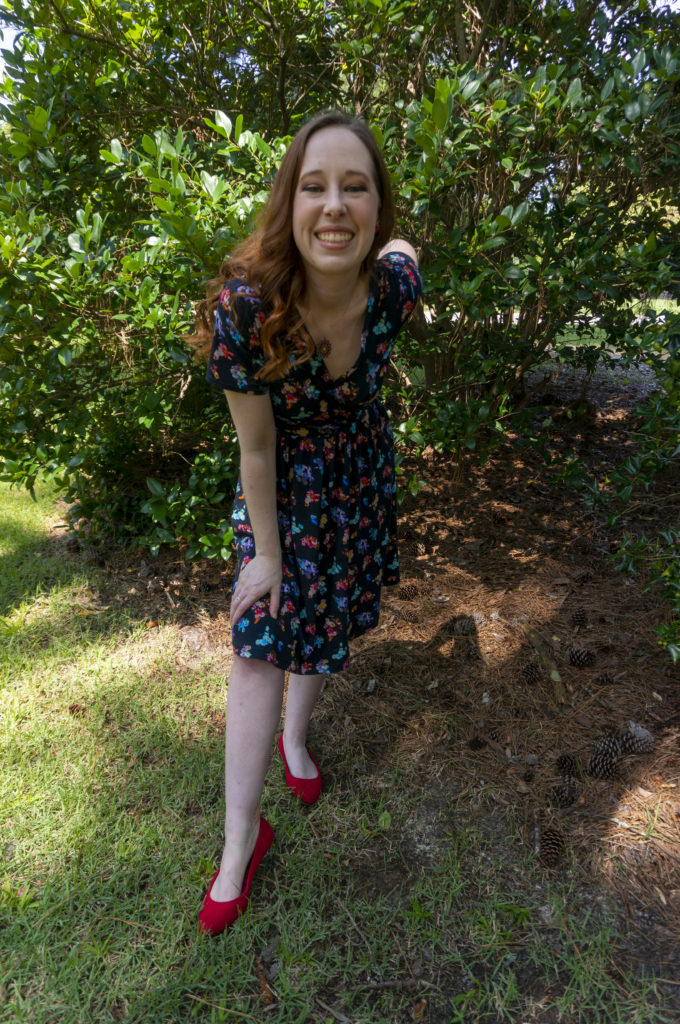
The fabric is older, purchased at least four years ago on a bit of a whim with a dress? or a top? in mind. I’m no longer sure. It’s a Nicole Miller for JoAnn design, which (no surprise) is no longer available, and I believe it’s a rayon spandex blend. The pattern reminds me of stained glass, or colored crystals, which is what seduced me into buying it even though I’d prefer to avoid black bases in favor of navy, forest, or brown now.
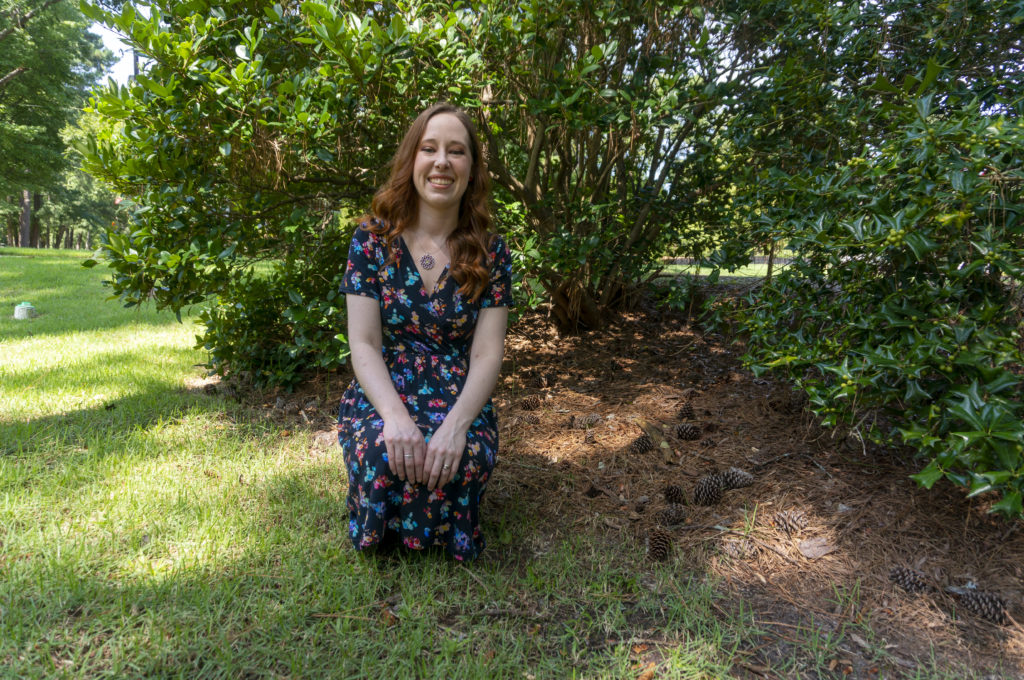
I chose View 2 with its gathered skirt and short sleeves. I cut an XS in shoulders/sleeves and bust, grading out to a small at the waist and hips. Since all of the sizes met at the same point on the crossover portion of bodice, with width added only at the side seams for the different sizes, I opted to cut out an XS neckband as well. It worked out just fine.
I assembled everything on my sewing machine and finished the seams on my serger; I continue to find that’s the best way for me to avoid catching wrinkles of fabric in the seams and thus cutting holes into the body of the garment while serging. I used WashAway Wonder Tape to stabilize the neckline, sleeve hem, and skirt hem for topstitching. It’s hands-down one of my most valuable sewing tools, and I’m sad I ran out before I finished this project. It’s on my list of things to replace, along with my ironing board cover, which I recently gashed with a pair of pinking shears.
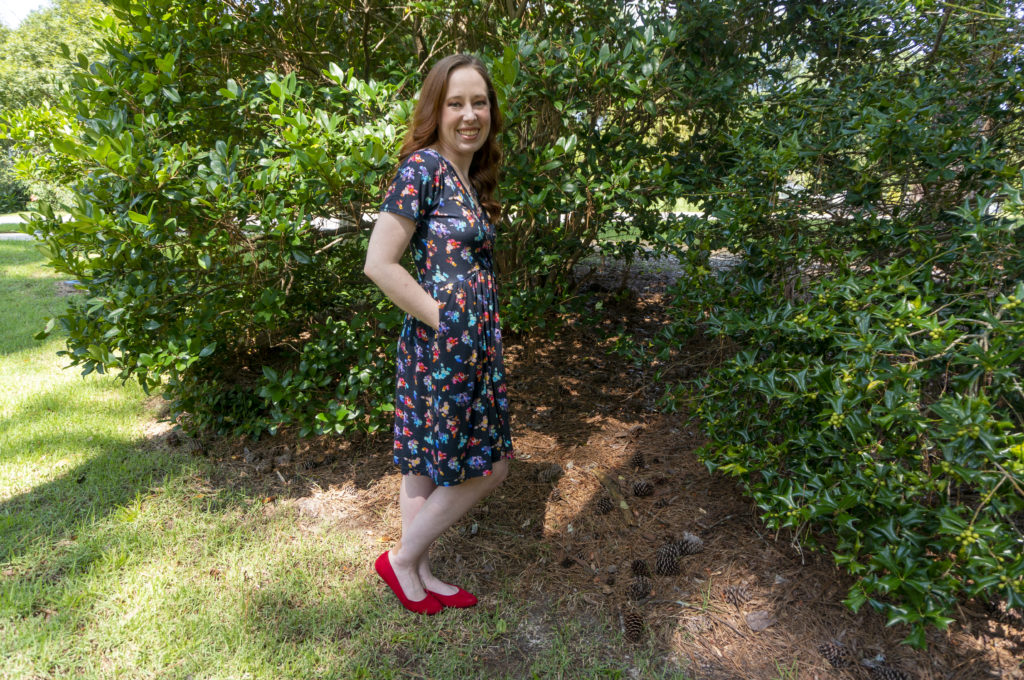
As you no doubt noticed, I learned my lesson with Zinnia and added pockets to the side seams. Pockets aren’t included in the pattern, so I grabbed a pocket template I had lying around and tweaked it to fit. This chiefly involved adjusting the side seam extension to account for the 3/8″ seam allowance and extending the other edge to attach at the waist for a more stable pocket.
The only thing I had trouble with was gathering the waist, and the addition of pockets may have had something to do with it. Anchoring the pockets at the waist meant two more layers of fabric that had to be gathered in that area, and my thread did not want to slide in that area.
I tried shirring the skirt using clear elastic like the instructions recommended, a technique I’ve done successfully before, but because the un-gathered skirt waist is so long it was impossible for me to keep the elastic taut, lined up with the fabric edge, and moving steadily under the needle at the same time.
After that failed, I tried gathering using three rows of basting stitches, and then again with a zig zag stitch over dental floss. Neither worked perfectly, but the former performed marginally better than the latter, so I stuck with that. I found it helpful to gather the front and back separately, and ended up gathering the top of the pockets separately as well.
Once the gathered skirt was attached to the bodice, I applied clear elastic while serging. I think my serging was a little firm, because the waist doesn’t stretch as much as it could, but I can still get it on and off without issue so I’m not inclined to redo it.
After trying on the assembled dress, I cut 2″ off the bottom hem and then folded up 1″ and topstitched to get my perfect just-above-the-knee fit.
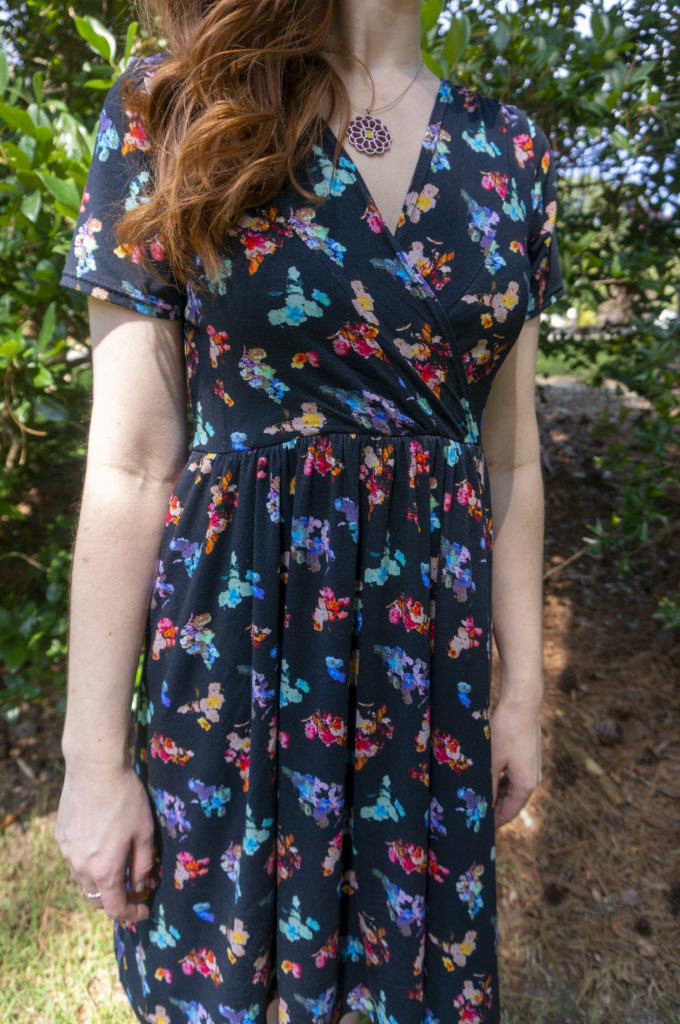
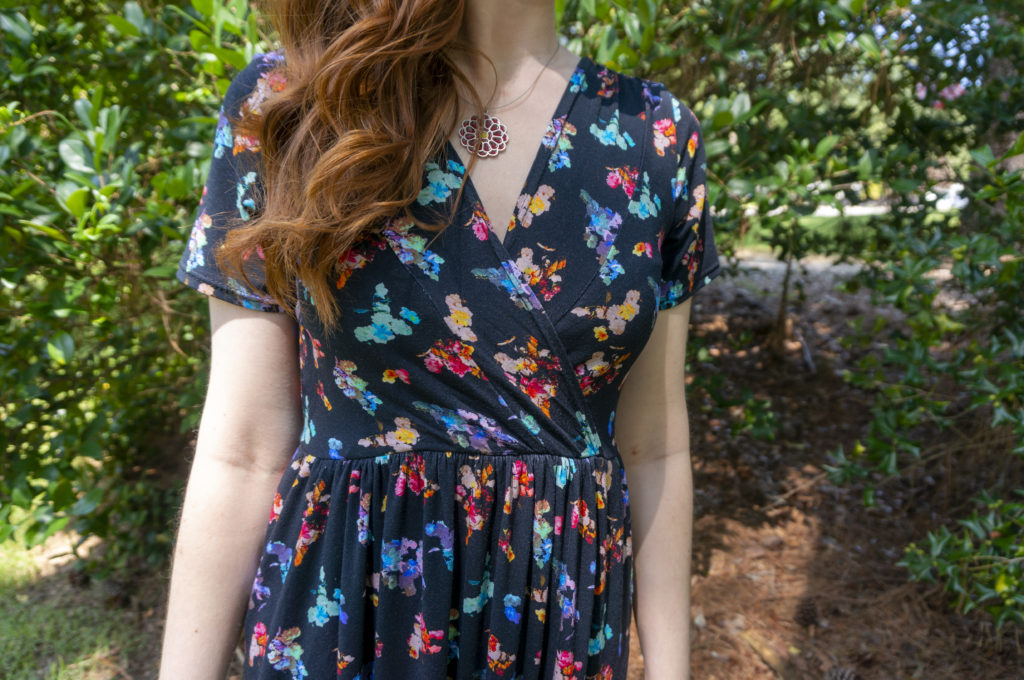
I noticed the front waist seam is slightly raised at the center while the back waist seam tends to droop. It’s not a problem per se, but it did have me scratching my head. I suppose it might be the result of the pattern being drafted for a C cup while I’m a D; if so, one of the models had the same problem. After looking at a bunch of different Wrens online, I’ve discovered the position of the waist seam varies dramatically based on overall body size, bust size, and fabric choice, and I have concluded this is just the nature of the beast and not something to fuss over.
Overall I’m pleased with the result, and glad I finally sprang for the real-deal pattern. I even got brave and made my alterations directly to the tissue, a decision I’m relieved that I didn’t come to regret. If it turns out I ever go back to having a job in an office, I’d like to make View 1. Till then, I’m happy to stick to swishy secret pajamas.
Outfit Details
Dress: Colette Wren | Shoes: Kelly & Katie | Necklace: Spark Metal Studio

