Topaz | The Yarniad Adama

October was a loss. Between an unprecedented number of work meetings—to the tune of nearly 40 hours—and overtime dedicated to making up all of the work I couldn’t do while in said meetings, I was too tired to do anything at the end of the day but pour myself onto the couch and soothe my crispy brain with Twitch streams. (GrandPooBear and TheDragonFeeney are personal favorites, if you’re curious.) We didn’t decorate for Halloween, and I didn’t touch my sewing machines.

I did, however, manage to start and finish exactly one knitting project: the shawl-cowl hybrid you see above. I wanted to use up the leftovers from my Everything Gold sweater, and I was already familiar with how this shawl is shaped from working on my Ebbtide, so it made the cut as weekend and occasional evening knitting.

The pattern is Adama from The Yarniad. The yarn is Malabrigo Rios in color Glitter. This is actually the second project made from sweater leftovers; the first was a quick hat I knit up for Justin, which I’ll share tomorrow.

To use up all but a few feet of the yarn, I added another repeat of the lace motif before knitting the edging as written. The details of my modifications can be found in my Ravelry notebook.

A few feet of gold-brown yarn lying coiled on a table
Just enough yarn left for future repairs

I won’t pretend I’m not frustrated and disappointed work robbed me of the energy to even think about a birthday dress, let alone actually sew one. It’s a tradition I started last year and had really hoped to continue. As a small consolation to myself, I chose to make “Adama,” which means “diamond” in Latin, into “Topaz,” my birthstone.

I thought I’d wax poetic about birthstones and other fleeting childhood obsessions like horses and astrology, but I’m finding that although I’d very much like to have something interesting or witty to say, this post, like my birth month of November, has been about easing back in. Easing back into making, into sharing, into the act of engaging with art and life and people. Tomorrow will be another short post, I expect, but then I think I’ll have a proper round-up to finish off the year, and who knows? Maybe I can start again on the slow and deliberate process of cultivating a habit of writing.


Outfit Details

Shirt: SBCC Tonic 2 | Skirt: H&M | Earrings: Charming Charlie | Tights: Old/unknown | Socks: Smartwool | Booties: Crown Vintage Sandy

Saint Vicious | Made-to-Measure Knee Socks

I’m generally a selfish maker, I make no bones about that. While I’ve made a handful of things for others, I typically stick to things I’ve already made for myself and feel comfortable with. The exception to this practice is socks: the first properly wearable pair I made were a gift for my sister-in-law. Before that, I’d attempted a pair of ankle socks for myself (abandoned after the first sock for being too big in every dimension) and then a pair of crew socks (recycled because the yarn was unpleasant to wear). Multiple failed attempts combined with a general dislike for small circumference knitting had me pretty well convinced that handmade socks were not in my future.

Except that I rather like wool socks! I have several pairs in different styles from SmartWool, and my friends rave about Bombas. I figured I needed to give it one last solid try before giving up completely. I was also in need of a portable project during a meetup, and socks are nothing if not quintessential handbag knitting.

I hastily cast on before leaving the house, which proved unnecessary as I ended up doing no knitting whatsoever that night. Sock #1 languished in its bag for weeks and then months while I started and then finished ten other knitting projects instead, 2019 rolled over into 2020, and then kept right on rolling along.

I bound off the first sock 18 months after I started it, and then proceeded to knit the second sock in about 2 weeks, because it was clear if I didn’t do it immediately I would never do it at all.

As the title suggests, I didn’t use a particular pattern, but instead combined several techniques to get a custom fitting toe-up sock, including using Judy’s Magic Cast On (free), the Fish Lips Kiss Heel ($1), and Jenny’s Surprisingly Stretch Bind Off (free). I only shelled out for the FLK Heel instructions because I wasn’t happy with any of the short row heel methods I’d already tried, and I do feel like I got a better result with them than I had with the other methods.

But like many knitters before me, I found the instructions frankly obnoxious. They’re far, far longer than they need to be, the formatting is ugly as well as unfriendly to anyone who doesn’t want to read a novel, and the “mother knows best” tone is grating when you don’t think knitting socks is a thing to be frightened of. I’ve half a mind to rewrite the dang thing—I’m betting I could fit all of the essential material on the front and back of a single letter-sized sheet, which would be much easier to reference than the 16 pages that come in the packet.

Anyway.

I ended up with knee socks because I’d divided the cake into two equal balls by mass to start and then knit until I ran out of yarn. (OH YEAH, the yarn! It’s Hedgehog Fibres Sock in color Whisper, purchased from Warm ‘n Fuzzy in Cary.) Luckily for me, the first ball was slightly shorter than the second; I matched the second sock to the first with a scant 9 yards leftover, and no ripping and re-knitting to make them identical. Small victories, right?

After wearing them around, I feel like they’re just a smidge short, stopping on my calf muscle instead of behind my knee. As a result, they want to start wriggling their way instead of staying firmly in place. I may run a length of elastic cord through the top edge to give them more staying power.

Other than their height, they fit quite well. I’m pleased that my calculated rate of increase worked out and netted me a snug but not tight fit around my larger-than-average calves. I look forward to wearing them when I finally get to break out my tall boots. (Soon…)


Outfit Details

Sweater: H&M | Skirt: Colette Zinnia | Earrings: Polished coconut shell/maker unknown | Necklace: Plaid Love Threads | Bracelet: Old/unknown

Geode Swing Tank | Modified New Look 6285

While I was laying out the pieces for my Colette Wren dress, I noticed that I was going to have around half a yard of fabric at the full width and another half yard or so of partial-width pieces. To be honest I was a little surprised by this, since I’d originally planned to turn this yardage into a maxi dress but didn’t have enough length or width to accommodate those pattern pieces. Discovering that I hadn’t had enough fabric for a long dress but did, somehow, have enough fabric for a short dress and a top goes to show that skill with video games is not directly transferable to real life despite how much Tetris I’ve played. Wanting to maximize my use of the remainder and craving another loose top to combat the hot sticky weather, I decided to hack New Look 6285 (a pattern I already own and have used here and here) to make a basic swing tank.

A quick search brought up instructions for turning any knit or woven t-shirt into a swing style on Bernina’s We All Sew blog, provided by the delightful Mary Danielson Perry of Idle Fancy. Because one of the steps is straightening the side seams, I opted to use View A of my pattern since it already has a straighter silhouette and a looser fit overall.

I laid out the original pieces on my fabric, measured to determine the maximum amount I could increase the hem width, and then slashed and spread per the instructions. As you can see below, I ended up making six slashes in the front and six in the back; I spread each slash 1 inch for a total circumference increase of 12 inches.

After cutting out the front and back pieces, I didn’t have enough fabric left to cut a neckband and armhole bands on the crossgrain. Luckily this rayon spandex blend has almost as much vertical stretch as it does horizontal stretch, so I cut them on the grain instead. I still ended up piecing together the neckband, but in a dark and patterned fabric it’s not noticeable at all.

As with Wren, I assembled everything on my sewing machine and finished it on my serger. I was out of clear elastic, so I topstitched down the seam allowances at the shoulders in an attempt to stabilize them; time will tell if that makes a difference or not. I also twin needle topstitched around the neck, armholes, and hem.

Not surprisingly, it took about the same of time to sew up as it did to cut the pattern, and the whole thing was completed in two easy afternoons. My only regret is not being able to make it even swingier, but with only a fistful of scraps remaining at the end, I squeezed as much out of it as I could.

This is my fourth consecutive successful sewing project. While none of the projects I’ve undertaken recently are impressive in any way, having a run of wearable garments I’m satisfied with has been a huge boost to my motivation to sew. In the past I’ve struggled with less-than-stellar fit and various sewing mishaps, and it damped my enthusiasm considerably. It’s hard for me to get excited about the process when something that should work doesn’t, and I have an uneasy relationship with the idea of practicing in a hobby where that means either buying cheap fabric to make up a garment I won’t want to wear, or sacrificing fabric I do want to wear to a garment that is ultimately ill-fitting, uncomfortable, or unflattering.

These recent victories, however mundane they may be, have finally got me looking at my stash with excitement and a desire to plan again. I look forward to sharing what I come up with in the weeks to come.


Outfit Details

Top: Modified New Look 6285 | Shorts: Express | Shoes: Mossimo Supply Co. | Bracelet: Unknown/gift

Stained Glass Dress | Colette Wren

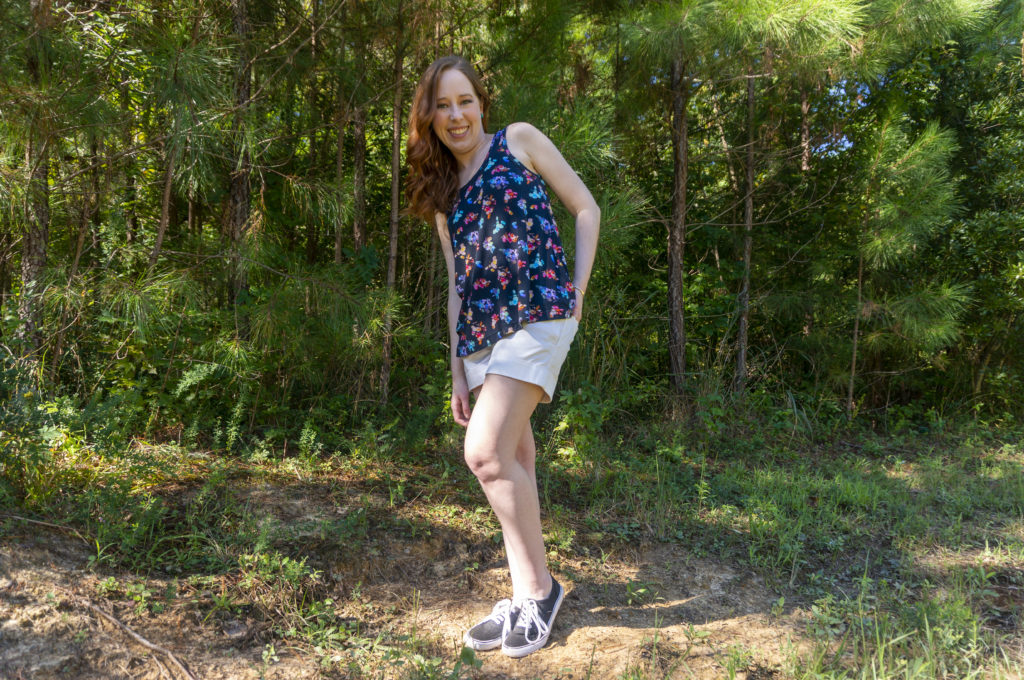
Wren might be the first Colette pattern I genuinely coveted. I’m not sure if it was the colors the samples were made up in, the more fitted silhouette at a time when everyone seemed to be turning out a skater dress pattern, or the one model’s  red hair and dark magenta lipstick (which I found a dupe for in Too Faced’s Melted Matte-tallic in shade I Dare You). Don’t ask me why I didn’t just buy it when it came out—I don’t know. I tried to assuage my desire by buying a vaguely similar Big 4 pattern (McCall’s 7116) during a $1 sale, but it wasn’t the same. When I realized Freeman’s Creative Craft Supply in Durham had a deeply discounted copy, however, I pounced on it.

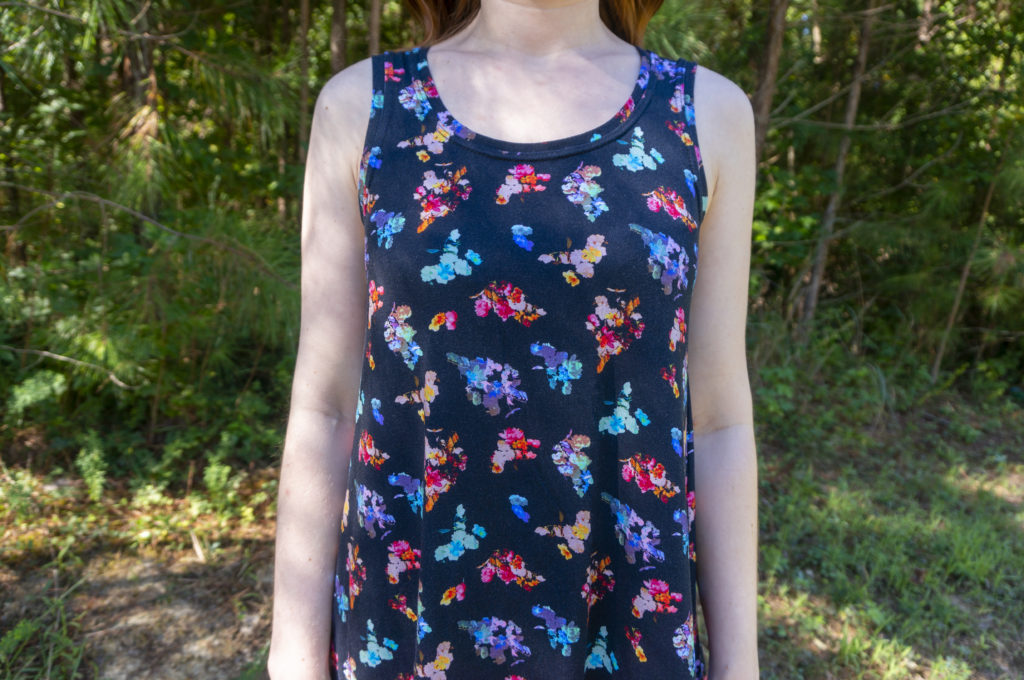
The fabric is older, purchased at least four years ago on a bit of a whim with a dress? or a top? in mind. I’m no longer sure. It’s a Nicole Miller for JoAnn design, which (no surprise) is no longer available, and I believe it’s a rayon spandex blend. The pattern reminds me of stained glass, or colored crystals, which is what seduced me into buying it even though I’d prefer to avoid black bases in favor of navy, forest, or brown now.

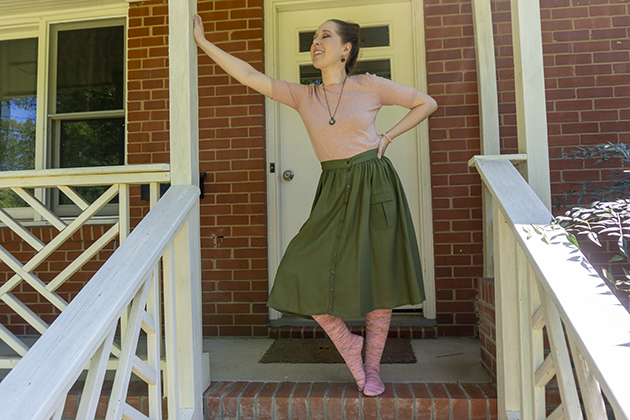
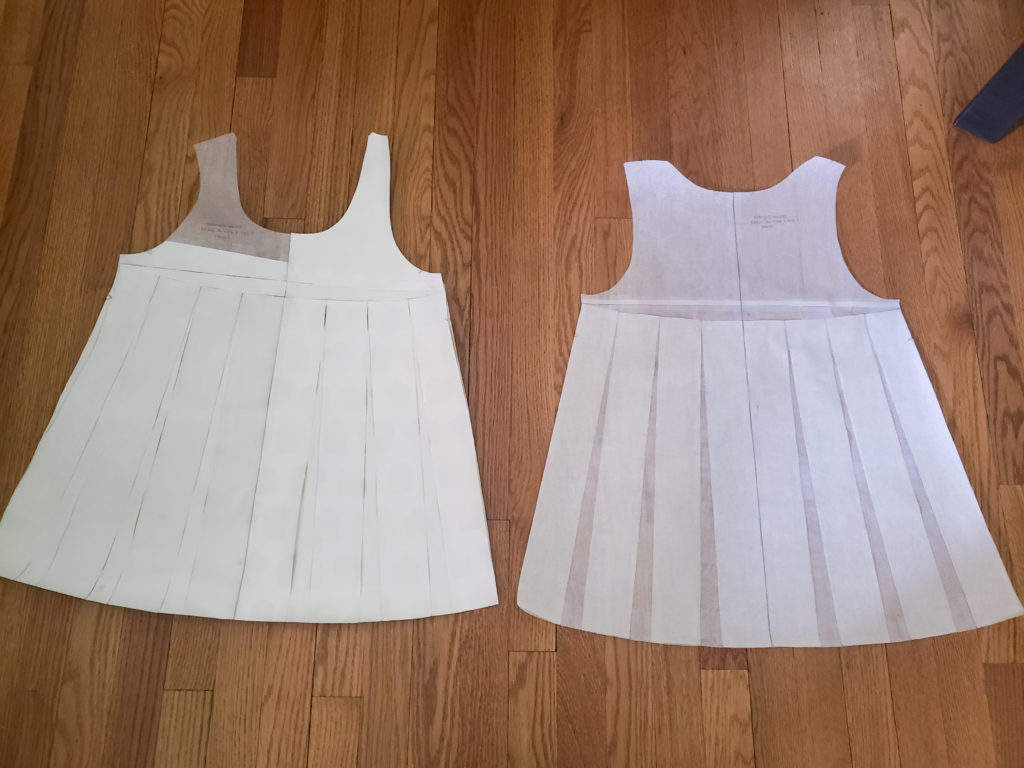
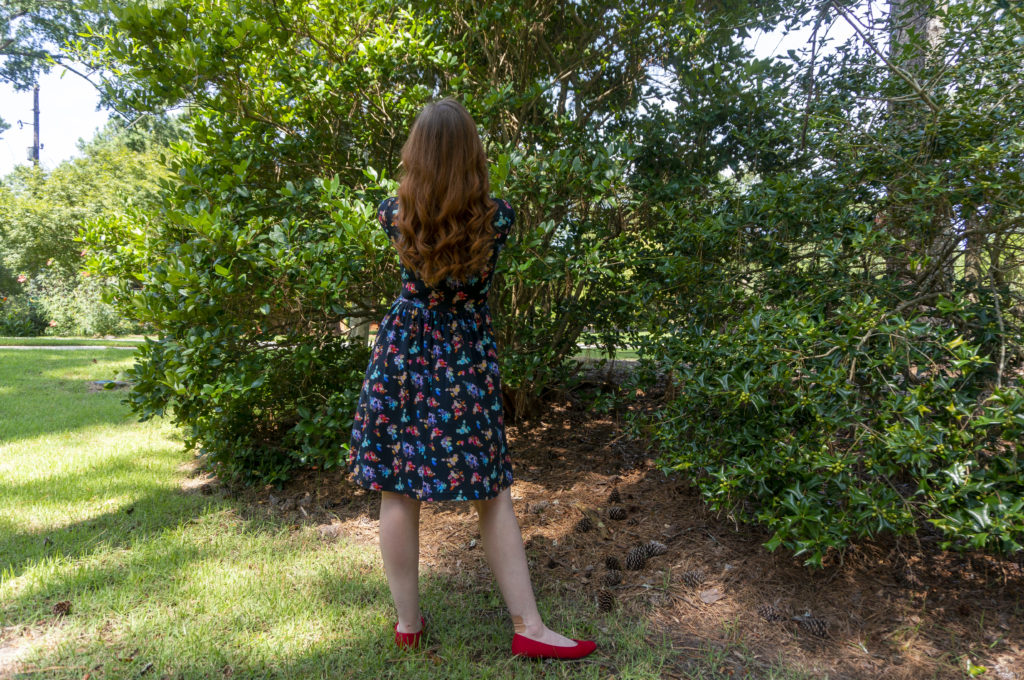
I chose View 2 with its gathered skirt and short sleeves. I cut an XS in shoulders/sleeves and bust, grading out to a small at the waist and hips. Since all of the sizes met at the same point on the crossover portion of bodice, with width added only at the side seams for the different sizes, I opted to cut out an XS neckband as well. It worked out just fine.

I assembled everything on my sewing machine and finished the seams on my serger; I continue to find that’s the best way for me to avoid catching wrinkles of fabric in the seams and thus cutting holes into the body of the garment while serging. I used WashAway Wonder Tape to stabilize the neckline, sleeve hem, and skirt hem for topstitching. It’s hands-down one of my most valuable sewing tools, and I’m sad I ran out before I finished this project. It’s on my list of things to replace, along with my ironing board cover, which I recently gashed with a pair of pinking shears.

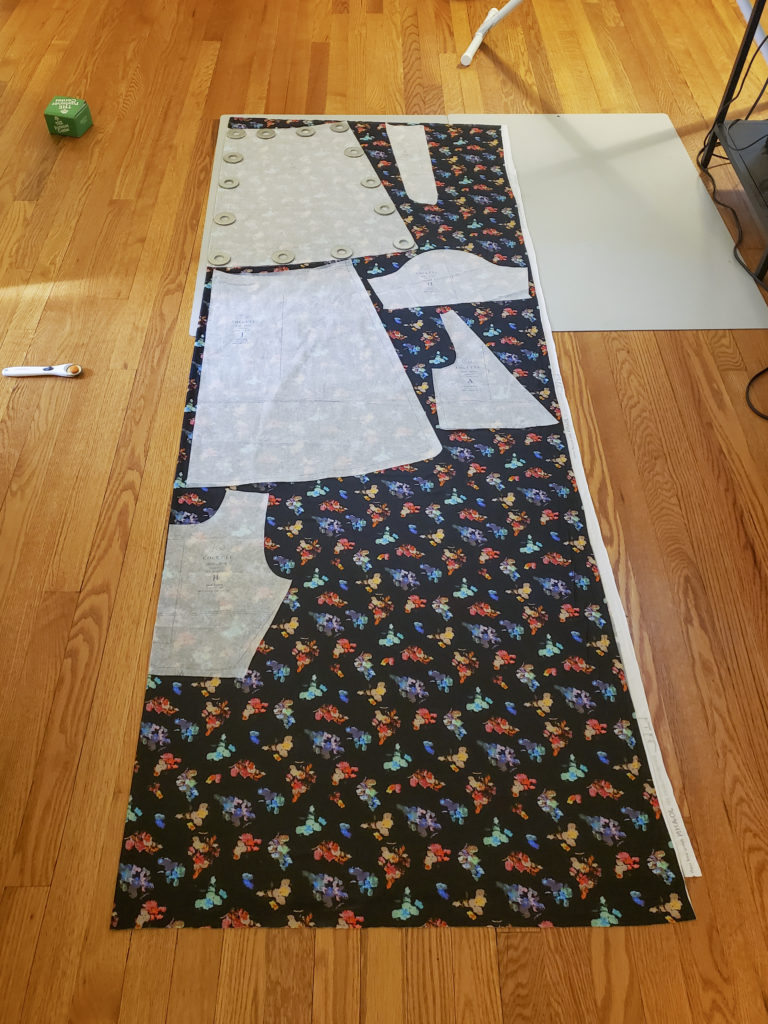
As you no doubt noticed, I learned my lesson with Zinnia and added pockets to the side seams. Pockets aren’t included in the pattern, so I grabbed a pocket template I had lying around and tweaked it to fit. This chiefly involved adjusting the side seam extension to account for the 3/8″ seam allowance and extending the other edge to attach at the waist for a more stable pocket.

The only thing I had trouble with was gathering the waist, and the addition of pockets may have had something to do with it. Anchoring the pockets at the waist meant two more layers of fabric that had to be gathered in that area, and my thread did not want to slide in that area.

I tried shirring the skirt using clear elastic like the instructions recommended, a technique I’ve done successfully before, but because the un-gathered skirt waist is so long it was impossible for me to keep the elastic taut, lined up with the fabric edge, and moving steadily under the needle at the same time.

After that failed, I tried gathering using three rows of basting stitches, and then again with a zig zag stitch over dental floss. Neither worked perfectly, but the former performed marginally better than the latter, so I stuck with that. I found it helpful to gather the front and back separately, and ended up gathering the top of the pockets separately as well.

Once the gathered skirt was attached to the bodice, I applied clear elastic while serging. I think my serging was a little firm, because the waist doesn’t stretch as much as it could, but I can still get it on and off without issue so I’m not inclined to redo it.

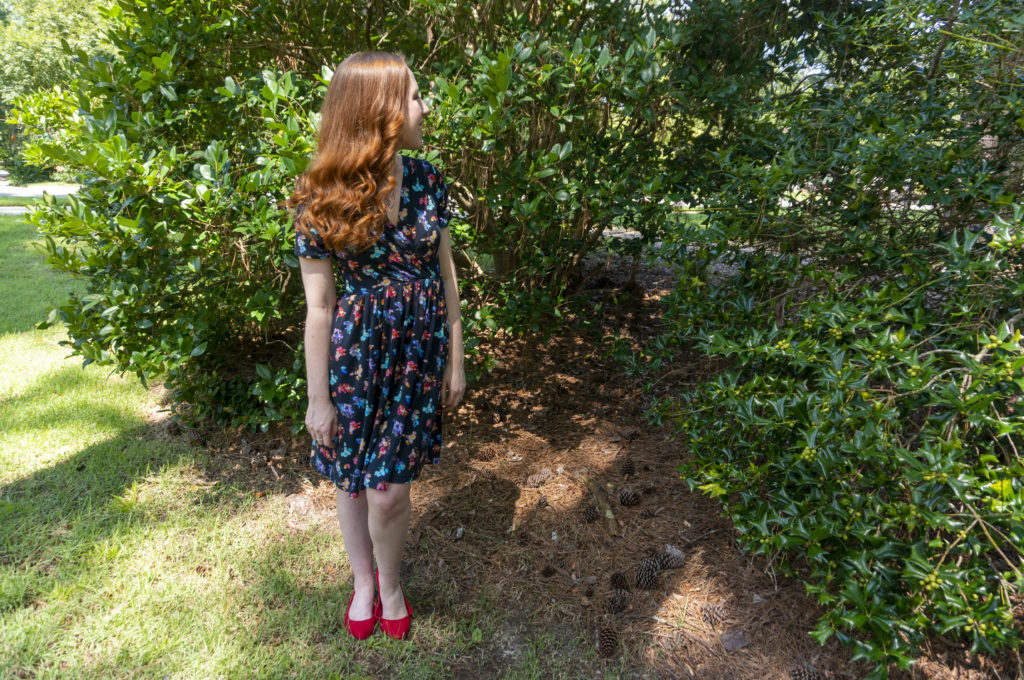
After trying on the assembled dress, I cut 2″ off the bottom hem and then folded up 1″ and topstitched to get my perfect just-above-the-knee fit.

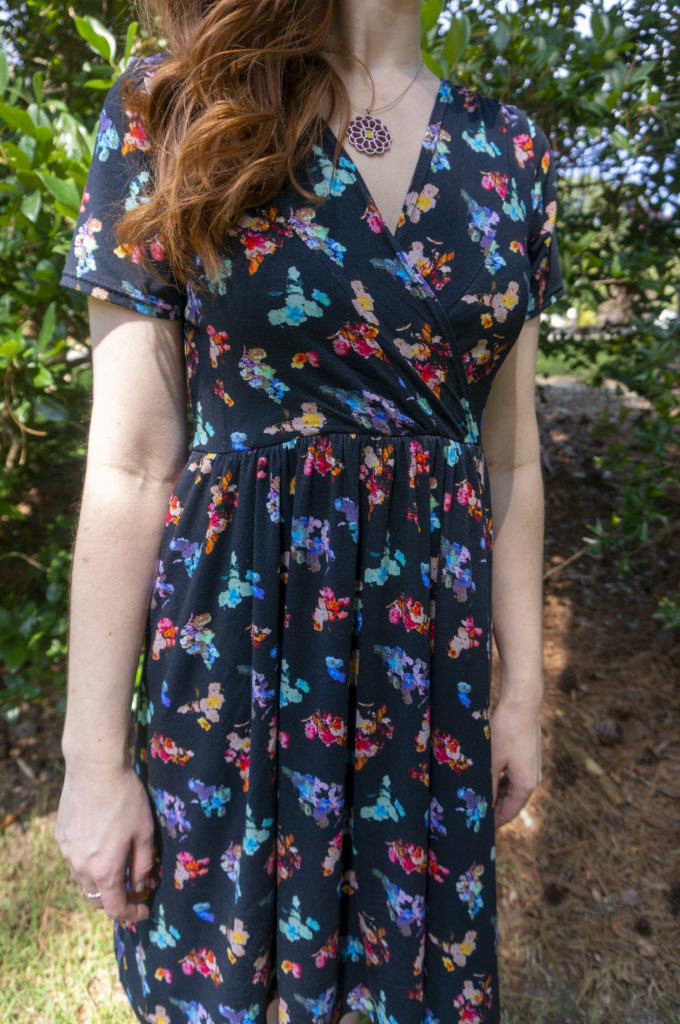
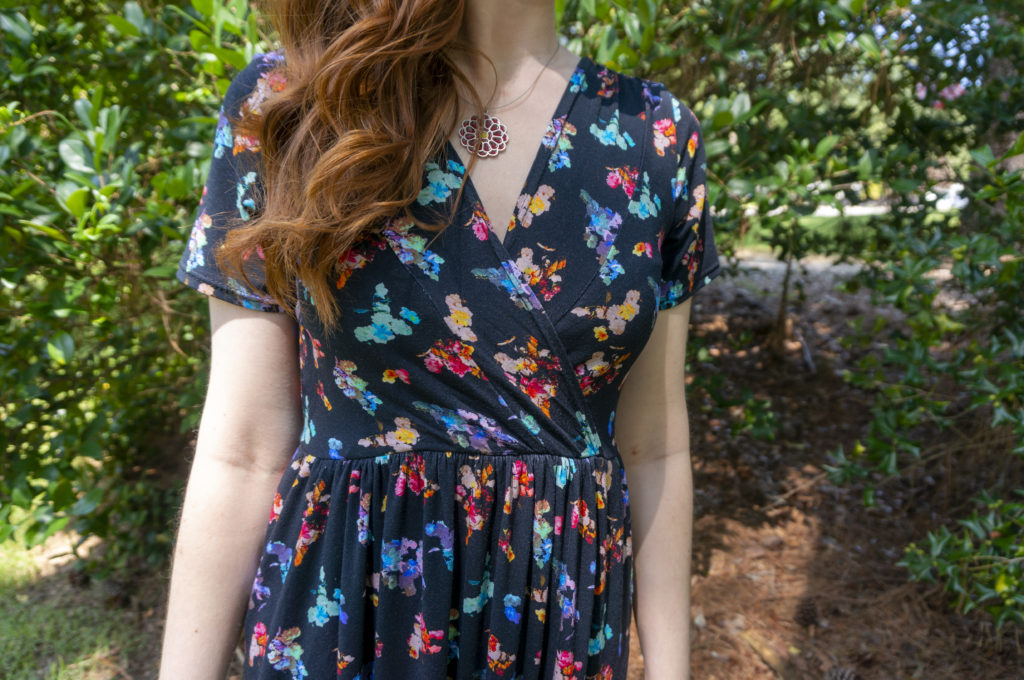
I noticed the front waist seam is slightly raised at the center while the back waist seam tends to droop. It’s not a problem per se, but it did have me scratching my head. I suppose it might be the result of the pattern being drafted for a C cup while I’m a D; if so, one of the models had the same problem. After looking at a bunch of different Wrens online, I’ve discovered the position of the waist seam varies dramatically based on overall body size, bust size, and fabric choice, and I have concluded this is just the nature of the beast and not something to fuss over.

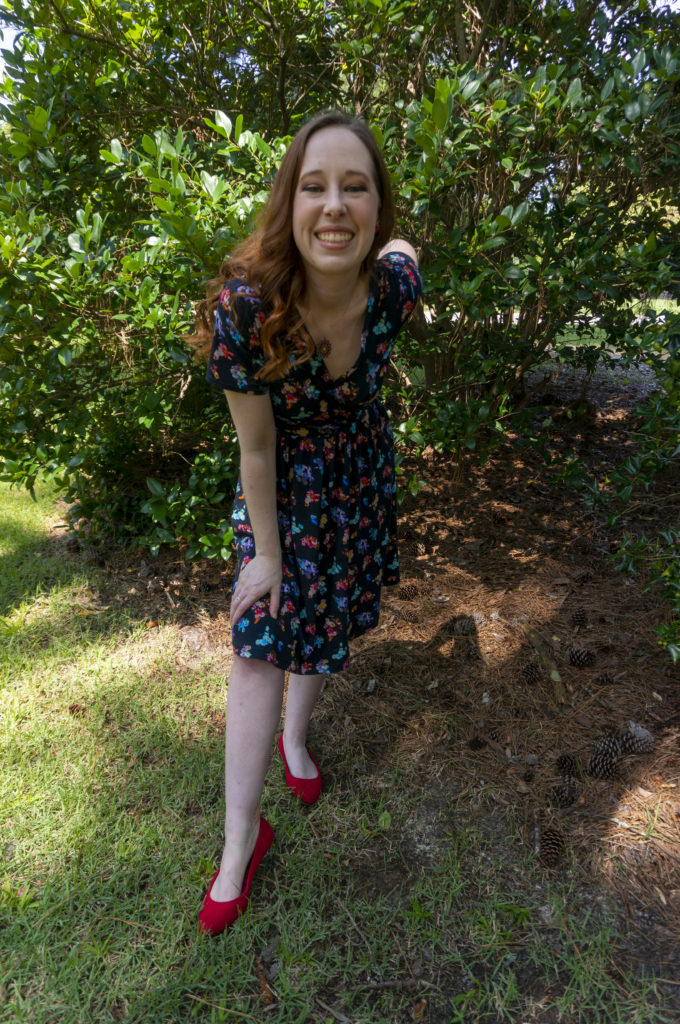
Overall I’m pleased with the result, and glad I finally sprang for the real-deal pattern. I even got brave and made my alterations directly to the tissue, a decision I’m relieved that I didn’t come to regret. If it turns out I ever go back to having a job in an office, I’d like to make View 1. Till then, I’m happy to stick to swishy secret pajamas.
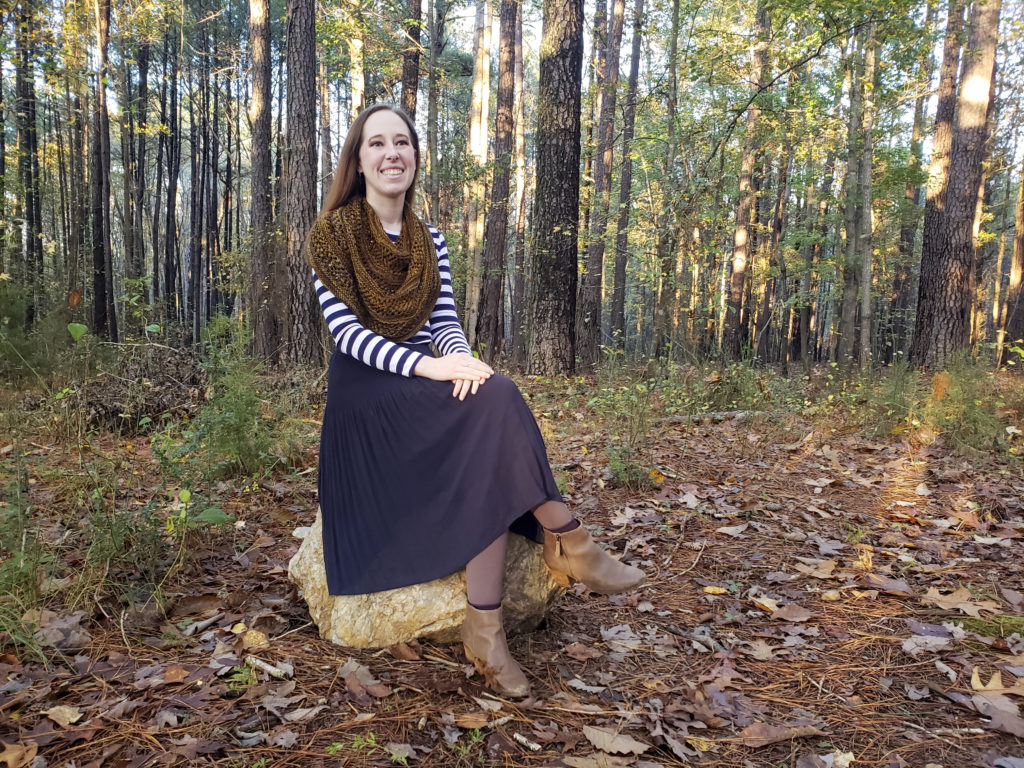

Outfit Details

Dress: Colette Wren | Shoes: Kelly & Katie | Necklace: Spark Metal Studio

Be Nice or Leave Cross Stitch

Short and sweet today. In July my friend Jorren, of art exchange and handmade Christmas fame, reached out about creating a cross stitch birthday gift for a special person in his life. He wanted something a little snarky but not mean, and suitable for display where kiddos would see it. Traditional lettering was a must, floral elements were encouraged, and the palette needed to include some combination of black, teal, coral, and neon yellow. Together we decided on the phrase “Be Nice or Leave” and this alphabet.

The border took a bit more work. In order to render the detailed lettering without making the entire piece huge, I needed to use 18 count Aida. Fortunately, I had a piece of 18 count fabric on hand (thanks for giving me your cross stitch supplies, Mom!). Unfortunately, patterns for 18 count are far less common than patterns for 14 count, and even among those that do exist, it was challenging to find one where the center area was large enough to accommodate the width of the word “leave.”

First I grabbed this subversive pattern (warning: expletive) from Print and Decor on Etsy. I thought the colors were perfect, but because it was designed for a less ornate font, I couldn’t quite squeeze my text in. Then I snagged this funny pattern from Etsy shop SoEasyPattern, but again, fitting in the text was a no-go. (Note: both of those patterns are actually for 16 count, which I was prepared to buy if I could make the word-Tetris work.)

Finally, I decided to gamble on a pattern designed for 14 count, specifically this one from DeLorai Patterns (warning: expletive). An lo—it worked! Using the Print and Decor palette as a starting point, I plotted out several color substitutions, then made the rest on the fly while picking up floss at the craft store.

Due to the time spent choosing a pattern and the more detailed font and floral motifs, I didn’t leave myself quite enough time to complete the original border as drafted. That area looked barren without something, however, so I replaced it with a simple arch and single bloom. The back of the piece is finished with white felt blanket stitched to the excess Aida.

I’m told the recipient was pleased with the design and has displayed it at home. May it do its part to ward off any unfriendly visitors!