Me-Made-May ’17: Wrap-Up

Now that I’ve logged my two sewing projects from May and cleared some space mentally, I’m ready to review my Me-Made-May experience. I know we’re more than halfway through June and the sewing blogosphere has moved on already, but you’ll humor me, right? You’re the best. 🙂

Except for one missed day during Week 3, I kept to my goal of wearing at least four me-made garments each week. (Then again, the last week of May didn’t have four days in it, but I managed two me-mades anyway, so I’m calling it a wash.) There were definitely repeated garments, but no completely repeated outfits, which is a feat I didn’t think I’d be able to pull off, especially since I tend to go through phases of wanting to reach for whatever feels easiest or most comfortable at the time, over and over again.

Though I didn’t end up posting weekly here as I’d thought I would, and though I still can’t get on board with Instagram—I’m a words person through and through—I did take photos every day that I wore a me-made garment so that I’d be able to spot trends, reflect on silhouettes, and identify wardrobe gaps.

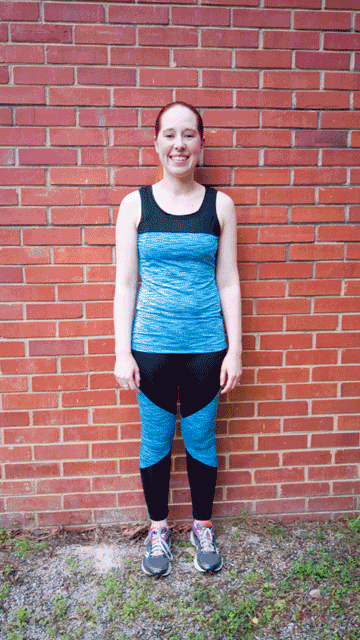
Week 1: Active in Aqua Workout Top & Pants // Mashion Cardigan & Black Leggings (unblogged) // Black Leggings (unblogged) // Easy Tartan Scarf

Week 2: So In Love Cardigan (on Ravelry) // Sage Pleated Skirt & Holden Shawlette (on Ravelry) // Sunbird Shawl (on Ravelry) // Floral Sorbetto

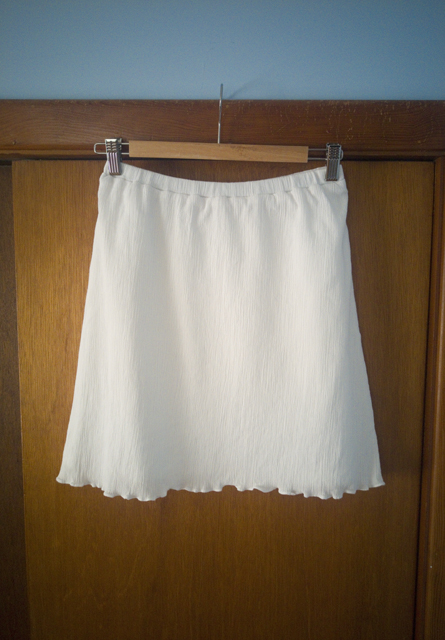
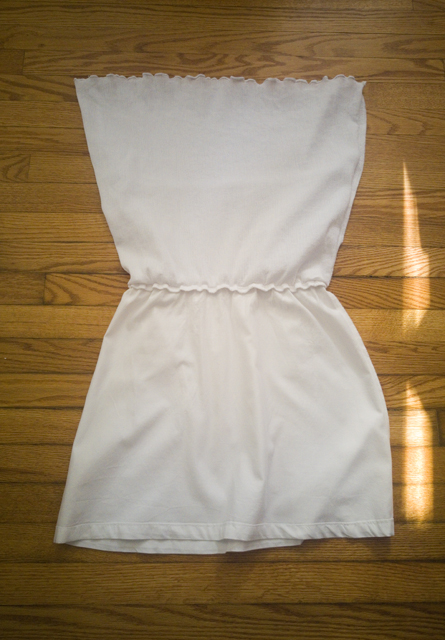
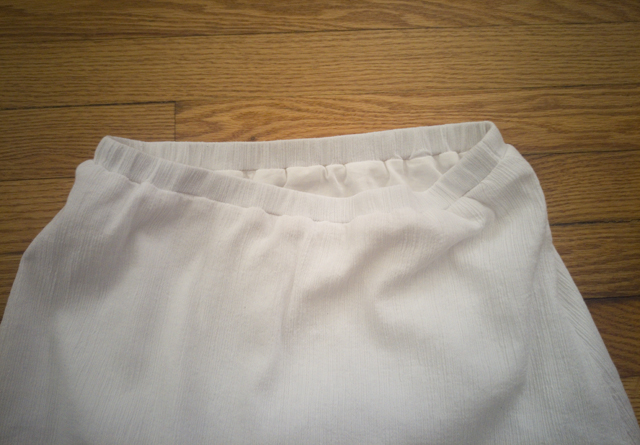
Week 3: Haruni and the Tree of Stories Shawl (on Ravelry) // Vanilla Skirt // Pumped Up in Pink Workout Top & Pants

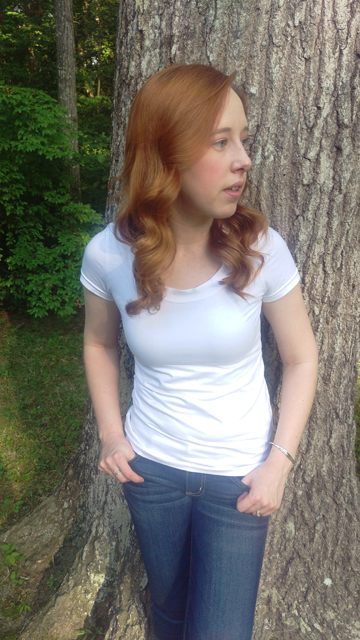
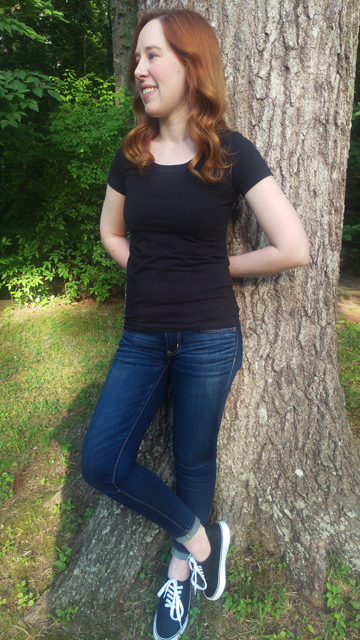
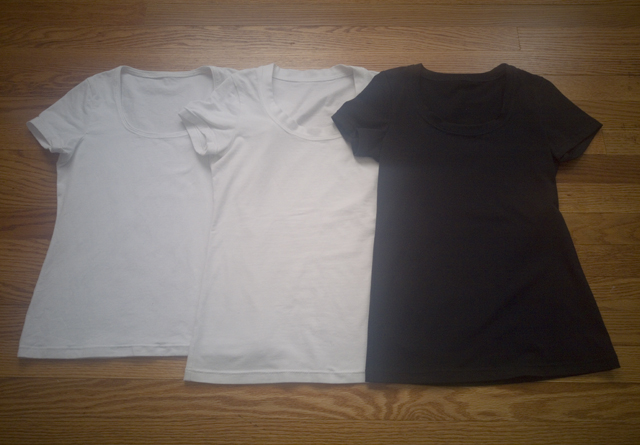
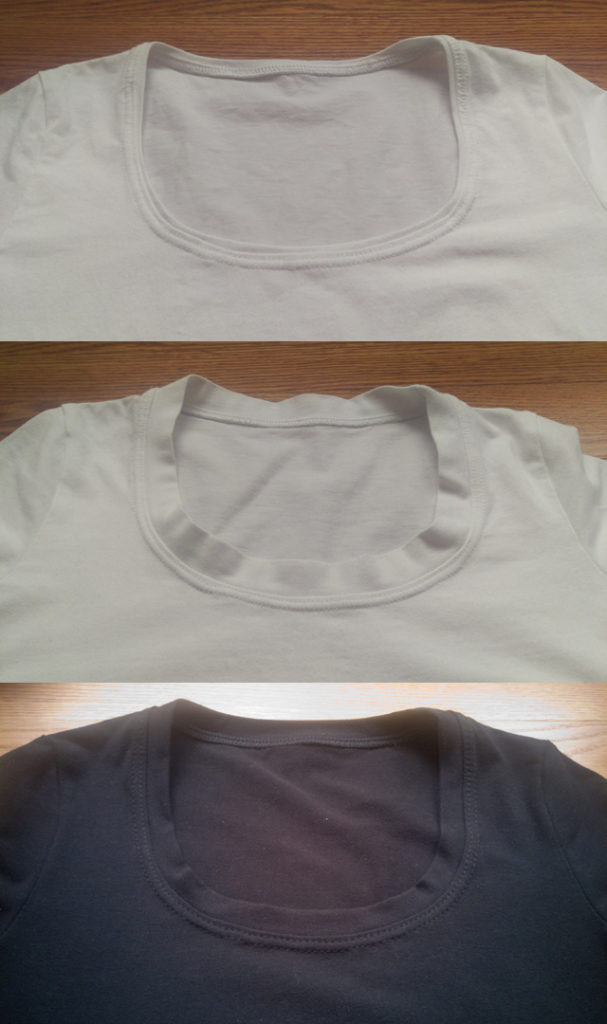
Week 4: Rings of Ouranos (on Ravelry) // Easy Tartan Scarf // White T-Shirt // Black Leggings (unblogged)

Week 5: Floral Sorbetto // White T-Shirt

Seeing everything laid out like this, I’ve realized several things:

  • I wear a lot of black. (I wore even more than you see here, on days when I didn’t wear any me-mades.) I don’t actually want to wear as much black as I do, because I find it looks quite harsh against my skin, especially near my face. But since I bought most of my office attire during a few major shopping trips during and immediately after college, and I’ve neither grown out of nor worn through most of it, those initial purchases continue to linger in my closet. I’d really like to phase them out in favor of more navy blue, warm browns, and even some grey, but options in those colors tend to be more miss than hit most seasons at the few stores I shop. I need to either a) expand my shopping horizons and try other petite -friendly retailers besides Express, b) find a tailor I can trust to alter pants from regular misses sizes , or c) learn to sew my own perfectly fitting pants. At this point, I’m not actually sure which of these is the path of least resistance.
  • I’m grateful that the May weather was so variable, because a sizable chunk of my handmade wardrobe comes in the form of handknit accessories. I’m complete okay with this, but could stand to add a few more sweaters, particularly cardigans of various weights, to the mix. There’s absolutely zero chance you’ll find me in handknits in the summer, though—it’s unbearably hot and humid here, and wool, no matter how magical its properties, will never feel good on a 100-degree, 100-percent-humidity-but-somehow-no-rain day.
  • I’ve been gravitating toward skinny bottoms balanced with looser tops. I need to make more of both.
  • I only wore one dress (with leggings) and one skirt (with tights). I’d say dresses and skirts were underrepresented this month, but only barely. I can probably chalk this up to the fact that most of my dresses, me-made and ready-to-wear, are too casual even for my laid back office. My office is also freezing, so I’d just end up covered in a fleece blanket at my desk anyway. But I love the idea of pulling on secret pajamas a comfortable dress and rolling out in the morning, so maybe I need to suck it up and make a dress or two.
  • My outfits are dying for more texture. My wardrobe is overwhelmingly simple, solid-colored separates, which means that outfits tend to fall flat visually. They’re crying out for a statement necklace or shoes, a cute handbag, a textured fabric like bouclĂ© or suede, or a textural design element like pleats, pintucks, ruffles, or visible ribbing. Anything to break up all the solid blocks of color and smooth fabric surfaces.

These observations open up a lot of different creative directions, and it’s so tempting to try to run down every path at once. But I’m going to try to rein myself in and remember that neither a handmade wardrobe nor a strong sense of personal style happens over night (especially since recent household budgetary constraints have me limited to my existing stash, which may not jive with my current seasonal/situational needs).

Despite feeling like my current wardrobe is a long way off from my ideal, participating in Me-Made-May has convinced me that it’s not impossible for me, personally, to one day have a wardrobe where I could wear at least one thing I made every day, if I wanted to. I don’t know that I’ll ever achieve—or even aim for—an entirely handmade wardrobe, but it’s gratifying to see that what I’ve made with my own two hands takes more than two hands to count!

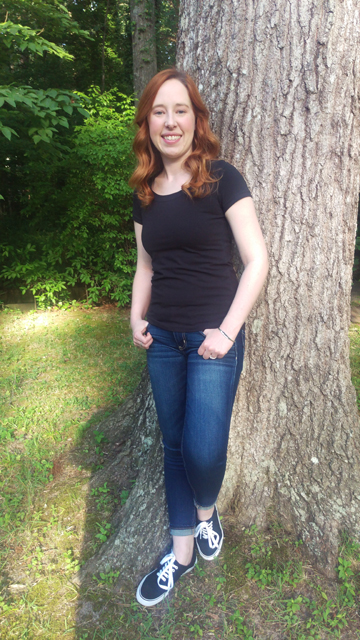
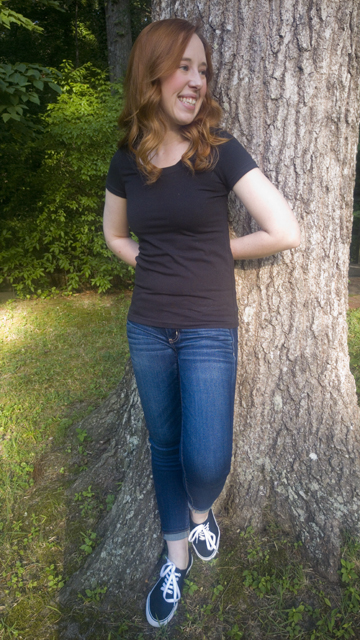
Just for fun, because I’ve secretly wanted to do this every year that I’ve followed along with Me-Made-May, here’s a gif of my outfits each day:

Concept and Iteration

How did I arrive at a point in my life where I didn’t own a solid white or a solid black t-shirt? It’s certainly not because my wardrobe is dominated by prints—easily 90% of my clothes are solids. It’s also not because I eschew basics—I tend to buy staples like v-neck sweaters and button-up shirts in multiples, and I own few, if any, pieces I would consider “statements.” And yet here I was, lacking in the most basic of everyday garments (after underwear, of course).

The last few times I’ve tried to buy plain white and black tees, either short- or long-sleeved, I was deeply disappointed by the options available. I’m sure you’re all-too-familiar with the scene: racks of tissue-thin shirts that cling unflatteringly, bind up around the arms, and fall apart in three washes or fewer. No thanks.

I had plenty of white and black cotton/spandex blend in my stash, as well as a PDF copy of the free Tonic T-Shirt pattern from SBCC Patterns. I’d attempted the pattern before and wasn’t happy with the results, but I was determined to get it to work so that I’d have a well-fitting pattern at my disposal whenever I wanted/needed to whip up a new tee. (I also really want SBCC Patterns to work for me, because they’re specifically drafted for petites and I’d love to be able to support someone pitching my niche.)

As it turns out, my issue with the fit of the first attempt came down almost entirely to size selection. I’d sewn a small because I didn’t want the shirt to be too snug in the waist or hips, but that meant the finished bust was 1″ larger than my actual bust. Also, I must have taken my waist measurement on a day when I was bloated or something, because I’ve since re-measured at a slightly smaller size. These measurement issues, combined with a fabric that wants to mold rather than drape, made for an ill-fitting shirt that went straight into the recycling heap.

This time around, I cut out an extra-small (in white) in order to get negative ease at the bust and was much happier. To concentrate on neat, even sewing with no puckers or wavy seams, I basted everything with a zig-zag stitch on my sewing machine and then went back over everything with my serger. It takes twice as long, but it’s the only way for me to get a good finish. Maybe one day I’ll be able to zip everything through the serger without putting holes through the middle of the fabric, but today’s not that day, and tomorrow’s not looking good either.

I prefer to install my knit bands in the round rather than in the flat because I feel like I get a cleaner finish that way, and I had to cut off 1″ of the band in order to have a loop that was smaller than the neck opening. (I also prefer to sew my seams and then turn up and topstitch my hems for the same reason. So, I basically ignored the instructions and used the alternative method for every step. It worked out fine.)

With the proportions sorted out, I noticed two things: the hem has a tendency to ride up, most likely due to the amount of negative ease through the body, and the neckband was difficult to serge and topstitch down evenly due to its narrowness.

I immediately cut out another shirt (also in white), but lengthened the bottom hem straight down by 1.5″ and doubled the height of the neckband. I chose to add length at the bottom rather than at the lengthen/shorten line because the narrowest part of the shirt does seem to be hitting the narrowest part of my waist. This worked exactly as I planned, but for someone long-waisted, the lengthen/shorten line is the way to go.

I like the double-height neckband—it somehow has a more casual feel—but even with the previous alteration of shortening it by 1″ it was a little too long, and even after pressing it’s noticeably wavy. It’s no worse than you’d find in some ready-to-wear, but it’s something I wanted to fix on future versions.

With that in mind, I cut out a third and fourth shirt, both in black. For this iteration, I cut an XXS neckband instead of an XS and reduced the height of the neckband to 2 1/8″. This new neckband is now taller than the original but shorter than the doubled version, and it just might be perfect. I could probably shave a tiny bit more of the length off to get the band to lay completely flat, but I’m not sweating it.

At this point, I also lengthened my topstitch from 2.5 mm to 3.5 mm, which made the stitches a little more visible without being sloppy.

Below are the three version to give you an idea of what the differences look like in context. Black and white do not like to be photographed together like this, so the exposure/contrast is absolutely awful, but I hope it gets the point across.

Here’s a look at the necklines up close, so you can see the differences in neckband height:

One last thing I’d like to mention is that Steam-a-Seam 2 is the not the same as Dritz Wash Away™ Wonder Tape. At some point I had rolls of both in my notions collection, but I must have used up the latter on a previous project. I grabbed the Steam-a-Seam 2 thinking that it was designed for the same purpose and painstakingly applied it to the sleeve hems and bottom hem of my first t-shirt, only to realize after heat-setting it that it’s much stiffer than Wonder Tape. It seems to have softened a bit after a couple of washes, but I definitely wouldn’t use it again for stabilizing a knit hem while sewing. Steam-a-Seam 2 Lite might work for that purpose (I haven’t tried it myself), but I think I’ll stick with Wonder Tape.

I’m so glad to have these shirts in my closet. They aren’t glamorous, but they’re comfortable, and it’s nice to feel like even on an ordinary day I have something handmade to wear.

FO: Vanilla

Before I post my (overdue) reflections on Me-Made-May, I wanted to catch up my records by sharing the projects I completed during the month. The first is below; the others will be combined in another post.

When I was a teenager my parents paid for my clothing, and because they allowed me a fair amount of latitude in picking out what I wanted to wear, I didn’t have much impetus to buy clothing myself. The first time I can distinctly recall paying for a garment that I wanted with my own money was in high school. I don’t remember now what I’d originally gone to the mall to buy—I wasn’t the type to shop recreationally—but I ended up bringing home a white cotton gauze A-line skirt that had been on sale for only $10. It hit around knee-length and had an elastic waist and slightly stretchy lining, all of which made it wonderfully comfortable and allowed me to sit crossed legged without flashing anyone. From a design standpoint it was nothing special, but in my eyes it was pretty much perfect, and I adored it.

I wore the skirt through high school and then college; I don’t remember the exact reason that I eventually got rid of it, but the only reason I would have parted with it was that a) it had acquired an indelible stain, or b) it had completely fallen apart from endless wearing and washing. I’ve wanted to replace it ever since, but somehow never mustered up the gumption to actually do so.

As the weather warmed up throughout May, however, I finally pulled out a crinkled poly-cotton I scored at Hancock’s going-out-of-business sale and Simplicity 1662 and set to work.

This pattern doesn’t really mimic the shape of the inspiration skirt that well, nor is it a great match for the fabric, but I had it in stash already and it has an elastic waist—arguably my favorite feature of the original—so I went with it to avoid the perils of trying draft something myself. (I know that an A-line skirt should be about the easiest thing to draft after a dirndl or a circle skirt, but I have an exceptional ability to over-complicate the drafting process, so I decided not to chance it. I wanted something easy.)

I traced view C, but rather than have it rise in the front and dip in the back, I cut it straight across at the side seam, perpendicular to the center front/center back. I cut a size small based on my waist measurement, with the intention of stretching it to sit at the top of my hip bones.

I prepped the fabric by washing it in cold water and tumbling dry on low heat, which caused its already crinkly surface to pull in even further, making it much too narrow for the pattern pieces. After consulting a few discussion threads online, the only advice I could find was to relax the fabric with steam. I was dubious—wouldn’t it ruin the very thing about the fabric that attracted me to it in the first place?—but after aggressively steaming the yardage and even gently tugging/prodding it until the selvages were straight again, it was wide enough to use and still had those characteristic crinkles, albeit less deeply furrowed. Like the gauze of the original, this fabric is sheer when the light hits it, so I decided to line the skirt with leftover white cotton sateen I had in stash from lining my Garden Party Dress.

I attached the lining by serging it to the shell and the waistband, simultaneously securing the lining, creating the casing for the elastic, and finishing the edge. The serging is invisible because it ends up sandwiched between the shell and lining when everything is turned right-sides-out.

After the success of my super simple tartan scarf, I decided to finish the skirt hem with my rolled hem foot. The act of pulling the stretchy material taut to feed it through the foot led to the lettuce edging, which I should have expected but ended up pleasantly surprised by. It will take a little practice to achieve a consistently ruffled edge, but I’m happy with the outcome.

The lining was turned up 3/4″, then turned up again 1″ and edgestitched, for a deep hem and a clean finish.

For the elastic waist, I ended up changing the length of the elastic to get a snug fit, but I forgot to write down by how much. Whoops. I did follow the tip included in the instructions to use little strips of fusible interfacing to glue down the side seam allowances within the waistband, to make it easier to thread the elastic through the casing, and it worked a treat.

At this point, you may well be wondering why there are no modeled shots, especially given the attention to detail in both the sewing and the posting. The truth is, after wearing it one time for Me-Made-May, I realized that something is wrong with the waist. Instead of lying smoothly when stretched the way its predecessor did, it has this weird puffiness right below the elastic that stubbornly refuses flatten out. Maybe it’s because the fabric is slightly gathered, or maybe it just has more body than my beloved older skirt did, but in any case, it looks horrible under the fitted and semi-fitted shirts I prefer. Maybe it would look okay under a boxy, drapy tee, but that’s not a combination I see myself wearing. So it’s probably destined for the donation pile, in the hopes that someone else will love it when I can’t, and I’m back to the drawing board for the perfect summer skirt.

What’s your perfect summer skirt look like? Is it something you own already, or are you still on the hunt for it?