Everyday Joggers | Itch-to-Stitch Tierras

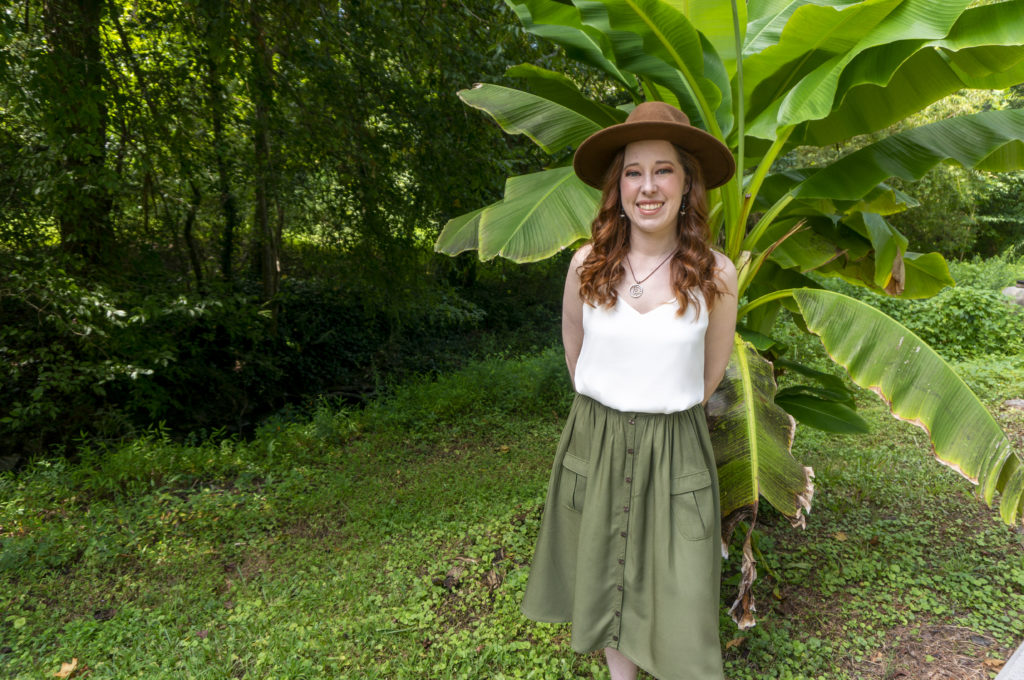
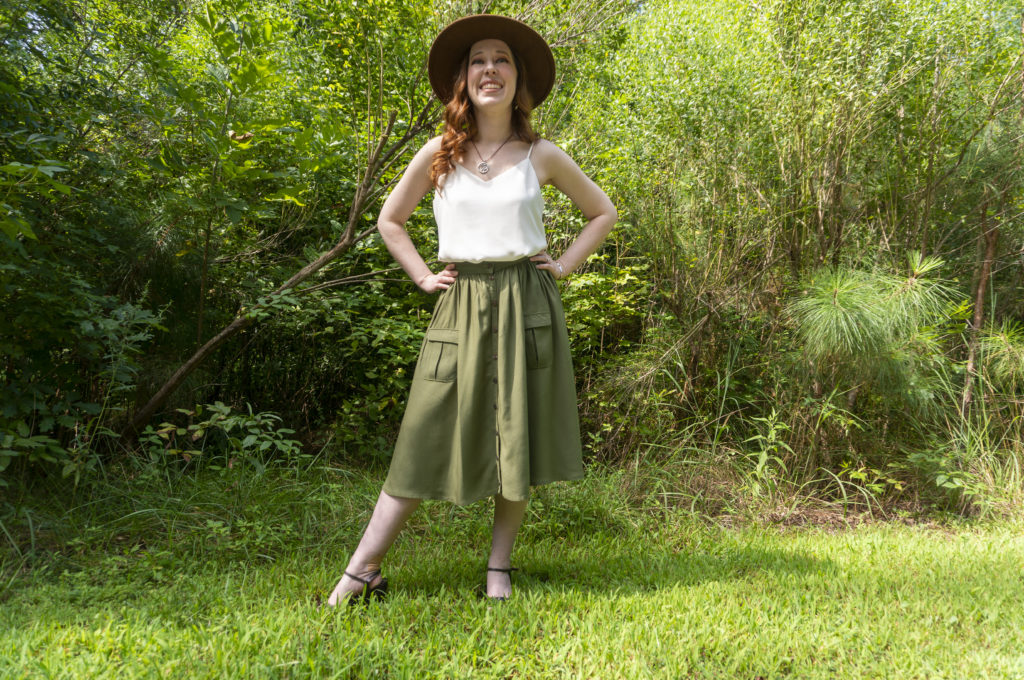
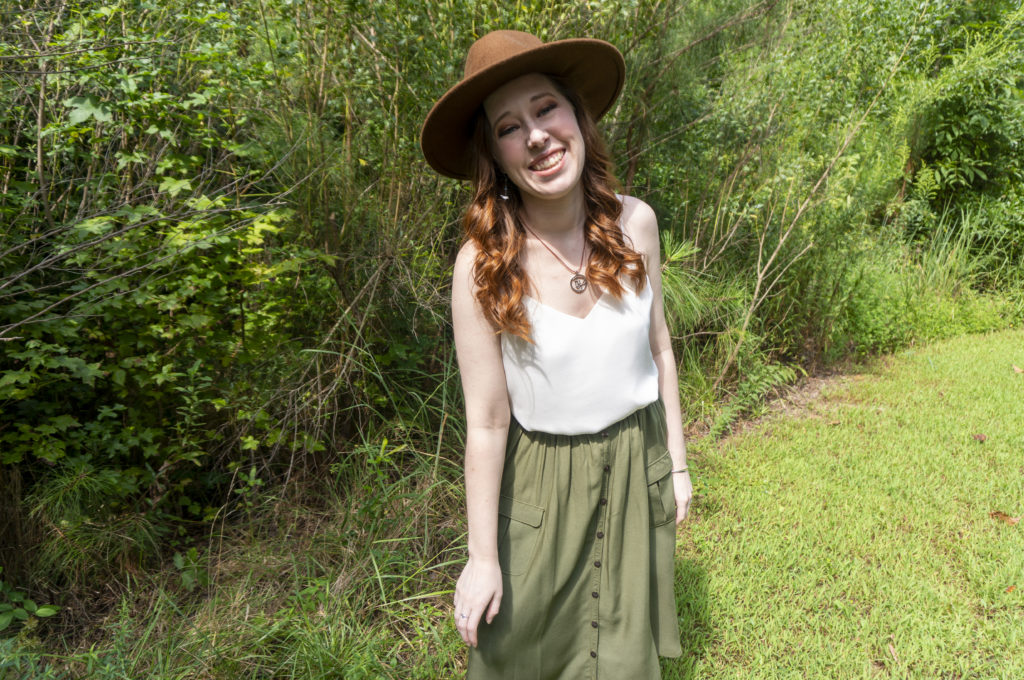
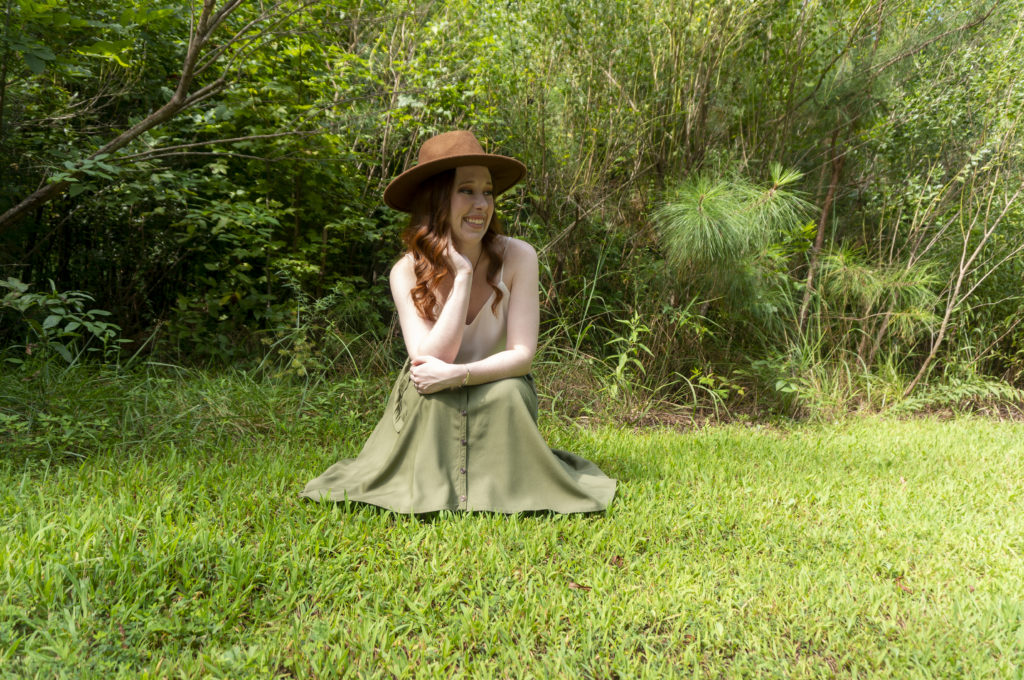
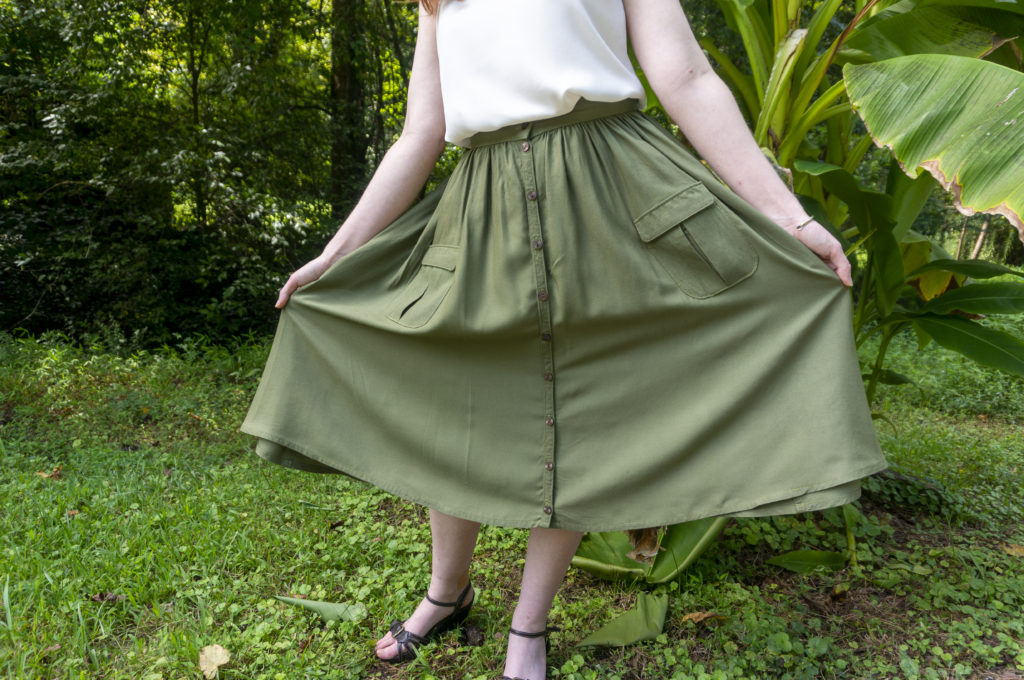
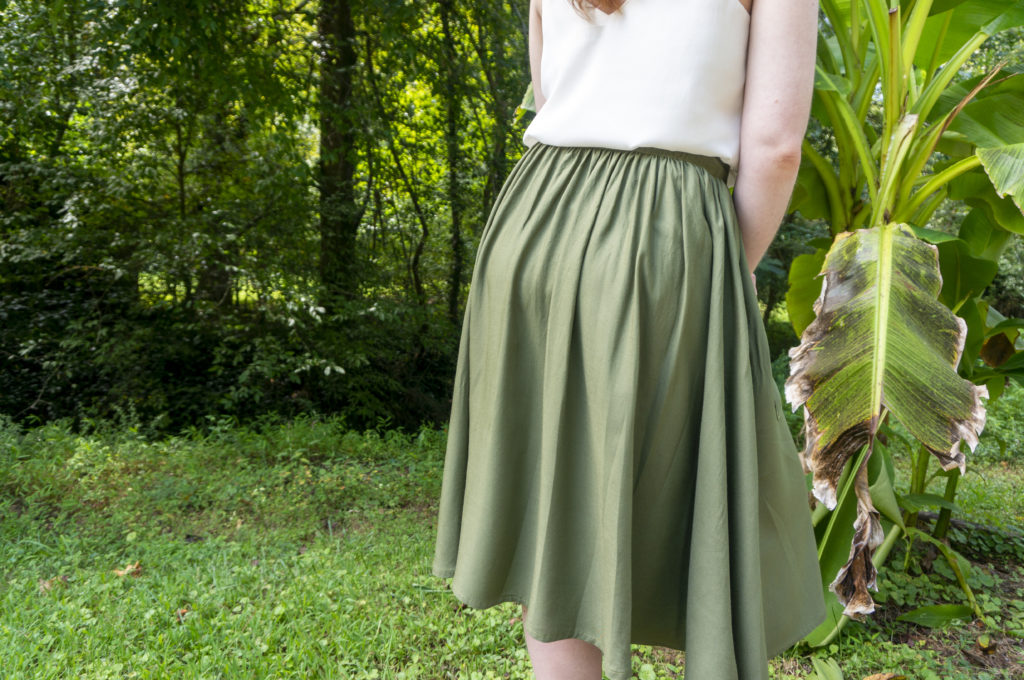
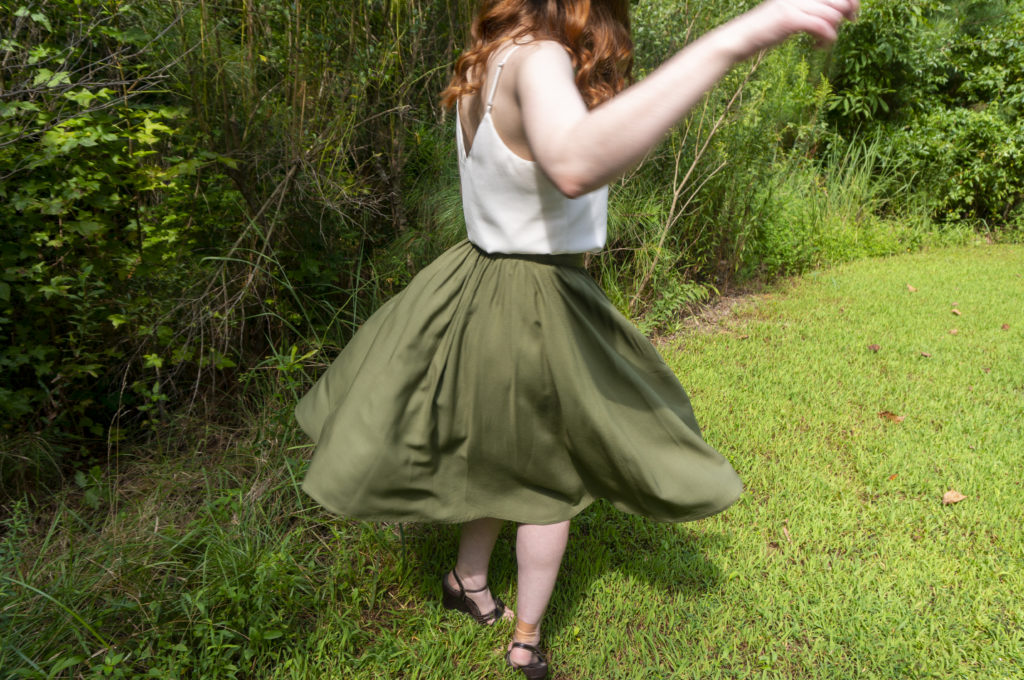
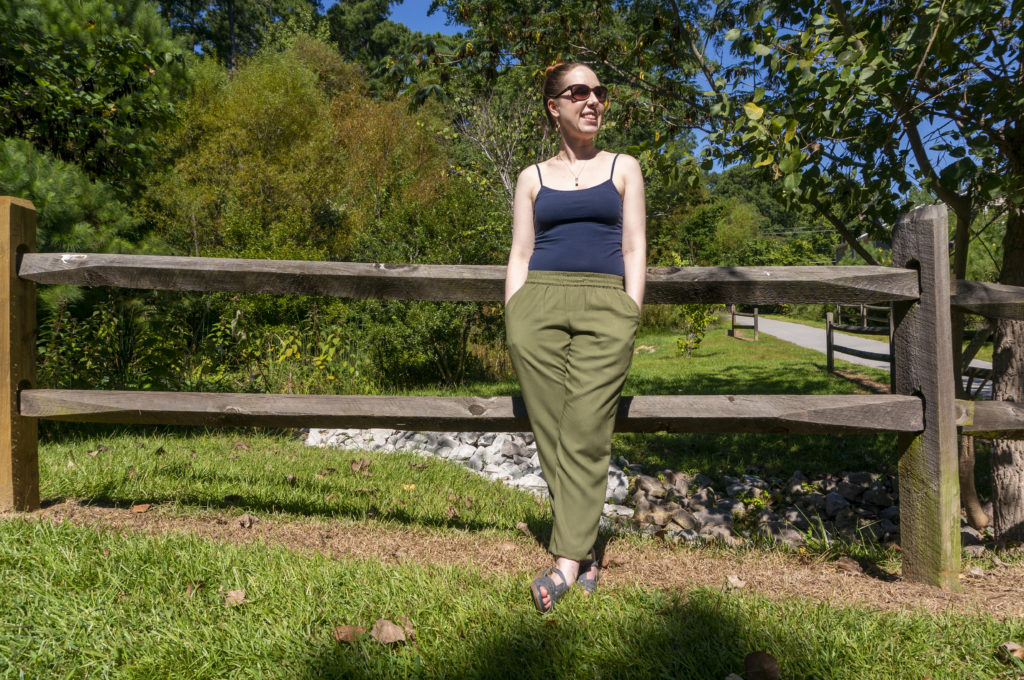
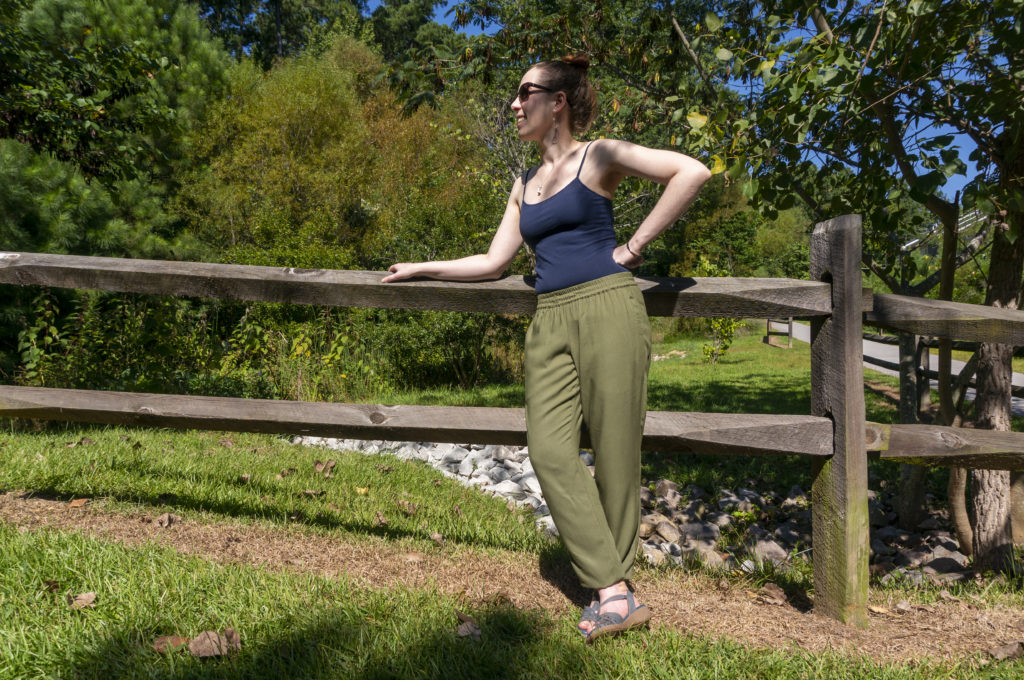
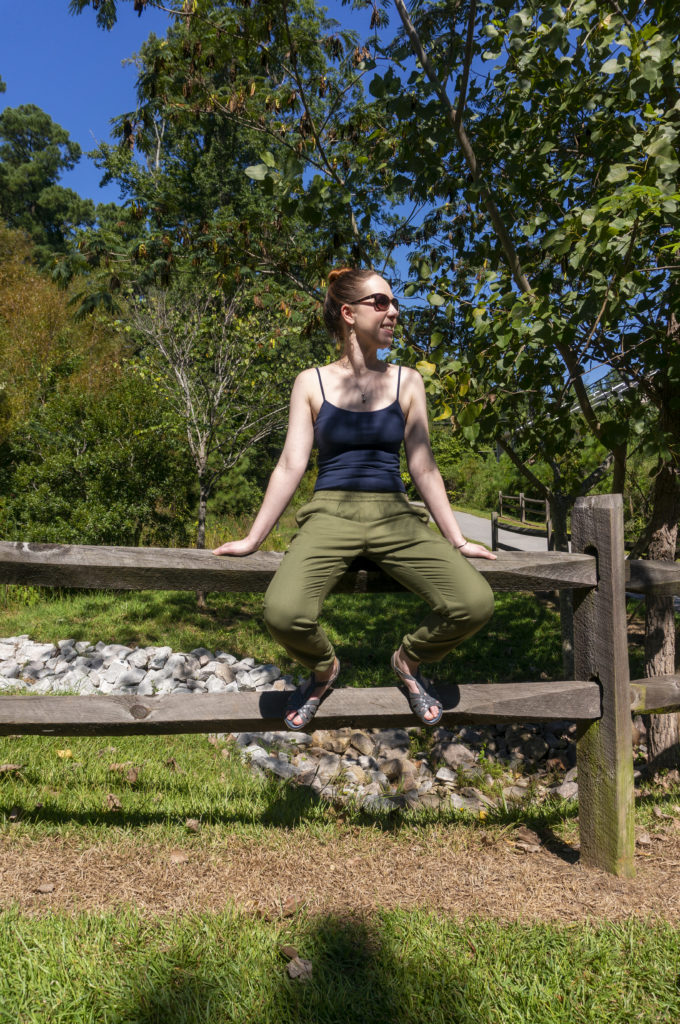
After finishing my Colette Zinnia skirt, I had enough of the sage green fabric leftover for one more project. A top would have been the obvious choice, but this sleeveless number is already pretty much perfect for me, I wasn’t feeling a boxy tee, and besides, I had a more pressing need: comfortable pants. Since I started working from home, I’ve been rotating between the same identical pairs of black leggings and my tartan pajama pants; the latter have been worn and washed so many times they developed a hole in the bum. While they waited to be repaired, I decided to see if I could eke out a pair of pants from my remaining mystery yardage.

Remembering that joggers had had a moment (more than five years ago, geez, am I slow to a trend or what?), I did a little searching around and landed on the Itch-to-Stitch Tierras, which had three things to recommend them:

  1. Designed for lightweight wovens
  2. Low-rise fit right out of the virtual envelope
  3. Deep, deep pockets

Bonus: Itch-to-Stitch is based in North Carolina, in nearby Sanford. Hi neighbor!

When I say the Itch-to-Stitch Tierras pockets are deep, I mean that wrinkle some six inches below the pocket opening is the bottom of the pocket bag.

The PDF pattern went together without any issues, and the provided instructions were quite thorough, including—hallelujah!—the finished garment measurements. Based on those measurements, I opted to shorten the inseam by a whopping 4″ and raise the front and back rise by 1″.

Now, I well and truly hopped on the low rise train in high school and I’ve never looked back, but after comparing the rise measurements to several pairs of stretch woven pants I already own, I was concerned they’d be too low even for my tastes. I’m only 5’2″, so if you’re average height or above, definitely check the rise before diving in.

Since my changes were significant, I made a muslin using an old cotton sateen bedsheet. It was the closest match I had to my fashion fabric in terms of weight and drape, but it wasn’t an objectively close match. I figured if the muslin came out okay I could wear them as pajamas, and if it didn’t, I could still cut the fabric down into pocket bags or handkerchiefs or something.

Let me tell you, the muslin very nearly did me in. Not because anything went wrong—again, the preparation and assembly instructions are clear—but because the fabric was different enough that the practice pants were crazy unflattering. They stuck out at the hips, stood away from my thighs but clung to my calves, and generally looked horrible to me. I wavered mightily, not wanting to waste the last bit of my nice fabric on wadder.

Justin observed that the altered length and rise, the two things I was actually checking on the muslin, were, in fact, good. He persuaded me to press onward, and he was right: the thinner, drapier fabric looks and feels loads better than the muslin did.

I briefly despaired about running out of fabric for both pieces of both pockets, then I remembered I had a bit of cream rayon bemberg leftover from this other sage green project that I could use for the pocket facings, which are invisible from the outside. The bemberg is a nice match in weight for my main fabric and a pleasure to slide your hands into. Hooray for saving scraps and shopping le stash for creative solutions!

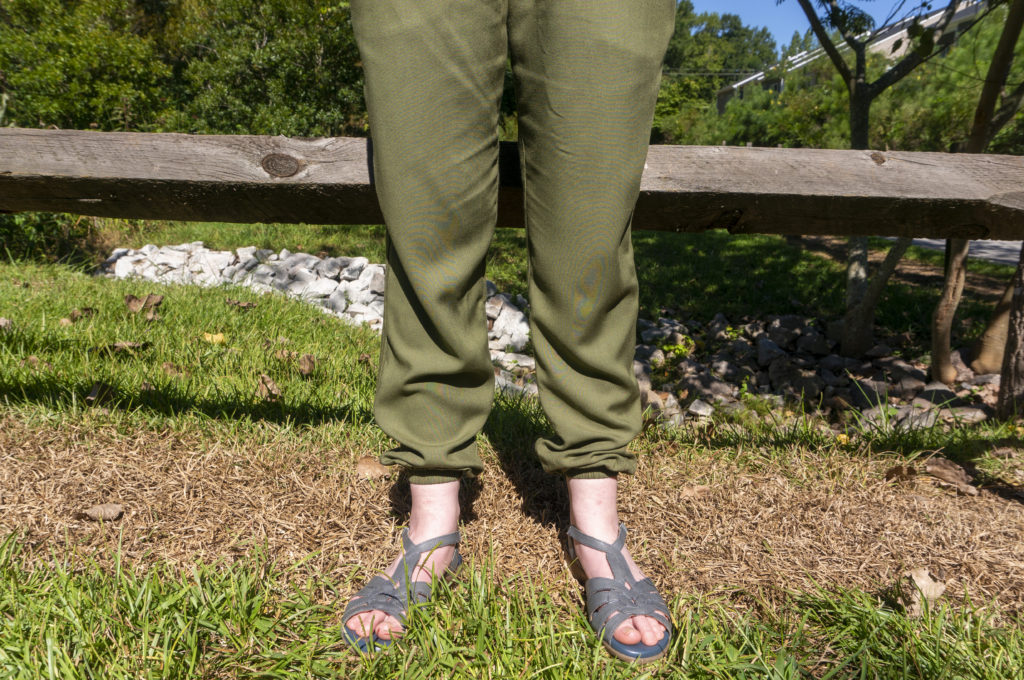
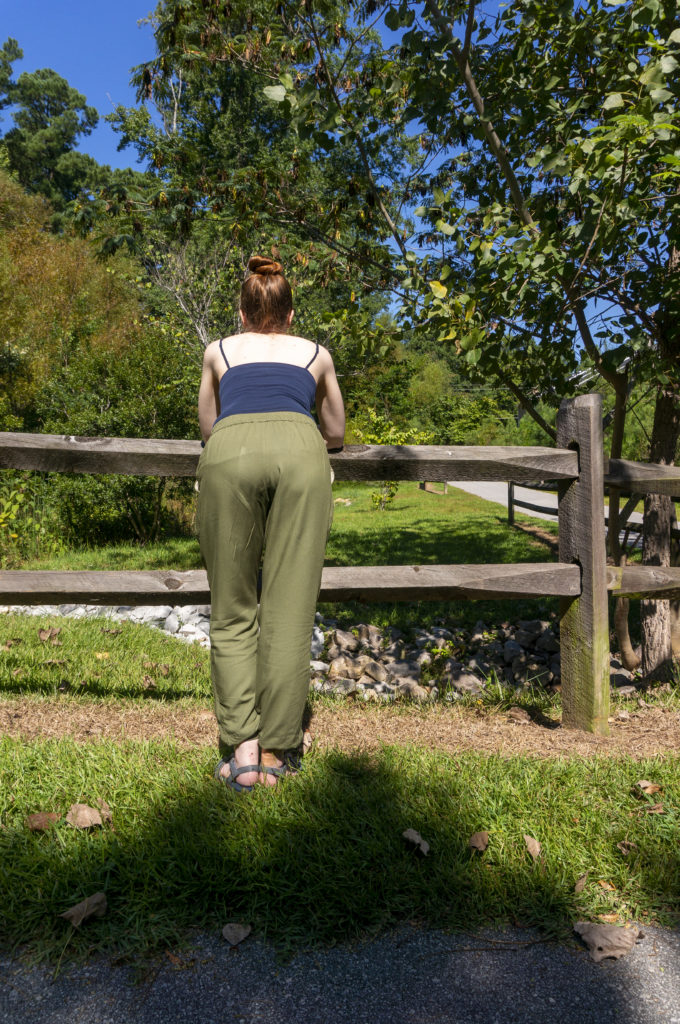
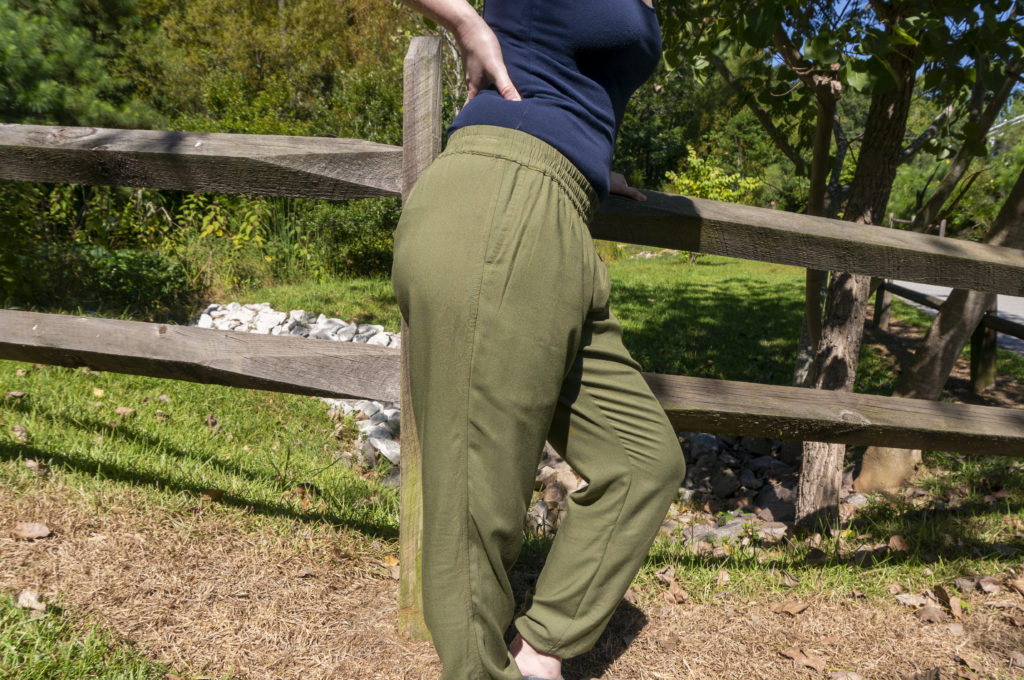
I used the prescribed 1.5″ elastic for the waist, but sized down to a 3/4″ elastic for the cuffs since it’s what I had on a hand and my slightly wobbly stitching meant that the recommended 1″ elastic would have been a tight fit. For both the waistband and the cuffs I attached the casings to the inside of the garment and then wrapped them to the outside and topstitched down. This is the opposite of what the instructions call for, but when topstitching I prefer not having to worry about whether I’m catching the casing on the inside, so this has turned into a normal adjustment for me.

I stitched buttonholes in the waistband for a drawstring per the pattern, but after wearing them several times I don’t think I’m going to bother with one; I don’t have another self fabric left for one, and I doubt I’d be able to find cord in the right color. My buttonhole placement is off, which means the topstitching on the waistband meander drunkenly to avoid sewing through them, but I love the overall look of the waistband too much to care. I dig the slightly sporty vibe it gives, I guess?

Honestly, the Itch-to-Stitch Tierras have been such a surprise to me all around. While I was specifically looking for a jogger silhouette, I more than half expected to feel meh about the outcome and never actually wear them. Instead I reach for them several times a week, often wearing them two days in a row. They’re also nice enough (in my opinion) that they don’t need to be relegated to the realm of house clothes. I personally love to throw them on to pick up takeout and pretend I’m an undercover celebrity.

These pants will continue to see weekly wear as the temperatures slowly cool off. Eventually I’ll want to switch them out for the season to something warmer, like French terry. An excuse to pick up the True Bias Hudsons, perhaps?


Outfit Details

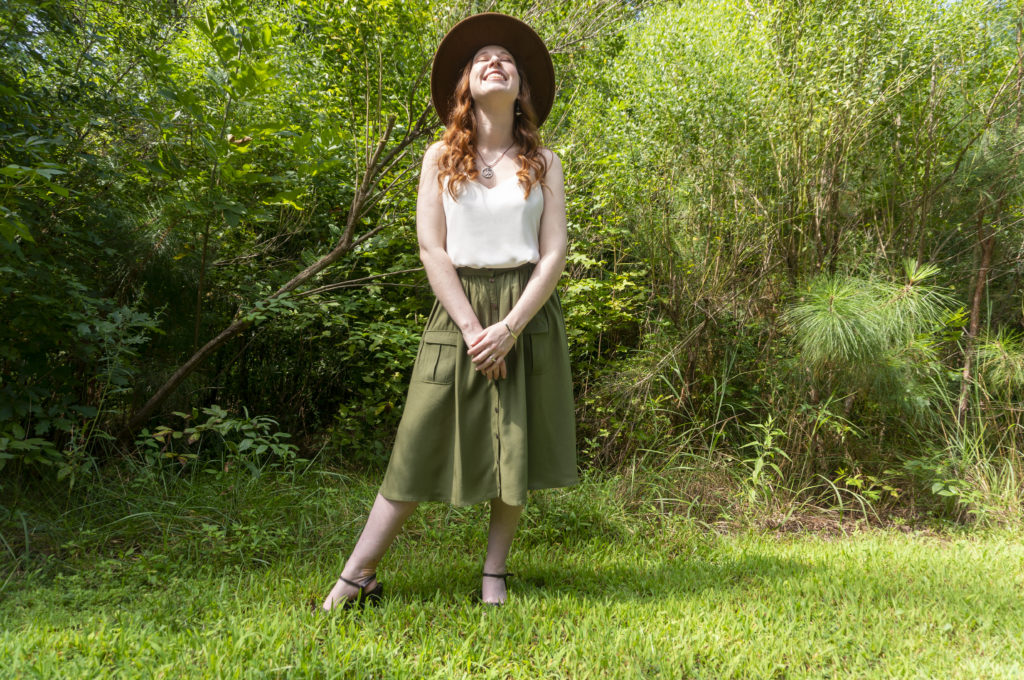
Camisole: Aeropostale | Pants: Itch-to-Stitch Tierras | Sandals: Naturalizer | Sunglasses: Target | Earrings: Gift/unknown | Bracelet: Gift/unknown

A Pocket Full of Posies | Colette Zinnia

Over the years, my interest in Colette Patterns has waxed and waned. Initially enchanted by the idea of a small, independent sewing pattern company with a cohesive aesthetic, I quickly came crashing back to reality when I remembered that I don’t actually wear close-fitting woven dresses with a vintage vibe. My interest piqued again a few years later when they started offering knit patterns, and again when Seamwork launched, but I never quite loved anything enough to take the plunge. (Although I must say, Leah’s enthusiasm for Seamwork has very nearly convinced me to get a subscription!) I’d already stashed a bunch of Big 4 patterns that I hadn’t cut into yet, so it was hard to justify buying more—and more expensive—patterns.

So what changed? It’s embarrassingly simple, really: I was checking out Freeman’s Creative Craft Supply in Durham for the first time and they had a handful of Colette patterns on sale, a result of Colette announcing they were discontinuing paper pattern production. Unable to resist the combination of a vanishing product + a deep discount + a sense of duty to support the small craft businesses of the world, I scooped up several patterns I’d eyed over the years, including the Colette Zinnia.

I doubt there’s much to say about the pattern that hasn’t been said before by much more accomplished sewists than me, so rather than a review I’ll stick to what I did.

The fabric is something of a mystery, a lightweight plain weave made from natural fiber(s) that both wrinkles and presses easily with heat and humidity; it’s the same fabric as this top. It’s wonderfully pleasant to wear and I wish I had ten more yards of it, but sadly it was a hand-me-down from my mom and I have no idea where or even when she got it. I think she intended to use it for window valances.

I went with View 1, which has a gathered skirt attached to a waistband, a button placket, and patch pockets with flaps. I cut a size 8, preferring to err on the side of a larger waist since like most people my measurements fluctuate and I abhor the feeling of anything too snug on my midriff. I didn’t bother to adjust the length for my shorter-than-average height since it’s designed to fall below the knee anyway.

To keep the waistband from being too big, I took a page from Cashmerette’s book and added an elastic to the back waist only. I was inspired by this tutorial, but since her construction order is different from that of the Colette Zinnia and I’d already sewn up the side seams—which I French seamed and then edgestitched down to produce a mock felled seam—I had to improvise a bit:

  • Cut the waistband pattern piece apart at the side seam circles to create front waistband and back waistband pattern pieces
  • Add 5/8″ seam allowances to the new front and back waistband pattern pieces
  • Cut front and back waistband from fabric; interface the front waistband piece only
  • Sew front and back waistband pieces together at side seams
  • Attach waistband to inside of skirt (rather than outside)
  • Calculate elastic length using Cashmerette tutorial and cut a piece of 1.25″ no-roll elastic to length
  • Cut two rectangles of fabric measuring 2″ x 1.25″ and stitch one rectangle to each end of elastic
  • Place the elastic along the inside of back waistband and sew the rectangles into the side seams
  • Fold waistband over to the outside and topstitch in place, stretching the back elastic to fit as you sew

Other notes include edgestitching everything, using three rows of basting stitches to gather the skirt, and not interfacing the placket. (To be clear, the instructions don’t call for interfacing, but that seemed odd to me, so I tried it anyway. As it turns out, a narrow cut-on placket doesn’t need it because of the layers of fabric involved, and I ended up peeling the interfacing off before re-sewing it. It seems Colette knew what they were about with this one.)

I very much wanted to use buttons from my stash on this one, since I had these cream-and-brown marbled ones harvested from somewhere that looked perfect. But they were 5/8″ instead of 1/2″ (not a huge problem) AND I didn’t have enough (*sob*). I ended up purchasing these two-hole buttons from JoAnn, which are described as brown but are really more of a dark coppery color and have a slightly reflective quality due to the ridged pattern in their surface.

Because the buttons came in packs of four, I had enough to add buttons to the pockets, but opted not to. I figure if I lose any along the way, I’ll have replacements on hand, and I won’t have to steal them off the pockets, leaving behind orphaned buttonholes.

My one regret may be not adding inseam pockets. I love the look of the patch pockets, but I really wish I had a place to put my hands. I even thought about adding some during the cutting-out stage, but decided they would be unnecessary. I have no one to blame but myself for this foolish lack of foresight.

If I were to make the Colette Zinnia again—and I feel like I will—the only thing I’d change besides the pocket situation would be to tinker with that back elastic waistband. I like it in principle, but in practice I should have cut the fabric portion longer so that it can gather/stretch more. Because I kept the original waistband length intact, it (surprise, surprise) doesn’t expand enough to allow the skirt to come on and off without unbuttoning. Because, you know, the original elastic-free skirt wasn’t intended to be taken on and off that way. Go figure. The no-roll elastic might also be a bit aggressive, and it can definitely still irritate when I’m feeling stuffed from the local food trucks.

While I don’t think I’d reach for this skirt every day, as I’m not much of an everyday skirt wearer, I love that it coordinates with a bunch of different tops already in my closet and in my sewing queue. I’m already looking forward to remixing it with other things I’ve made. Three cheers for wardrobe-boosting separates!


Outfit Details

Hat: Target | Camisole: Banana Republic | Skirt: Colette Zinnia | Sandals: Aerosoles | Earrings: Vintage | Necklace: Jenuinely Jeni | Bracelet: Gift/unknown

Belated Floral Birthday Dress

There’s a bit of a tradition in the sewing community of sewing a new outfit for a special occasion—for once-in-a-lifetime events like weddings and proms and graduations, as you might imagine, but also for those smaller milestones like birthdays and vacations to new places. Not everyone does this, of course, nor even the majority of people who sew, but it’s a ritual I’ve seen a fair few sewists indulge in, and I’ve secretly cherished the idea of doing it myself for rather a long time.

The trouble is, I always think to do it as the date of the event is closing in, when it’s only a week or two a way, which simply isn’t enough time (for me) to do a special project any kind of justice. Not without an excess of wailing and hair-pulling, anyway. I’m generally self-aware enough not to create that kind of stress for myself around an occasion I’m particularly looking forward to, so year after year I watch my birthday, and my dream of a birthday dress, come and go.

Not so in 2019, however. This time, I was determined to start early and finish with time to spare. I was helped considerably by having a strong idea of what I wanted right out of the gate: a 70s-style mini dress in a floral print, preferably with a gathered sleeve, maybe with a ruffle somewhere. I suspect I was influenced by the True Bias Roscoe Blouse and the Friday Pattern Co. Wilder Gown, or more specifically Allie’s mashup of the two.

Fortunately for me, I found what I was looking for more or less instantly in Butterick 6705. I chose View B, which offers a shorter length, sleeves gathered by elastic at the wrist, a bound neckline, and a double flounce at the hem. The relaxed waist and hip and flared hem are balanced by the peaked empire waist and bust gathers, which provide shaping around the chest. The raglan sleeves keep things on the casual side.

The fabric is a polyester crepe from JoAnn. I briefly considered a slightly more graphic design with black-and-white line art flowers on a solid background, but loved the dark green of this floral too much to pass up, and besides, if ever there was a time to lean into a softer, more romantic style, this seemed like it.

Despite its textured face, the polyester crepe has a smooth back that, when combined with the fabric’s thinness and fluid drape, made it an absolute pain to cut and pin. I did try to starch it with a homemade spray starch solution, but was too impatient for it to dry before trying to press it, and I ended up foregoing starch on all but the two bodice pieces. It really would have been better to wait, and if I use polyester crepe again I’ll factor in time for starching and drying before cutting.

I cut a size 10 at the bust, grading to a size 12 at the waist and hip. I removed 2″ from the lengthen/shorten line above the waist and below the hip, shortening the dress by a total of 4″. I made the decision to shorten in both places based primarily on my CustomFit measurements, which have separate lengths for “waist to armhole” and “waist to hip” that I compared to the finished garment measurements, but also based on the principle that it’s generally a good idea to split such large differences over multiple areas to avoid any weirdness at the seams.

For the sewing itself, I had no issues with a 70/10 universal needle and polyester thread. The pattern instructions didn’t offer any suggestions on how to finish the raw edges of the center front bodice seam, so I extended the narrow hem that’s used on either side of the front neckline slit. The rest of the raw edges are finished with French seams, and each flounce has a tiny rolled hem.

Stitching the narrow binding on the neckline was a beast, but worth it because I like that finish. As with my Archer shirt, I opted to sew the binding to the wrong side first, then wrap it to the outside and stitch in place from the right side; if the stitches don’t go through the binding on the outside, I have to go back and re-stitch them anyway to secure the binding, but if they don’t land “in the ditch” on the inside, who cares? Nobody can see it anyway.

My only complaint with the pattern, and it’s only a very minor quibble, is that the two-piece sleeves are designed to be eased, but there’s only one notch indicating where the easing should end, instead of two notches like you’d find on a princess seam.

In terms of improvements, I wish I’d gotten the zipper to lay a little more smoothly and stop a little closer to the top of the dress. I also hope to one day be able to sew on hooks and eyes competently. These ones are okay, though they’re a little more visible than I would have liked. Because the neckline is so high in the front, I will sometimes leave the front closure undone like you see in the last photo.

On the flip side, I’m proud of how the flowers accidentally lined up quite neatly across the front slit, since (as you can see from the rest of the dress) I didn’t even bother to try pattern matching.

The only way in which this dress could be said to have missed the mark was that I didn’t have it done in time for my birthday. As I approached the day of, which I planned to celebrate with a small group of friends at a local game cafe, I realized that all of the painstaking pinning I was having to do was slowing me down, and I was going to have to really sprint to get the neckline binding and the flounces completed. But after visiting the cafe and realizing it was going to be far too cold inside to wear an unlined, artificial-fiber dress comfortably, I decided to cut myself some slack and finish after the party (which also gave me more time to focus on making a cake, so win–win).

Not to worry, though—my birthday dress dreams were not, in fact, dashed, as I ended up having a second birthday celebration with my family during our Thanksgiving holiday. The dress garnered many compliments and was wonderfully accommodating of my turkey-day indulgences.

While I don’t see myself having the wherewithal to make a new frock for every special occasion, I might be contemplating making a travel wardrobe for our next big vacation, which will likely be so far into the future that I will surely have at least even odds of achieving my sewing ambitions.

Reciprocity

The first designer item I owned was a Vera Bradley purse I received from my parents for my high school graduation. Over the years my mom, my sister, and I each gathered a small collection of Vera Bradley bags and accessories in a smattering of colors and patterns. Despite our varying needs and tastes, we all agreed that the bucket bag was an eminently practical choice whenever you needed to carry the usual wallet, keys, phone, and personal items, but also sunglasses, two water bottles, an entire packet of tissues, a book, and maybe a snack.

My mom liked the bucket bag she owned, but wanted one in a solid color. After sweetly dropping hints both to me and to my sister to relay to me, I figured it was time I put my skills (such as they are) to use to make that wish a reality.

Fortunately, my sister had an old bag that was too worn out to carry around anymore, which she graciously sacrificed to my seam ripper. By taking the bag apart over several days and photographing each step, I was able to understand the construction and use the pieces as templates for a new bag.

The bag has an exterior zipper pocket, an interior zipper pocket, and three interior open-top pockets. It closes with a magnetic button. The straps are fixed. There’s a sleeve in the bottom of the bag for an insert to stabilize the base so that it doesn’t sag and the bag can stand up on its own; I took the insert from the deconstructed bag, which is just a piece of mat board or heavy cardboard, for use in my re-creation.

I didn’t make any modifications to the design or size, but I did opt to use a thick stable knit with a quilt-like pattern (leftover from this cosplay) for the shell instead of quilting together plain cottons. The lining is a polyester silky solid that I’d bought several years/moves ago for an ill-fated Sorbetto top.

I definitely saved on quilting time as a result of using a a “pre-quilted” fabric, but toward the end it was a challenge to feed the many layers of thick fabric through my machine. For the straps, my attempts to sew a tube and turn it right-side-out proved disastrous. I ended up cutting new straps, sewing one edge right sides together, opening the seam out, folding under the raw edges, and topstitching them in place, then topstitching the first seam to match. I didn’t even attempt to machine-stitch the bias binding that encloses the last raw edges on the inside bottom of the bag, preferring instead to wrestle everything into submission with hand-stitching.

If I were to attempt it again—and I think I might—I’d use a thinner shell fabric, but otherwise the construction is straightforward and didn’t require any special tools or techniques.

Judging by her reaction, my mom was pretty pleased with the outcome, and this bag has joined the rotation with her other favorites. For myself, I’m glad I could reciprocate the gift of a good bag that she once gave to me.

Another Handmade Christmas

This is it, folks! This is the final post documenting things I made last year. After this, I can move on…to catching up from the first quarter of 2019…

I admire anyone whose holiday traditions—whatever holiday it may be—involves making gifts for their loved ones or community members. My gift-making ambitions have always grossly exceeded my available time, resources, and common sense, but in 2018 I managed to make a few little things for some of my favorite people.

Up first, and by request, bowl cozies! From top to bottom, these went to my sister, my mom, and my sister-in-law Heather and her wife Elaina.

Two bowl cozies with a yellow and grey floral exterior fabric and a solid yellow interior fabric

Two bowl cozies with a taupe and cream abstract patterned exterior fabric and taupe and cream dotted interior fabric

Two bowl cozies with light and medium blue tie-dye patterned interior and exterior fabrics

My mom saw these at a craft fair but didn’t see any in a fabric she liked, so she sent me a text suggesting they might be an easy and well-received gift. I used instructions from Happy Hour Stitches, but you can find the details on any number of sites—in fact, Helen’s Closet just posted a tutorial a little over a week ago in a new series on scrap-busting.

My sister’s bowl cozies were made with leftover fabric (you may recognize it from her casserole carrier from the previous Christmas); the others were made with fat quarters from JoAnn. I already had 100% cotton batting on hand, but I needed to purchase 100% cotton thread to stitch everything up, as polyester could melt or scorch in the microwave.

Each recipient’s bowl pair of bowl cozies was served up with a bag of soup mix.

Three pairs of nested bowl cozies, each holding a bag of pre-packaged soup mix

The other gift was for a secret Santa exchange among the members of my D&D group. By sheer coincidence I paired with Jorren, the amazing illustrator from the art exchange. He had been working hard on multiple projects leading up to December, including prints for a holiday pop-up shop and several commissions. I wanted to show my appreciation for his work, so I picked a couple of art-themed gifts: a graphic novel called Junji Ito’s Cat Diary: Yon & Mu and a set of Pentel Arts Aquash brushes.

I needed something to round the package out, and Jorren had just debuted his freelance graphic design business, Mind Fuzz, so I got it in my head that I needed to put his logo on something. Trouble was, he wasn’t using the logo as his profile image, and I couldn’t very well ask him for a copy of it without tipping him off to my plan.

In ninja-hacker fashion, I found a photo that he shared of a t-shirt screen-printed with his logo and proceeded to manipulate it in Photoshop and Illustrator until I had a black-and-white vector image that I could scale and print as a template. I transferred the template to a remnant of black poly cotton blend, embroidered the outlines of the letterforms, and then sewed up the embroidered fabric into a sturdy pouch with a brass zipper. Ta-da!

A black zippered pouch with outline of the words "Mind Fuzz" embroidered in white in a circle in the center of the pouch

I followed instructions provided by Jedi Craft Girl, but as with the bowl cozies, there are countless examples of this and similar pouches online. My pouch is lined with the same black fabric as the shell and interlined with 100% cotton batting to hold its shape. The embroidery is regular old DMC floss in white, stitched up using a hoop and a crewel needle.

A black zippered pouch with the zipper opened to reveal a cleanly finished interior lined in the same black fabric

I ignored the dimensions in the instructions; they were too small for my purposes. My pouch is slightly smaller than I intended at 9 inches tall by 11 inches wide (at the top), but is large enough to fit Jorren’s preferred style of travel notebook, along with a handful of pencils or pens.

Just for fun, I had Justin put together a GIF of the progress shots:

No last-minute sewing, I didn’t drive myself crazy, and everyone loved their gifts—success!